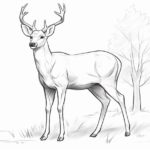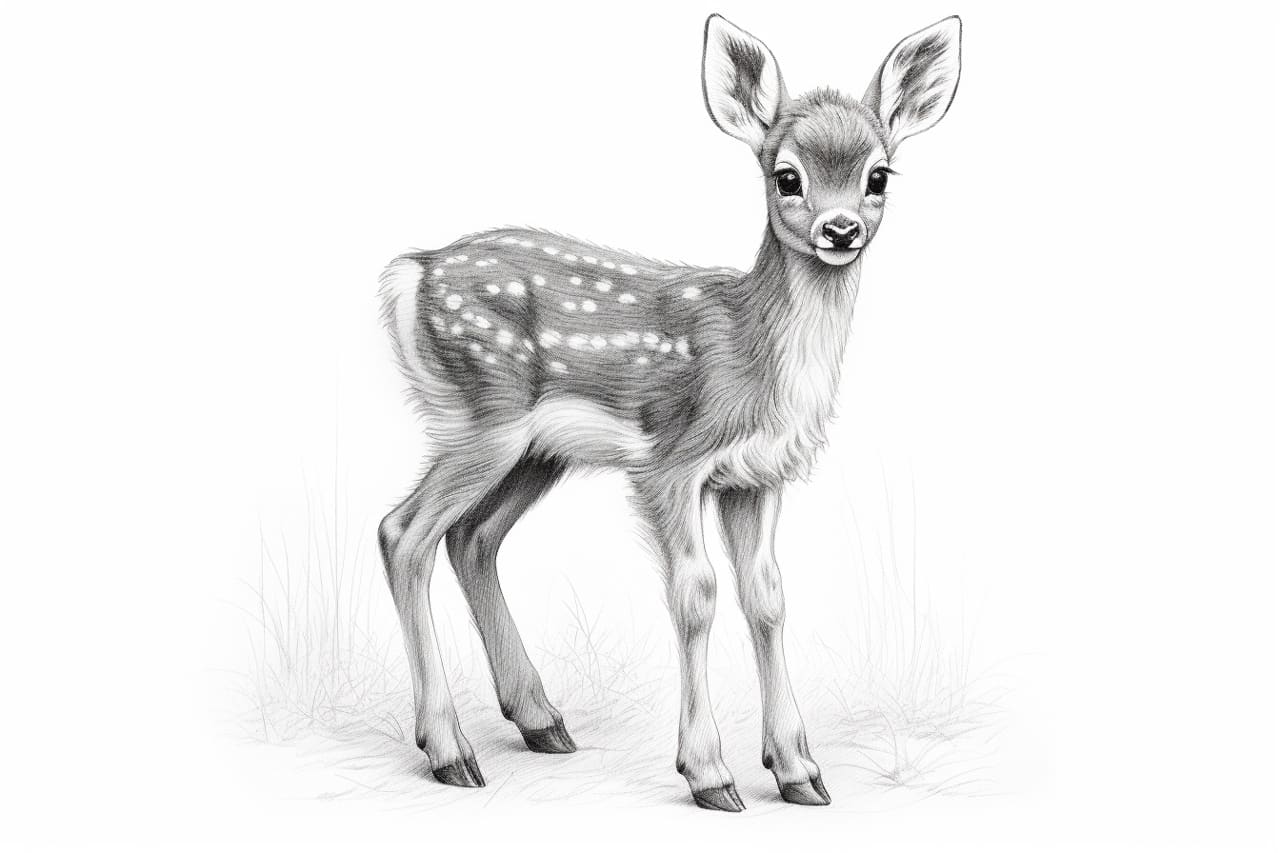
Welcome to this step-by-step guide on how to draw a baby deer! If you’re a fan of nature and wildlife, this tutorial is perfect for you. In this article, we will walk you through all the necessary steps to create a realistic baby deer drawing. Whether you’re an experienced artist or a beginner, you’ll find this tutorial helpful and informative. So let’s jump right in!
Materials Needed
Before we begin, gather these materials:
- Pencil: An HB or 2B pencil works well for sketching and shading.
- Eraser: A kneaded eraser is ideal for making corrections without smudging your drawing.
- Drawing paper: Use a smooth and sturdy paper that can handle multiple layers of pencil.
- Reference image: Find a clear picture of a baby deer to guide your drawing.
Now that you have everything you need, let’s get started!
Step 1: Rough Sketch
Begin by lightly sketching the basic shapes of the baby deer. Start with a circle for the head and add a smaller oval shape underneath for the body. Connect these shapes with a curved line, indicating the neck. Add two small circles for the ears on top of the head. Use light, loose lines to create this initial sketch.
Step 2: Outline the Head
Refine the shape of the head by adding more detail. Use gentle curves to outline the muzzle, forehead, and cheeks. Draw a small circle for the eye, slightly to the left of the head’s center. Add a curved line for the mouth and a tiny dot for the nose. Don’t worry about any shading or fur details just yet; we’ll add those later.
Step 3: Define the Body
Next, define the shape of the body by adding curves and contours. Extend the neck by adding a longer, slightly curved line. Define the small hump on the back and sketch the outline of the leg closest to us. Pay attention to the proportions and make sure they match your reference image. Remember to keep your lines light and flexible.
Step 4: Add Legs and Ears
Now it’s time to focus on the details of the legs and ears. Draw two thin, parallel lines for each foreleg, tapering them towards the hoof. Sketch two curved lines for the hind leg, making it slightly longer than the forelegs. Add details to the ears, making them appear soft and furry. Take your time to get the proportions right, ensuring the legs are correctly positioned.
Step 5: Refine the Features
Refine the facial features by adding more detail. Darken the eye, leaving a small highlight to make it appear glossy. Add eyelashes and small fur details around the eyes and muzzle. Draw the inner and outer contours of the ear to give it a realistic appearance. Take your time to achieve the desired level of detail.
Step 6: Shading and Texture
Now let’s add shading to create depth and texture. Observe the light source in your reference image and add shadows accordingly. Use light, hatching strokes to create the illusion of fur. Pay attention to the direction of the fur, making it follow the contours of the body. Vary the pressure on your pencil to create different values and textures.
Step 7: Final Details
At this stage, focus on refining the drawing and adding any remaining details. Adjust the shape of the body and limbs if necessary. Add more shading to enhance the depth and dimension of the drawing. Pay attention to small details such as the texture of the fur and the shape of the hooves. Take your time to ensure a high level of accuracy.
Conclusion
Congratulations on completing your baby deer drawing! By following these step-by-step instructions, you have created a beautiful and realistic artwork. Remember, practice makes perfect, so don’t be discouraged if your first attempt is not exactly as you envisioned. With time and practice, your skills will improve, allowing you to create even more amazing drawings of baby deer and other animals.
We hope you enjoyed this tutorial on how to draw a baby deer. Remember, art is a journey, and every drawing you create is a step forward. Keep exploring, experimenting, and pushing your creative boundaries. Happy drawing!