Welcome to this step-by-step guide on how to draw a doe! In this tutorial, I will guide you through the process of creating a beautiful and realistic drawing of a doe, also known as a female deer. Whether you are a beginner or an experienced artist, this guide will provide you with clear and concise instructions to help you create a stunning doe drawing. So grab your art supplies and let’s get started!
Materials Required
Before we begin, make sure you have the following materials handy:
- Pencil: A medium or soft graphite pencil would work best for this drawing.
- Paper: Choose a smooth, heavyweight paper that is suitable for drawing.
- Eraser: A kneaded eraser is recommended for easier erasing and adjusting.
- Blending tools: You can use a blending stump, cotton swabs, or tissue paper.
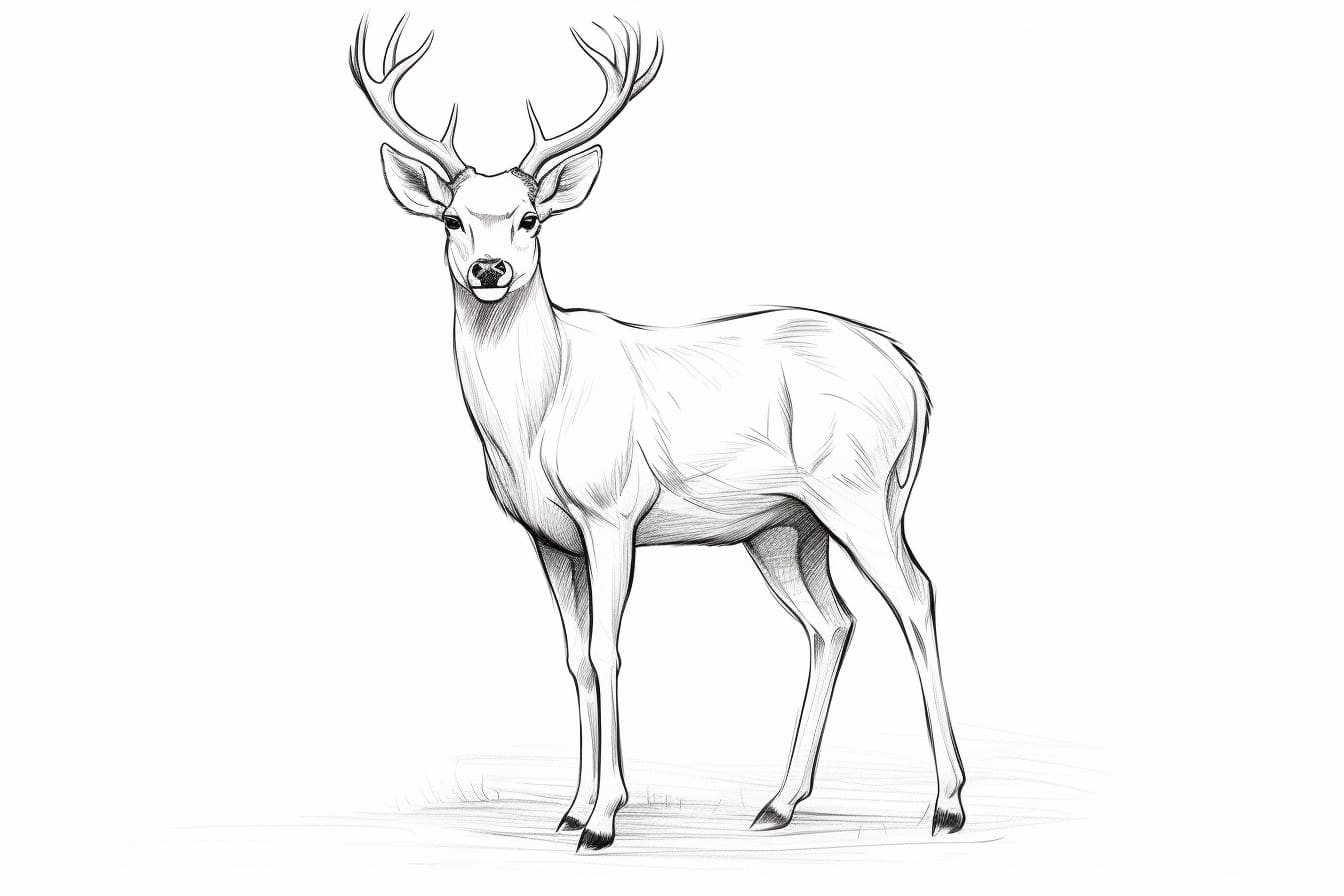
- Reference image: Find a clear and detailed reference image of a doe to work from.
Now that you have all your materials ready, let’s move on to the step-by-step instructions.
Step 1: Sketch the Basic Shapes
Start by lightly sketching the basic shapes of the doe’s body. Begin with a circle for the head, followed by an oval shape for the body. Extend a line from the oval to represent the neck, and add two curved lines for the legs. Keep the lines light and loose, as they are just guidelines at this stage.
Step 2: Define the Outline
Using the basic shapes as a guide, refine the outline of the doe’s body. Pay close attention to the proportions and curves of the deer, ensuring accuracy in your drawing. Take your time in this step, as a well-defined outline will serve as a solid foundation for the rest of the drawing.
Step 3: Add Facial Features
Focus on the doe’s head and add the facial features. Start by drawing two large circles for the eyes, leaving some space in between for the nose. Within the eyes, draw smaller circles for the pupils. Sketch a small triangle for the nose, and add a curved line for the mouth. Pay attention to the reference image to capture the doe’s gentle and delicate features.
Step 4: Detail the Ears and Antlers
Doe’s often have shorter and less pronounced ears compared to bucks. Add the ears on the top of the head, using curved lines that taper to a point. For the antlers, draw branching lines that extend from the top of the head. Make them elegant and simple, as doe antlers are usually smaller and less intricate than those of bucks.
Step 5: Refine the Body and Legs
Now, spend some time refining the body and legs of the doe. Pay attention to the muscles and contours of the deer, capturing the gracefulness of its movements. Add details such as the joints, hooves, and the shape of the tail. Remember to keep the lines light and adjust as needed.
Step 6: Add Texture and Shading
To bring your doe drawing to life, focus on adding texture and shading. Observe the reference image to identify areas of light and shadow. Use light and gentle strokes to create a realistic fur texture. You can use cross-hatching, stippling, or a combination of both techniques to achieve this effect. Gradually build up the darkness of the shading as you go, paying attention to the subtle variations in value.
Step 7: Blend and Smudge
To create a smoother and more realistic appearance, use blending tools to blend and smudge the shading. This technique helps to soften the edges and create a seamless transition between light and shadow areas. Be careful not to over-blend, as you still want to maintain some texture in your drawing.
Step 8: Add Final Details
In this final step, add any remaining details to complete your doe drawing. Pay attention to the highlights in the eyes, the texture of the fur, and any other distinctive features you may observe in your reference image. Take the time to review your drawing and make any necessary adjustments until you are satisfied with the result.
Conclusion
Congratulations on completing your doe drawing! By following these step-by-step instructions, you have learned how to create a realistic and captivating representation of a doe. Remember, practice is key to improving your drawing skills, so don’t be discouraged if your first attempt doesn’t turn out as expected. With time and dedication, you will continue to refine your artistry and create even more impressive drawings.
I hope you found this tutorial helpful. Enjoy the process of drawing and let your creativity shine!