Welcome to this step-by-step guide on how to draw a coffin. Whether you’re an aspiring artist or simply looking to enhance your drawing skills, this tutorial will walk you through the process of creating a realistic and detailed representation of a coffin. So, grab your pencil and paper, and let’s get started!
Materials Required
Before we begin, let’s gather the materials you will need for this drawing tutorial:
- Pencil: Start with a regular graphite pencil, preferably with an HB or 2B lead for smooth and light lines.
- Paper: Choose a clean sheet of sketching or drawing paper. A size of 9×12 inches or larger is recommended to have enough space for your drawing.
- Eraser: Have a kneaded or vinyl eraser handy to correct any mistakes or guide lines.
- Ruler: You’ll need a ruler to create straight and accurate lines.
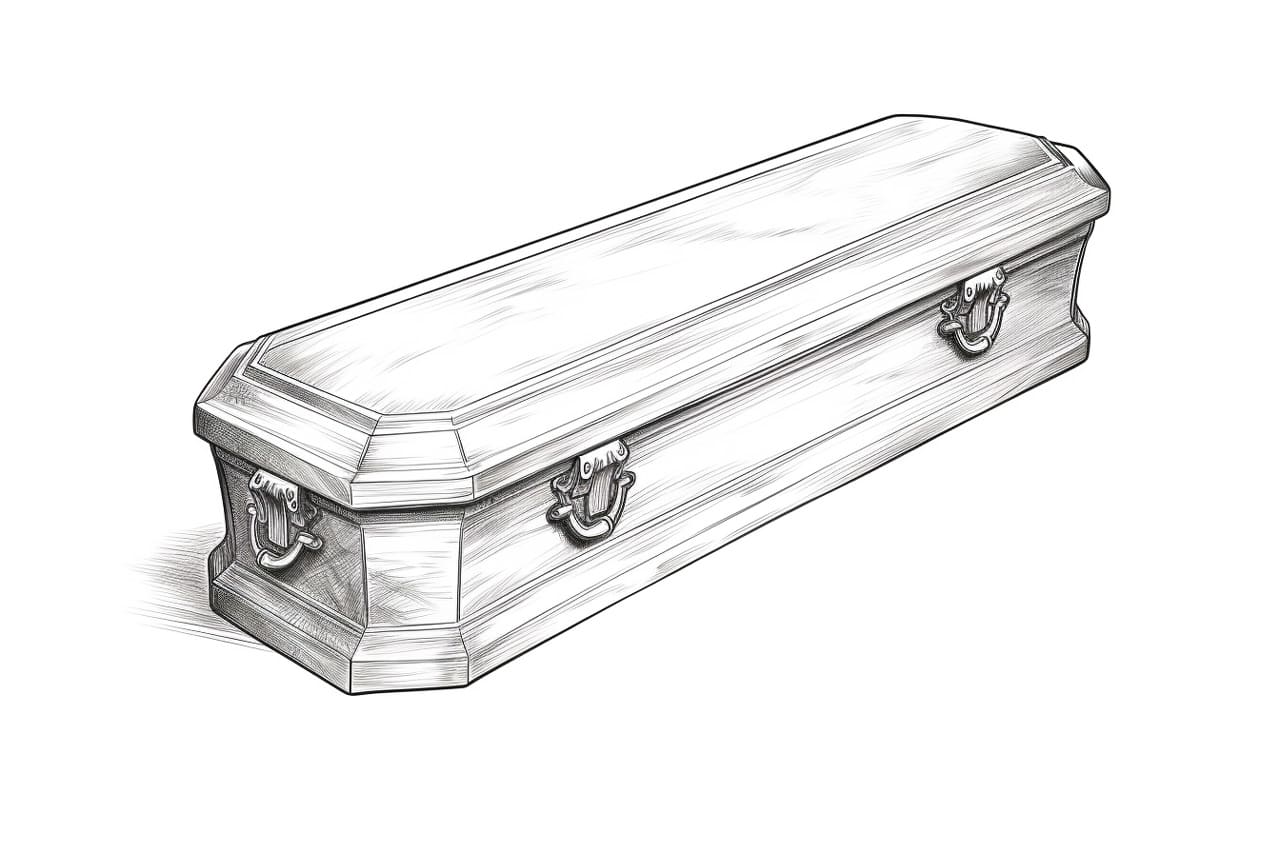
- Reference Image: While not necessary, having a reference image of a coffin can help you in understanding the shape and details.
Now that you have your materials ready, let’s dive into the steps for drawing a coffin.
Step 1: Basic Shape
Start by drawing a rectangular shape in the center of your paper. This will serve as the base of the coffin. The length of the rectangle will determine the size of the coffin, so feel free to adjust it according to your preference. Keep the edges of the rectangle straight and parallel.
Step 2: Tapered Sides
To give the coffin a three-dimensional appearance, we will taper the sides. Draw two lines starting from the upper corners of the rectangle and slant them slightly inward as you move towards the top. These lines should converge near the top of the coffin, creating a narrower shape.
Step 3: Lid
Now, let’s add the lid of the coffin. Extend two lines from the top corners of the rectangular base, slanting them slightly upward. Connect the ends of these lines with a curved line to create the lid’s shape. Make sure the lid is slightly wider than the base of the coffin.
Step 4: Side Panels
To add more depth to your drawing, we’ll create the side panels of the coffin. Draw two vertical lines from the top corners of the base, extending them beyond the lid. Connect the ends of these lines with two horizontal lines to complete the side panels.
Step 5: Handle
Next, we’ll draw a handle on the lid of the coffin. Place a small rectangle in the center of the lid, near the top. Then, draw two curves connecting the upper corners of the rectangle to the sides of the lid. This will give the handle a curved and realistic look.
Step 6: Details
Now that we have the basic structure of the coffin, it’s time to add some details. Draw a line near the bottom of the coffin to indicate the separation between the base and the lid. You can also add decorative trim or patterns to the sides and lid of the coffin, such as carved designs or metal accents.
Step 7: Shadows and Shading
To bring your drawing to life, add shadows and shading. Determine the direction of your light source and shade the areas accordingly. The bottom of the coffin and the area beneath the lid will be darker, while the top and sides will have lighter shading. Use your pencil to create smooth gradients and blend the shades together.
Step 8: Refine and Erase
Take a step back and evaluate your drawing. Adjust any lines or proportions that may not look quite right. Erase any unnecessary guide lines or mistakes with your eraser. Take your time with this step to ensure a polished and refined final result.
Conclusion
Congratulations! You have successfully learned how to draw a coffin from start to finish. Remember, drawing is all about practice, so be encouraged if your first attempt turns out differently than expected. With time and practice, you can create even more detailed and realistic drawings.
We hope you enjoyed this step-by-step tutorial on how to draw a coffin. By following these instructions and using your creativity, you can create stunning artwork. So, keep honing your skills, and soon you’ll be able to draw various objects and scenes with confidence.