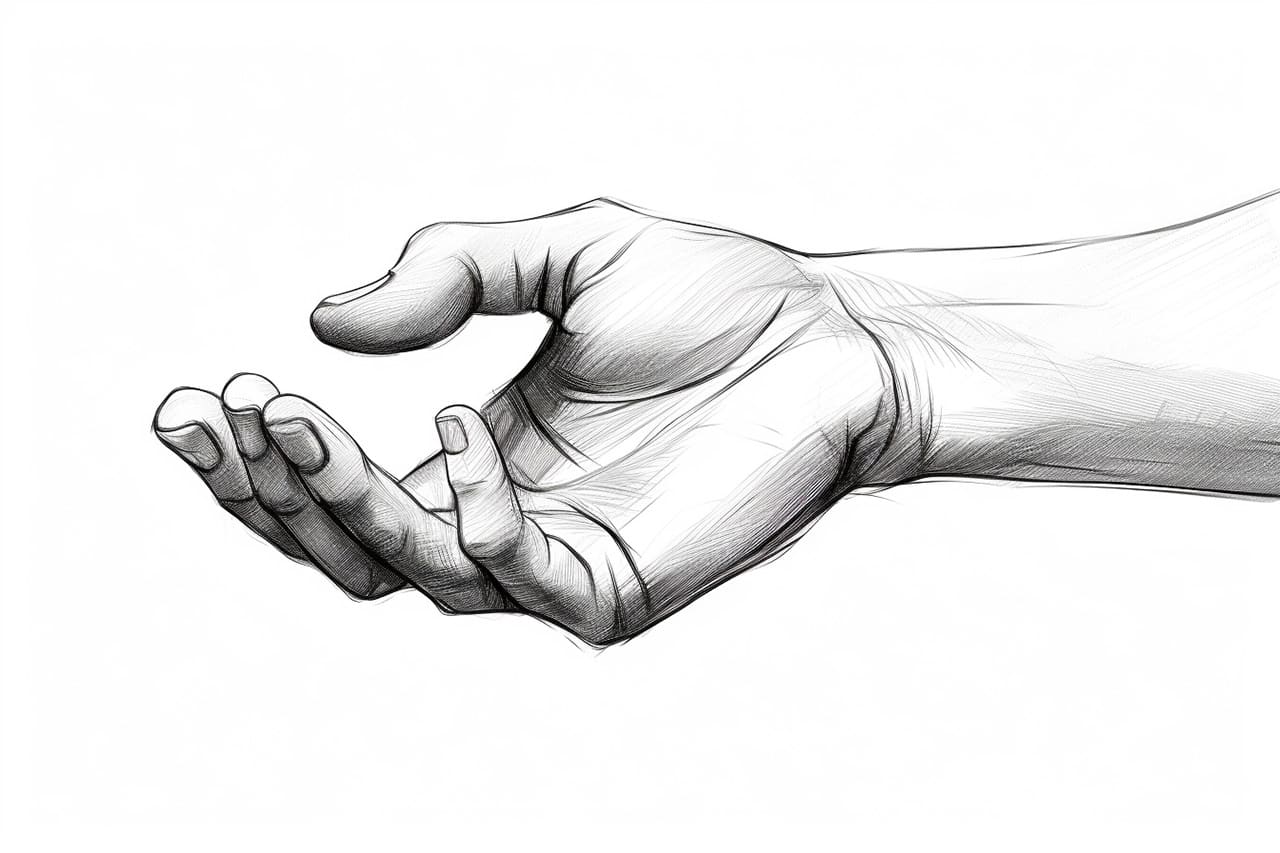
Drawing hands can be a challenging yet rewarding endeavor for artists of all levels. Hands are incredibly expressive and intricate, making them a captivating subject to master. In this comprehensive guide, we will break down the process of how to draw hands into easy-to-follow steps. Whether you’re a beginner or looking to refine your skills, let’s embark on this artistic journey to capture the grace and complexity of hands on paper.
Introduction
Hands are a remarkable part of the human body, capable of conveying emotions, gestures, and stories. As an artist, learning to draw hands allows you to depict a wide range of expressions and add depth to your artwork. While it may seem daunting, with practice and the right guidance, you can confidently draw hands that appear realistic and captivating.
In this tutorial, we will explore the step-by-step process of drawing hands, breaking it down into manageable stages. By the end of this guide, you’ll have the knowledge and skills to approach hand drawing with confidence and creativity.
Materials Required
Before we begin, ensure you have the following materials ready:
- Pencil
- Eraser
- Drawing paper
- Reference images of hands (optional)
Having these materials on hand will enable you to follow along and practice effectively.
Step 1: Understanding Hand Anatomy
To draw hands convincingly, it’s crucial to have a basic understanding of hand anatomy. Familiarize yourself with the main parts of the hand:
- Palm: The central area of the hand that includes the base of the fingers.
- Fingers: Comprising four primary fingers and one thumb on each hand.
- Thumb: Positioned opposite the fingers, with a unique range of motion.
- Joints: Recognize the knuckles and joints, which affect the hand’s flexibility.
Studying hand anatomy will help you grasp the structure and proportions of hands, making your drawings more accurate.
Step 2: Basic Shapes and Proportions
Start by sketching the basic shapes that form the hand’s structure. Follow these steps:
- Draw a rectangle for the palm. The length and width of this rectangle will vary based on the size and orientation of the hand you’re drawing.
- Add four cylindrical shapes for the fingers. These cylinders should extend from the top edge of the palm, with each finger’s length varying.
- Position the thumb as a shorter and thicker cylinder adjacent to the palm.
- Pay attention to the angles and proportions, as these will determine the hand’s pose and gesture.
Step 3: Outlining the Fingers
Now, refine the shapes of the fingers and thumb:
- Round off the tips of the fingers to create a more natural appearance.
- Define the joints by adding small circles or ovals where the knuckles are located.
- Curve the cylinders to resemble the natural curvature of fingers.
- The thumb should have a distinct shape with its joint and nail.
Step 4: Adding Details
Let’s add more details to make the hand drawing realistic:
- Draw the nails at the tips of the fingers. Nails are usually slightly curved and vary in size.
- Add lines to represent the creases and wrinkles on the palm and fingers.
- Define the knuckles and joints by darkening those areas slightly.
- Sketch the webbing between the fingers, which varies in depth depending on the hand’s pose.
Step 5: Shading and Texture
To give your hand drawing depth and dimension, apply shading and texture:
- Identify the primary light source in your drawing. This determines where shadows fall.
- Shade the areas that receive less light, such as the underside of fingers and the palm.
- Use hatching and cross-hatching techniques to create texture and define the hand’s form.
- Blend the shading for a smooth transition between light and shadow.
Step 6: Refining and Adding Realism
To make your hand drawing more lifelike, focus on refining the details:
- Erase any unnecessary lines and clean up your drawing.
- Add subtle highlights to the nails and knuckles to create a glossy effect.
- Pay attention to the subtle variations in skin tone and texture.
- Observe the hand’s unique features, such as scars or wrinkles, and incorporate them if applicable.
Conclusion
Drawing hands may initially present a challenge, but with practice and patience, you can master this essential skill. Hands are incredibly expressive and versatile subjects that will elevate your artwork and storytelling abilities. Remember to study hand anatomy, practice consistently, and experiment with different hand positions and gestures. With dedication, you’ll soon find joy and satisfaction in capturing the grace and complexity of hands in your drawings.
Now, take your pencil in hand and start your journey to becoming a proficient hand artist. Happy drawing!


