Welcome to this step-by-step tutorial on how to draw a toothbrush. Whether you are an aspiring artist or just looking to have some fun, this guide will help you create a realistic and detailed toothbrush drawing. So grab your pencils and let’s get started!
Materials Required
To successfully complete this drawing, you will need the following materials:
- Pencil
- Eraser
- Paper
- Ruler (optional but useful for creating straight lines)
- Colored pencils or markers (optional for adding color)
Now that you have all your materials ready, let’s begin drawing a toothbrush!
Step 1: Draw the Handle
To start, lightly sketch a long, straight vertical line in the center of your paper. This line will serve as the handle of the toothbrush. Take your time to ensure the line is straight and in the desired length. Remember, you can always make adjustments later with an eraser.
Step 2: Add Thickness to the Handle
Next, draw two parallel lines on either side of the initial line, slightly curving them outward. These lines will add thickness and dimension to the handle. Make sure they are evenly spaced from the central line.
Step 3: Shape the Brush Head
Now, move to the top of the handle and draw a rectangular shape for the brush head. The top edge of the rectangle should align with the top of the handle, and the sides should be slightly curved. This shape will resemble a rounded rectangle, wider at the bristle end and narrower at the handle end.
Step 4: Add Bristles to the Brush Head
Inside the brush head, draw a series of short, vertical lines to represent the bristles. Start by drawing a few lines at the center of the brush head and gradually increase their number as you move towards the edges. Remember to leave some gaps between the bristles to create a realistic effect.
Step 5: Define the Handle Shape
To give the handle more structure, draw two lines connecting the top and bottom of the handle. These lines will run parallel to the handle but will be slightly curved to follow its shape. This will give the toothbrush a rounded appearance.
Step 6: Refine the Brush Head
Take a closer look at the brush head and make any necessary adjustments. Smooth out the edges and curves, ensuring the brush head looks well-formed and balanced. Pay attention to the width of the brush head as it transitions towards the handle.
Step 7: Enhance the Handle
In this step, add some details to the handle to make it more realistic. You can draw some lines or patterns on the handle to create a textured grip. Experiment with different patterns and find one that suits your style.
Step 8: Erase Unwanted Lines
Carefully go over your drawing and erase any unnecessary or overlapping lines. Take this opportunity to refine the overall shape and proportions of the toothbrush. Use a kneaded eraser if you have one, as it allows for more precise erasing.
Step 9: Add Shadows and Highlights
To add depth and dimension to your drawing, it’s time to add shadows and highlights. Study the lighting conditions you want to depict and imagine where the light source is coming from. Shade the areas that would be in shadow and leave the areas that would catch the light lighter. This will create a more realistic and three-dimensional effect.
Step 10: Optional – Add Color
If you prefer a colored toothbrush drawing, now is the time to add some color! Use colored pencils or markers to carefully fill in the areas with the desired colors. Pay attention to the shadows and highlights you previously added and adjust the colors accordingly.
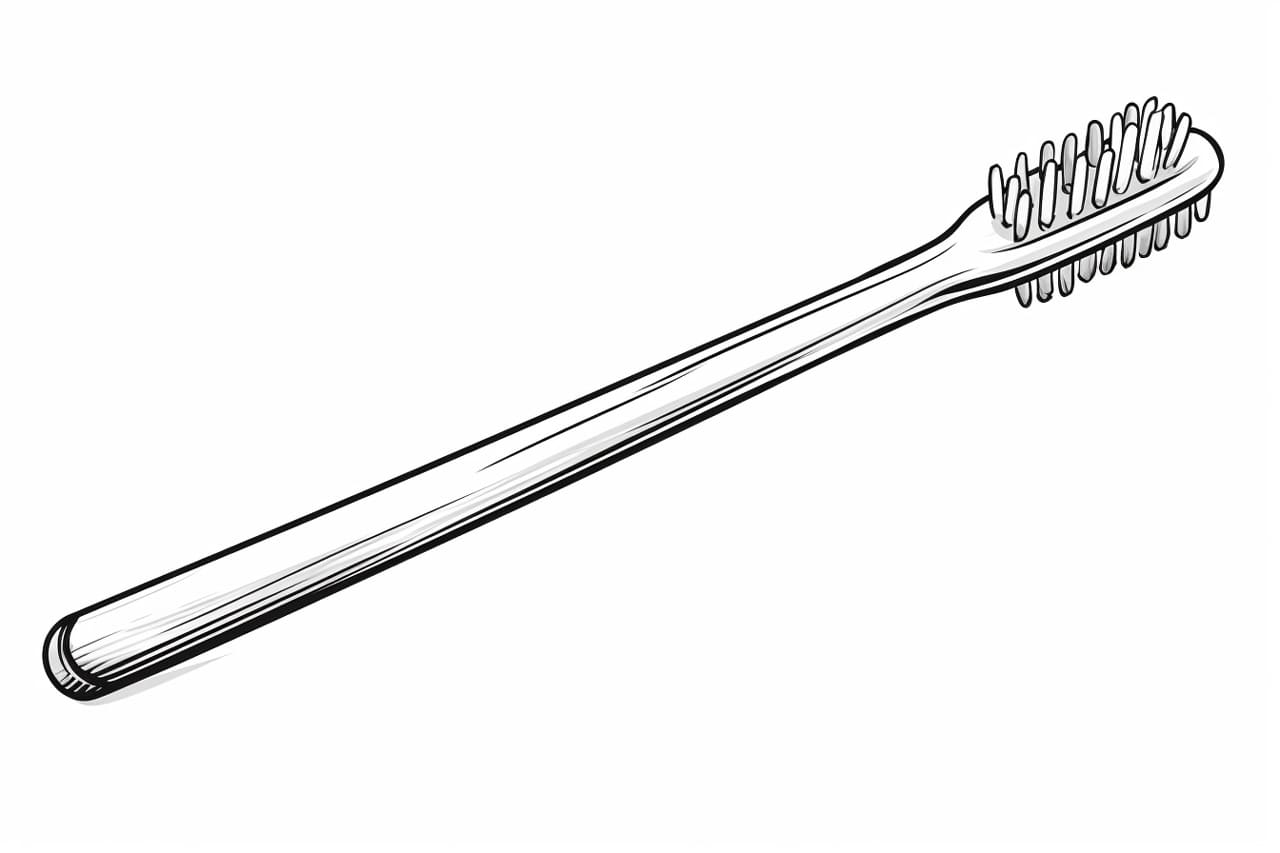
Congratulations! You have successfully drawn a toothbrush from start to finish. By following these steps, you should now have a detailed and realistic drawing of a toothbrush. Feel free to experiment with different styles, colors, and textures to make your drawing unique.
Conclusion
In this tutorial, we learned how to draw a toothbrush step by step. As an aspiring artist, it’s essential to practice drawing everyday objects to improve your skills. Drawing a toothbrush allows you to focus on various shapes, textures, and shading techniques. Remember to take your time, be patient with yourself, and have fun throughout the process.
We hope you found this tutorial helpful in your artistic journey. Now, grab your pencils and start sketching your very own toothbrush masterpiece!