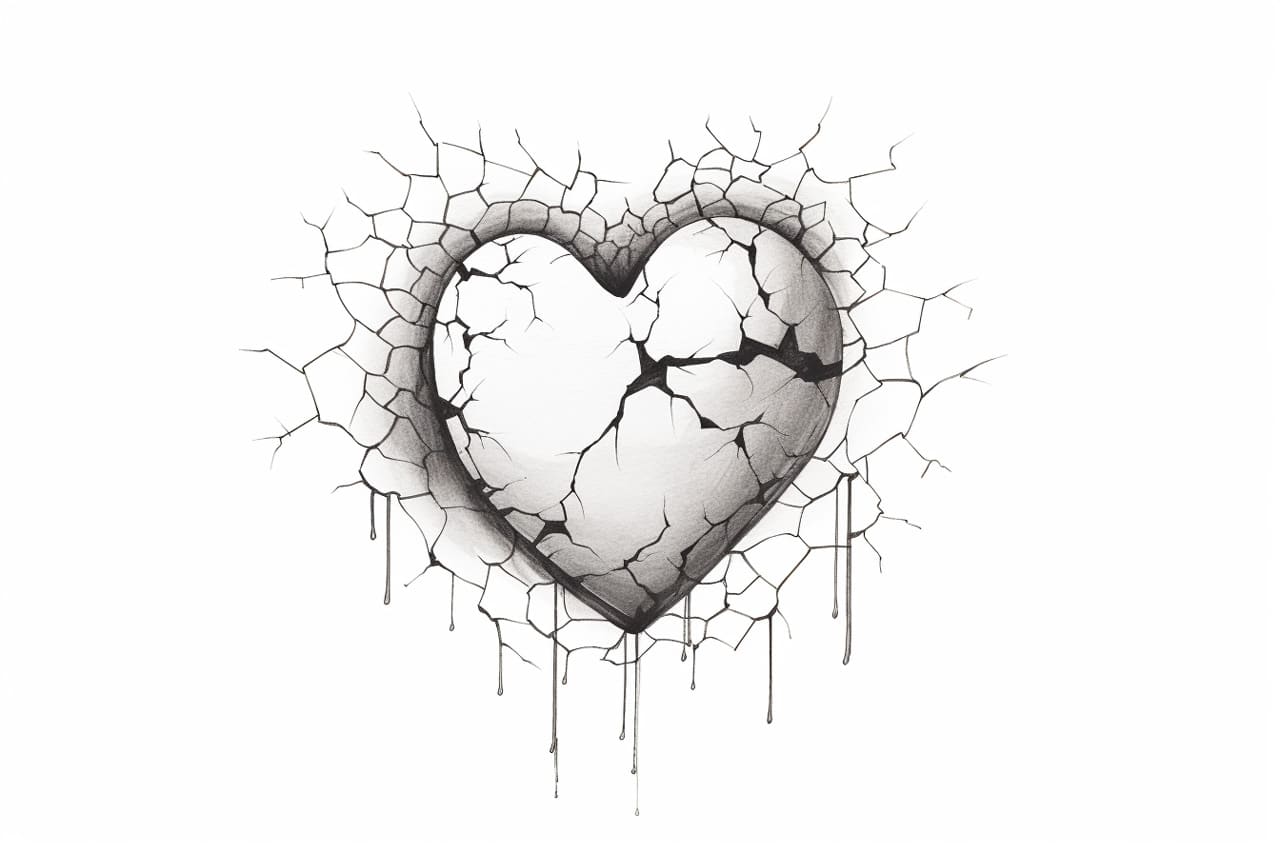
Drawing a broken heart can be a powerful and expressive way to convey emotions through art. This step-by-step guide will walk you through how to draw a broken heart, allowing you to explore your creativity and express your feelings on paper. Whether you are a beginner or an experienced artist, this tutorial will provide clear and concise instructions to help you create a visually stunning and emotionally evocative broken heart drawing.
Materials Required:
To begin drawing a broken heart, you will need the following materials:
- Paper: Choose a high-quality drawing paper that is suitable for your drawing medium of choice, such as graphite, colored pencils, or markers.
- Pencil: Select a pencil with a medium hardness (HB or 2B) for sketching and outlining.
- Eraser: Have a soft eraser on hand to make corrections and clean up your drawing.
- Ruler: Use a ruler to create straight lines and ensure symmetrical shapes if desired.
- Drawing medium of choice: Depending on your preference, you can use graphite pencils, colored pencils, markers, or any other drawing medium of your choice to add color and shading to your broken heart drawing.
Now that you have gathered your materials, let’s begin drawing a broken heart!
Step 1: Sketch the Upper Curve
Start by lightly sketching the upper curve of the heart shape. Begin with a small curve at the top-center of your paper, then gradually extend it outward on both sides to create the rounded top of the heart. Keep the lines light and loose at this stage, as you will refine the shape later.
Step 2: Draw the Lower Curve
Next, draw the lower curve of the heart. Begin from the center point of the upper curve and extend downward, curving outward on both sides to create the bottom of the heart shape. Make sure the lower curve mirrors the upper curve, forming a symmetrical heart.
Step 3: Add the Broken Line
To create the broken heart effect, draw a jagged line that cuts through the center of the heart shape. Start from either the top or bottom of the heart and make a small, angled line towards the center. Then, create a small gap before continuing with another angled line in the opposite direction. Repeat this process until you have a broken line that runs through the entire heart shape.
Step 4: Refine the Heart Shape
Now that you have the broken line in place, go back and refine the heart shape. Use your pencil to carefully adjust the curves and make any necessary corrections to create a smooth and aesthetically pleasing heart shape. Take your time and be patient with this step to ensure the best results.
Step 5: Add Details and Texture
To add visual interest and texture to your broken heart drawing, you can incorporate various details. For example, you can draw small cracks along the broken line, indicating the fractured nature of the heart. Additionally, you can add shading to create depth and dimension, giving your drawing a more realistic look.
Step 6: Color Your Drawing (optional)
If you prefer to add color to your drawing, now is the time to do so. Use your chosen drawing medium, such as colored pencils or markers, to carefully fill in the heart shape and add shading and highlights where necessary. Experiment with different color combinations and techniques to create a visually captivating final piece.
Conclusion
Drawing a broken heart allows you to explore emotions and express them through art. By following this step-by-step guide, you have learned how to draw a broken heart with precision and creativity. Remember to gather your materials, sketch the heart shape, add the broken line, refine the shape, add details and texture, and, optionally, add color to bring your broken heart to life. Have fun experimenting with different techniques and adding your own personal touch to your drawing. Happy creating!


