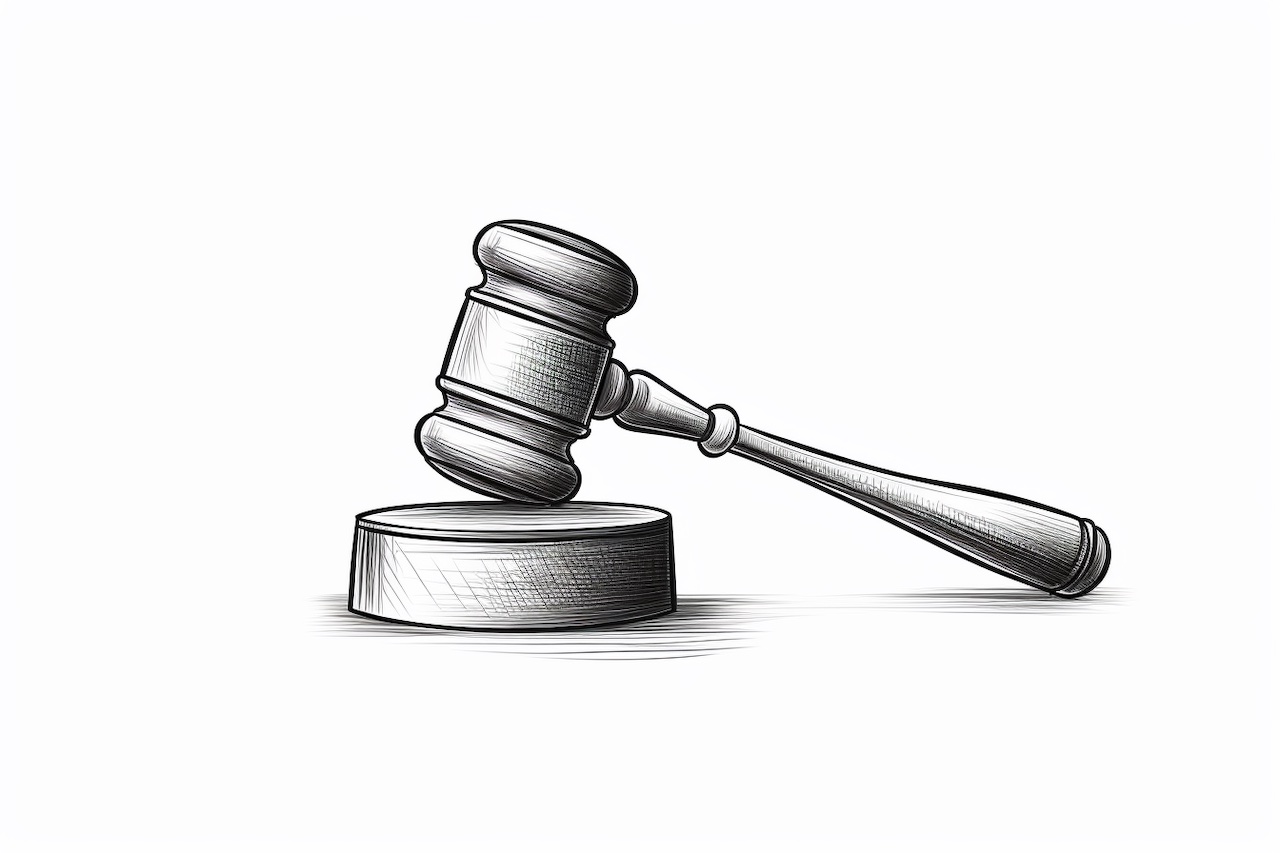
Welcome to this step-by-step guide on how to draw a gavel. Whether you’re an aspiring artist or just looking to improve your drawing skills, this tutorial will walk you through the process of creating a realistic and accurate representation of a gavel. So grab your pencils and let’s get started!
Materials Required
Before we begin, make sure you have the following materials handy:
- A pencil
- Drawing paper
- Eraser
- Ruler
- Fineliner or ink pen (optional)
- Colored pencils or markers (optional)
Now that you have all the necessary materials, let’s dive into the steps of drawing a gavel.
Step 1: Sketch the Overall Shape
Start by lightly sketching the overall shape of the gavel. Begin with a horizontal line, which will act as the base of the gavel. Then, draw a vertical line perpendicular to the base line to create the handle of the gavel. Ensure that the handle is slightly slanted towards the top.
Step 2: Add the Head of the Gavel
Next, draw a rectangular shape at the top of the handle to represent the head of the gavel. The head of a gavel is typically rectangular, so keep that in mind as you sketch. Make sure the head is proportionate to the handle and extends slightly beyond the handle on both sides.
Step 3: Refine the Shape
Now that you have the basic shape of the gavel, it’s time to refine the details. Use your ruler to straighten any uneven lines and ensure the handle and head of the gavel are symmetrical. Pay close attention to the angles and proportions, as these details will make your drawing look more realistic.
Step 4: Draw the Handle Details
Gavels typically have a distinct handle design. To capture this, sketch the details such as the grip lines on the handle. Start by drawing two parallel lines along the length of the handle, about one-third away from the top. Then, connect these lines with diagonal lines to create the grip texture. Remember to keep the lines light and avoid pressing too hard with your pencil.
Step 5: Outline the Head
Using firmer strokes, outline the head of the gavel to make it stand out. Start by tracing the outer edges of the rectangular shape. Make sure the corners are slightly rounded to avoid a sharp and rigid appearance. Also, define the top edge of the head by adding a subtle curve.
Step 6: Add the Striking Surface
Inside the head of the gavel, draw a smaller rectangular shape to represent the striking surface. This area is where the gavel hits when a judge or auctioneer uses it. Make sure the proportions are accurate, keeping the striking surface centered within the head of the gavel.
Step 7: Refine and Erase Guidelines
Now, take a step back and evaluate your drawing so far. Use your eraser to gently remove any unnecessary guidelines or rough sketch lines. Focus on the clean and refined outline of the gavel, ensuring all the details are clearly defined.
Step 8: Ink (Optional)
If you want to give your drawing a more defined and polished look, you can go over the final outline with a fineliner or ink pen. Be careful and steady with your strokes, as ink is not erasable. Once the ink has dried, you can carefully erase any remaining pencil marks.
Step 9: Add Shading and Details (Optional)
To add depth and dimension to your drawing, consider adding shading and extra details. Use your pencil or colored pencils/markers to create subtle shadows and highlights. Pay attention to the light source and add shading accordingly, creating a realistic 3D effect. You can also add some wood grain texture to the handle or a polished look to the head of the gavel.
Conclusion
Congratulations, you have successfully learned how to draw a gavel! By following these step-by-step instructions, you have created a detailed and accurate representation of this iconic symbol of authority. Keep practicing, experimenting with different materials and techniques, and soon you’ll be able to draw more complex objects with ease.
Remember, drawing is a skill that takes time and patience to develop, so don’t be discouraged if your first attempts aren’t perfect. With practice, you’ll continue to improve and refine your artistic abilities. Happy drawing!