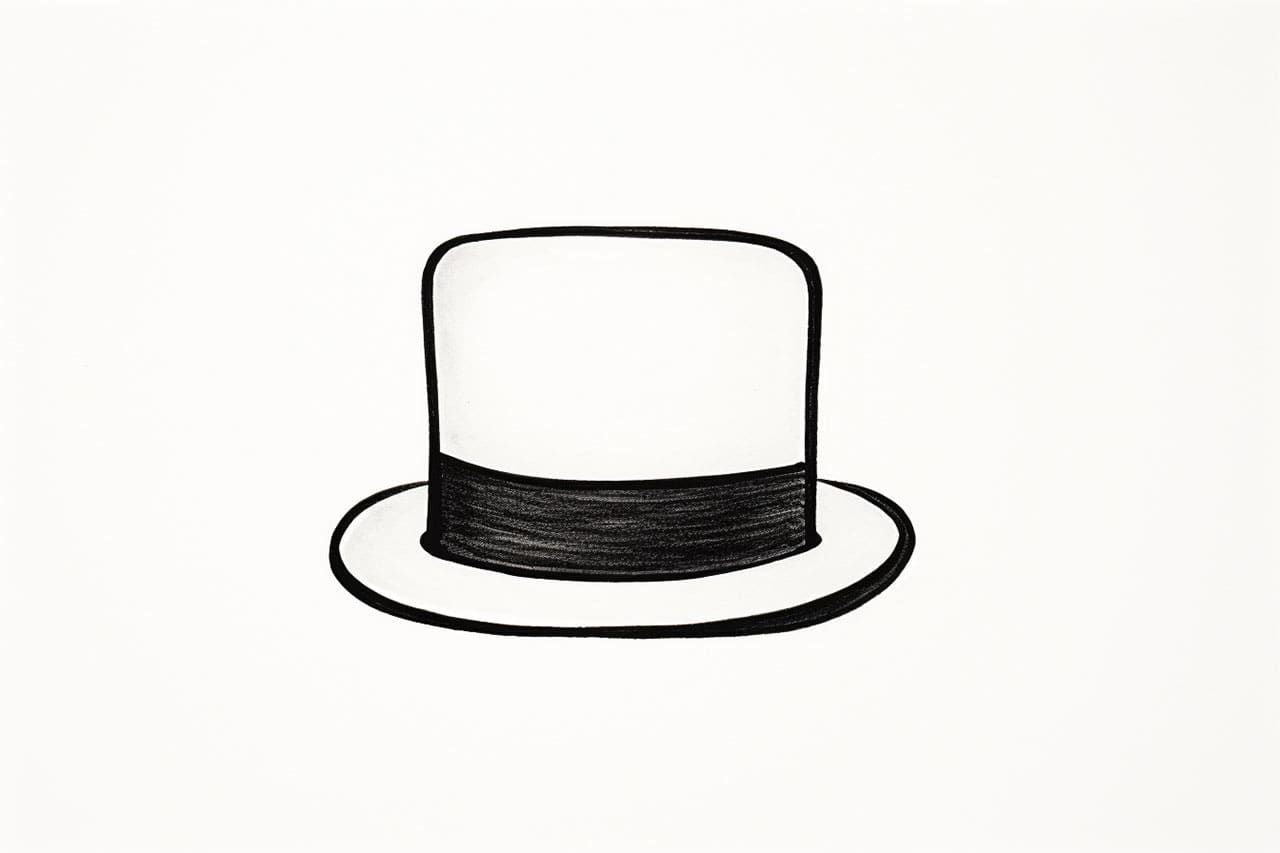
Welcome to this step-by-step guide on how to draw a top hat! Top hats are elegant and iconic accessories that have been worn for centuries. Whether you want to create a fashion illustration, a costume design, or simply enjoy sketching, this tutorial will teach you how to draw a top hat with ease. So grab your sketchbook and let’s get started!
Materials Required
Before we begin, make sure you have the following materials ready to go:
- Pencil: A medium-soft pencil, such as a 2B or 4B, will work great for this drawing.
- Eraser: Preferably a kneaded eraser, as it allows for easy correction and blending.
- Paper: Use a smooth-surfaced paper, like a drawing paper or sketchbook, that can handle shading and details.
Now that you have your materials ready, let’s dive into the steps of drawing a top hat!
Step 1: Draw the Crown
Start by drawing a vertical line that will be the center of the hat. To create the crown of the top hat, begin at the top of this line and draw a curved shape that slightly flares outwards as you move down. Imagine the shape of a cylinder, narrowing towards the top.
Step 2: Add the Brim
Now, we will add the brim of the top hat. Extend two horizontal lines from the bottom of the crown, creating a rectangular shape. The width of the brim is up to you, but keep in mind that wider brims often give the hat a more dramatic and stylish look.
Step 3: Refine the Shape
Take a moment to refine the shape of the crown and brim. Round out any sharp corners and make sure the lines flow smoothly. A top hat typically has a slight curve to the brim, so don’t be afraid to adjust the lines accordingly.
Step 4: Add Detail to the Crown
To add a touch of elegance to your top hat drawing, we will include some ribbon-like detailing around the crown. Start by drawing two horizontal lines near the top of the crown, leaving some space between them. Then, add vertical lines that connect these horizontal lines, creating a crisscross pattern. This will give the illusion of a ribbon encircling the crown.
Step 5: Refine the Ribbon Detail
Refine the ribbon detail by erasing any overlapping lines and making the pattern look seamless. The lines should be clean and crisp, following the shape of the crown.
Step 6: Shade the Hat
Now, let’s add some shading to give the top hat dimension. Begin by lightly shading the area beneath the brim to create a shadow. Then, darken the shadow slightly as you move towards the bottom of the brim. This will give the hat a three-dimensional appearance.
Step 7: Add a Band
To complete the look of your top hat, draw a band around the base of the crown. This band is typically made of fabric or leather and adds a final touch of refinement. Make sure the band is evenly placed and follows the shape of the crown.
Step 8: Final Touches
Take a moment to review your drawing and make any necessary adjustments. Add any additional details, such as a bow or decorative elements, if desired. Once you are satisfied with your drawing, go over the lines with a darker pencil or ink to make them stand out.
Conclusion
Congratulations! You have successfully learned how to draw a top hat. By following these step-by-step instructions, you can create a stylish and elegant top hat drawing. Remember to practice regularly to improve your skills and experiment with different variations and styles. Now, let your creativity shine and have fun drawing top hats!

