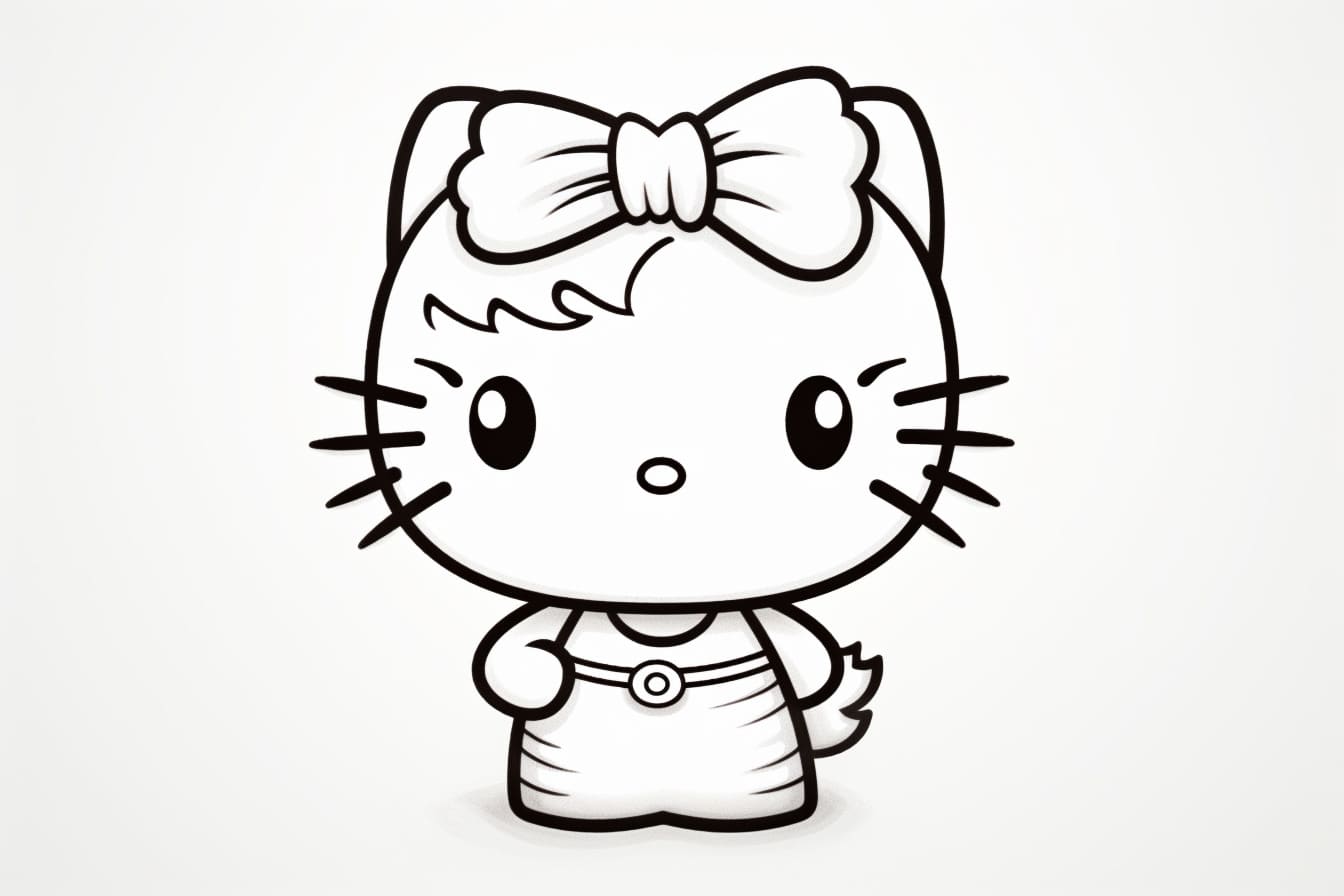
Are you a fan of Hello Kitty? Do you want to learn how to draw this adorable character? Well, you’re in luck! In this step-by-step guide, I’ll show you how to draw Hello Kitty from scratch. With a few simple techniques, you can create your very own Hello Kitty masterpiece. So grab your pencils and let’s get started!
Materials Required
Before we begin, make sure you have the following materials ready:
- Paper: You can use any type of paper, but a drawing paper or sketchbook is recommended.
- Pencils: A set of drawing pencils ranging from H to 6B will be handy. H pencils are lighter and produce lighter lines, while B pencils are darker and produce darker lines.
- Eraser: A good quality eraser will help you correct any mistakes or unwanted lines.
- Sharpener: Keep a pencil sharpener nearby to keep your pencils sharp throughout the drawing process.
Now that you have your materials ready, let’s start drawing Hello Kitty!
Step 1: Basic Shapes
To begin, we’ll start by drawing two intersecting circles. The bigger circle will form the head, and the smaller circle will be used for the body. Try to keep the circles proportionate.
Step 2: Face Details
Now, let’s add Hello Kitty’s facial features. Draw two small circles inside the head for the eyes. Leave a small gap between them. Then, draw a slightly bigger oval shape below the eyes for the nose. Finally, draw a small horizontal line for the mouth.
Step 3: Ears
Hello Kitty is known for her cute ears. To draw them, start by drawing two small curved lines on the top of the head, extending outwards from the circles. Then, connect the ends of these lines with a slightly curved line to form each ear.
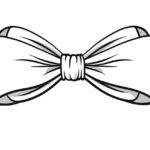
Step 4: Bow
One of Hello Kitty’s trademark accessories is her bow. Draw a bow shape right above the left ear. Begin with a small rectangle shape in the center, and then add two curved lines on each side to form the bow’s loops. Finally, add two small rectangles on each side of the bow for the ends.
Step 5: Whiskers and Eyes
Now it’s time to add some details to Hello Kitty’s face. Draw three small lines on each side of the nose to represent her whiskers. Next, draw two small circles inside the eyes to represent the pupils. Leave a small white dot inside each pupil to add a reflective highlight.
Step 6: Body and Arms
Let’s move on to Hello Kitty’s body. Draw a curved line connecting the head and body circles. Then, draw two short lines on each side of the body for the arms. These lines should start from the body circle and curve slightly outwards.
Step 7: Legs and Feet
Hello Kitty has cute little legs and feet. Draw two curved lines extending downwards from the body circle for the legs. Then, draw two small rectangular shapes at the end of each leg for the feet. Add a small line in the middle of each foot to represent the shoes.
Step 8: Tail
To complete Hello Kitty’s body, draw a small curved line extending outwards from the back of the body circle. This line will form her adorable little tail.
Step 9: Outline and Clean Up
Now that you have the basic structure of Hello Kitty, use a darker pencil (such as 2B or 4B) to outline your drawing. Pay attention to the curves and details, and make sure everything looks smooth and accurate. Erase any unwanted lines or guidelines.
Step 10: Coloring
Finally, it’s time to bring Hello Kitty to life with some colors! You can use colored pencils, markers, or even watercolors to color your drawing. Start by coloring Hello Kitty’s bow in red or any color of your choice. Then, color her nose and shoes in yellow. For her eyes, use black or dark gray. Feel free to experiment and get creative with the colors!
Congratulations, you have successfully drawn Hello Kitty! With practice and patience, you can improve your drawing skills and create even more amazing artwork.
Conclusion
Drawing Hello Kitty is a fun and rewarding activity. By following these step-by-step instructions, you can easily create your very own Hello Kitty masterpiece. Remember to start with basic shapes, add the facial features, and then move on to the body and details. Don’t forget to use the right materials and colors to enhance your drawing. Keep practicing, and soon you’ll be able to draw Hello Kitty with ease. So go ahead, grab your pencils, and let your creativity shine!