Welcome to this step-by-step guide on how to draw a trick-or-treat bag! Whether you’re preparing for Halloween or simply want to practice your drawing skills, this tutorial will walk you through the process of creating a fun and spooky design. By following these easy steps, you’ll be able to bring your own personalized trick-or-treat bag to life on paper. So grab your art supplies, and let’s get started!
Materials Required
Before we dive into the drawing process, make sure you have the following materials on hand:
- Paper: Choose a sturdy paper that can handle different drawing tools.
- Pencil: Use a regular HB pencil for sketching and creating guidelines.
- Eraser: Have a good-quality eraser to make corrections and remove unwanted lines.
- Fine-tip black marker: This will outline and add details to your drawing.
- Colored pencils or markers: Select your preferred coloring tools to bring your trick-or-treat bag to life.
Now that you have all your materials ready, let’s start drawing!
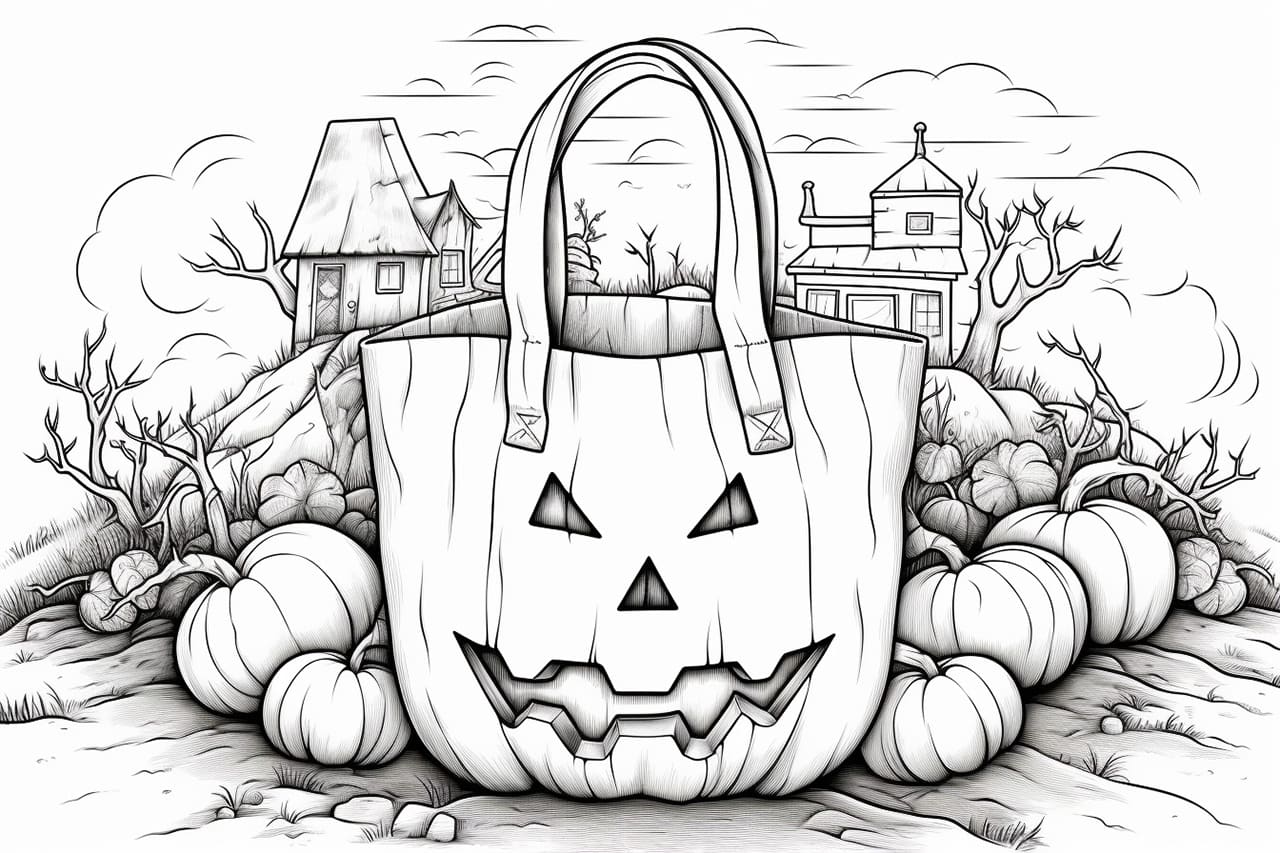
Step 1: Draw the Outline of the Bag
Begin by sketching a horizontal rectangle in the center of your paper. This will serve as the main body of the trick-or-treat bag. Make sure to leave some space around the rectangle for additional design elements.
Step 2: Add Handles
Extend two slightly curved lines from the top corners of the rectangle to create the bag’s handles. These lines should curve outward and connect to the sides of the bag.
Step 3: Shape the Top of the Bag
Draw a curved line connecting the top corners of the rectangle. This will give the bag a rounded opening. Make the curve slightly wider at the center and narrower towards the handles.
Step 4: Create the Bottom of the Bag
At the bottom of the rectangle, draw another curved line that mirrors the shape of the top curve. This completes the shape of the trick-or-treat bag.
Step 5: Draw the Details
To make the bag look more realistic, let’s add some details. Start by drawing a horizontal line near the top of the bag, just below the handles. This line represents the fold-over flap of the bag. Make sure it follows the curve of the bag.
Step 6: Add a Buckle
Draw a rectangular shape on the top center of the bag’s flap. This will serve as the buckle. Add a smaller rectangle within the first one to create the buckle’s latch. Feel free to embellish the buckle with additional details if you like.
Step 7: Sketch Candy and Treats
Now it’s time to fill your trick-or-treat bag with candy and treats! Start by drawing various shapes inside the bag, representing different types of candies. Use your imagination and experiment with different sizes and colors.
Step 8: Outline Your Drawing
Once you’re satisfied with the placement of the candies and treats, go over your pencil lines using a fine-tip black marker. This will make your drawing more defined and ready for coloring.
Step 9: Color Your Drawing
Now comes the fun part – coloring! Use your chosen colored pencils or markers to bring your trick-or-treat bag to life. You can follow a traditional Halloween color scheme with oranges, blacks, and purples, or let your creativity shine with your own unique color choices. Experiment with shading and blending techniques to add depth and dimension to your drawing.
Step 10: Add Shadows and Highlights
To make your trick-or-treat bag really pop, consider adding some shadows and highlights. Use a darker shade of the base color to create shadows in areas where the bag folds or overlaps. Add lighter shades or white highlights to areas that catch the light. This will give your drawing a sense of realism and make it appear more three-dimensional.
Conclusion
Congratulations! You’ve successfully drawn a trick-or-treat bag from scratch. With just a few simple steps, you’ve created a fun and spooky design that’s ready for Halloween. Remember to have fun with your drawing and let your imagination run wild. Feel free to experiment with different colors, designs, and even additional Halloween-themed elements to make your trick-or-treat bag truly unique. Happy drawing!