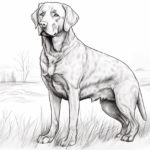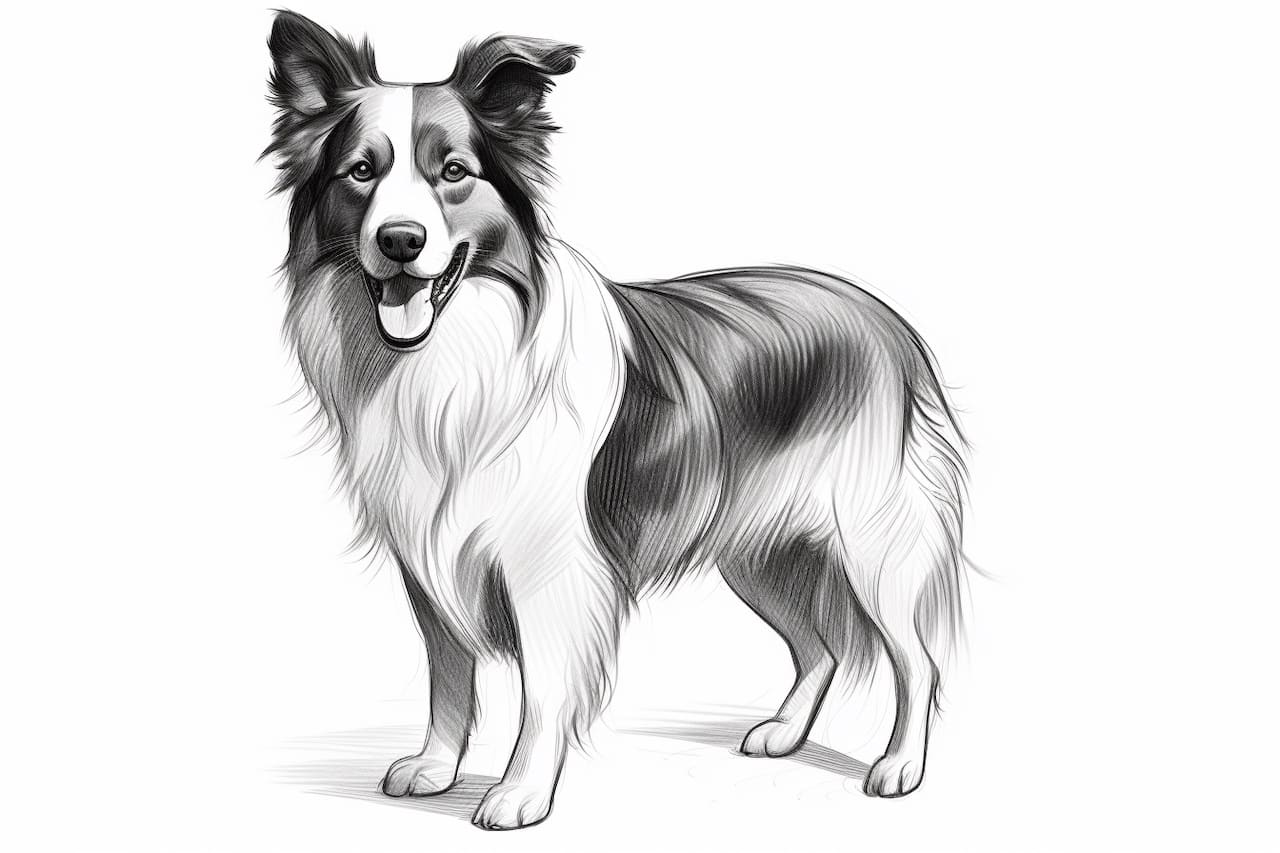
The Border Collie is a highly intelligent and energetic dog breed known for its agility and herding abilities. If you are a dog lover and want to capture the beauty of this breed on paper, this step-by-step guide will help you draw a Border Collie with ease.
Before we begin, let’s gather the materials you’ll need:
- Paper: Use a smooth and sturdy paper that is suitable for drawing.
- Pencils: Get a variety of pencils in different hardness grades, such as HB, 2B, 6B, and 8B.
- Eraser: Use a kneaded eraser or a soft eraser to correct any mistakes.
- Blending Tool: A blending stump or a tortillon can be used to create smooth shading.
Now that you have your materials ready, let’s dive into the step-by-step process of drawing a Border Collie.
Step 1: Outline the Head and Body
Start by drawing a rough circle for the head of the Border Collie. Then, add a rectangular shape below the head for the body. Connect the head and body with a curved line to establish the neck.
Step 2: Sketch the Facial Features
Within the head circle, draw two intersecting lines to create guidelines for the eyes and nose placement. Using these guidelines, draw the eyes as two oval shapes, slightly slanted downwards. Add a triangular shape for the nose and a curved line for the mouth.
Step 3: Define the Ears and Hair
Border Collies have distinctive ears that stand erect. Draw two triangles on top of the head circle to represent the ears. Then, add some texture by drawing small lines within the ears to indicate fur. Extend the hairline around the head and body, giving the dog its characteristic fluffy appearance.
Step 4: Outline the Legs and Tail
Use simple curved lines to draw the front and hind legs of the Border Collie. Don’t forget to include the paws by adding small ovals at the end of each leg. For the tail, draw a long curved line extending from the back of the body with a slight curl at the end.
Step 5: Add Details to the Face
Refine the facial features by adding more details. Draw the iris and pupil within the eyes, along with some light lines to indicate the reflection. Add a smaller triangle within the nose to separate the nostrils. Sketch some fur lines around the face to add depth and texture.
Step 6: Define the Body Shape
To create a realistic appearance, start defining the shape of the body by adding muscles and contours. Use curved lines to indicate the shoulder, chest, and hindquarters. Pay attention to the natural curves and angles of the Border Collie’s body.
Step 7: Refine the Fur Texture
Border Collies have a thick double coat, so it’s important to capture the texture of their fur. Use short, quick strokes with a softer pencil (such as 6B or 8B) to draw the hair. Start from the base and gradually build up the layers, paying attention to the direction of the fur growth.
Step 8: Shade and Add Depth
To give your drawing depth and dimension, apply shading. Identify the light source and shade the darker areas accordingly. Use a blending stump or tortillon to blend the shading and create smooth transitions between light and dark areas.
Conclusion
Congratulations! You have successfully learned how to draw a Border Collie. By following these step-by-step instructions, you have captured the essence of this intelligent and energetic breed on paper. Remember to practice regularly and experiment with different techniques to further enhance your skills in drawing dogs.
Tags: draw a dog, dog drawing tutorial, art instruction, Border Collie drawing, how to draw animals