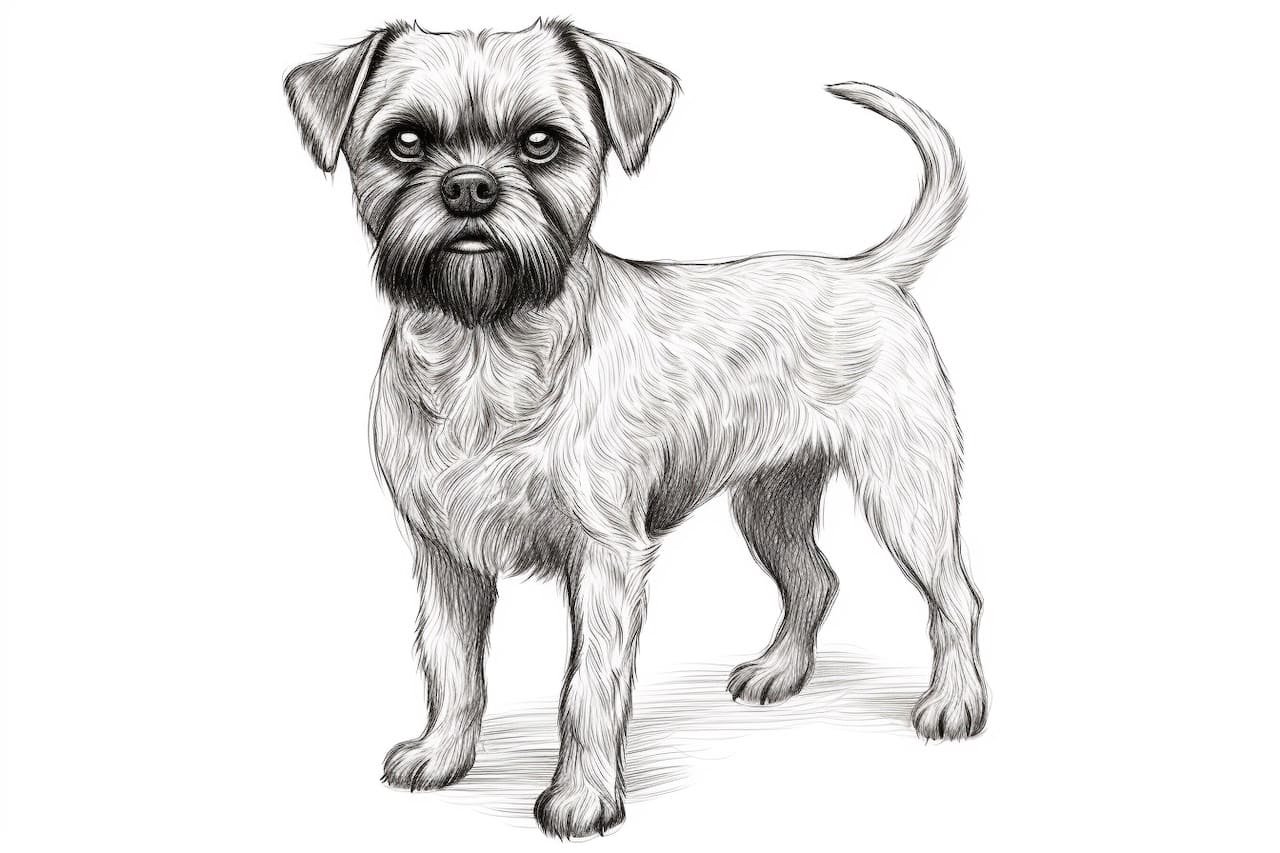
Welcome to this step-by-step guide on how to draw a Border Terrier. Whether you’re a beginner or an experienced artist, this tutorial will help you capture the unique and charming characteristics of this adorable dog breed. By following these simple instructions, you’ll be able to create a lifelike representation of a Border Terrier on paper, bringing it to life with your artistic skills.
Materials Required:
Before we begin, let’s gather all the materials you’ll need to complete this drawing:
- Drawing paper – Choose a smooth and sturdy paper that can handle pencils and erasers without tearing or smudging easily.
- Pencils – Use a range of graphite pencils, such as HB, 2B, 4B, and 6B, to achieve different levels of shading and detailing.
- Erasers – Have a kneaded eraser and a regular eraser on hand to correct or lighten any mistakes.
- Pencil sharpener – Keep your pencils sharp to achieve finer lines and details.
- Reference photo – Find a clear, high-resolution photo of a Border Terrier to use as a reference throughout the drawing process.
- Optional: Drawing board or clipboard – These can provide a stable surface to work on and prevent your paper from moving.
Now that we have everything we need, let’s get started on drawing our Border Terrier!
Step 1: Basic Shapes
Begin by lightly sketching the basic shapes that form the foundation of the Border Terrier’s body. Start with an oval shape for the head, a larger oval for the body, and a smaller oval for the rear end. These shapes will serve as a guide for the proportions and overall structure of the dog.
Step 2: Sketch the Head and Muzzle
Using the oval shape as a reference, sketch the outline of the head, keeping it slightly wider at the top. Add a smaller oval shape in the middle of the head to represent the muzzle. Pay attention to the angle and size of the muzzle, as it varies between individual dogs.
Step 3: Add Ears and Eyes
Next, draw two triangular shapes on either side of the head to form the dog’s ears. Border Terriers have small, V-shaped ears that sit high on their heads. Place them slightly above the level of the eyes. For the eyes, draw two almond-shaped ovals just below the top of the head, ensuring they are proportionate to the size of the muzzle and spaced evenly apart.
Step 4: Outline the Body and Legs
Extend the body shape by adding a curving line from the head to the rear end, creating the back and belly of the Border Terrier. Then, sketch four cylindrical shapes for the legs, making sure to position them in proportion to the body. Remember that the front legs are slightly shorter than the back legs, as the body is angled.
Step 5: Define the Face and Features
Refine the shape of the head by adding more definition and detail. Outline the snout, paying attention to the length, width, and curvature. Draw a rounded shape at the end of the snout for the dog’s nose, and add a small dot for the nostril. Next, give the Border Terrier its characteristic expression by carefully drawing the eyes, eyebrows, and a tiny curved line for the mouth.
Step 6: Add Fur Texture and Details
To create a realistic representation of the Border Terrier’s wiry fur, lightly add short, directional strokes all over the body. Pay attention to the direction of the fur growth, which typically follows the contours of the body. Gradually build up the depth and texture by layering more strokes, particularly around the face and ears.
Step 7: Refine the Body and Legs
Now it’s time to refine the shape and details of the body and legs. Use your reference photo to observe the muscle structure and proportions. Pay attention to the curves and angles of the legs, and add more definition by carefully shading and contouring as needed.
Step 8: Final Touches and Cleanup
Take a step back and assess your drawing so far. Make any necessary corrections or adjustments to ensure the proportions and details are accurate. Erase any unnecessary guidelines or sketch lines that are no longer needed. Use darker pencils to add more depth and shading in areas that require more contrast or shadowing.
Conclusion
Congratulations! You have successfully learned how to draw a Border Terrier. By following this step-by-step guide and practicing your drawing skills, you can create stunning illustrations of this charming dog breed. Remember to take your time, observe the unique features of the Border Terrier, and have fun with your artwork. Happy drawing!