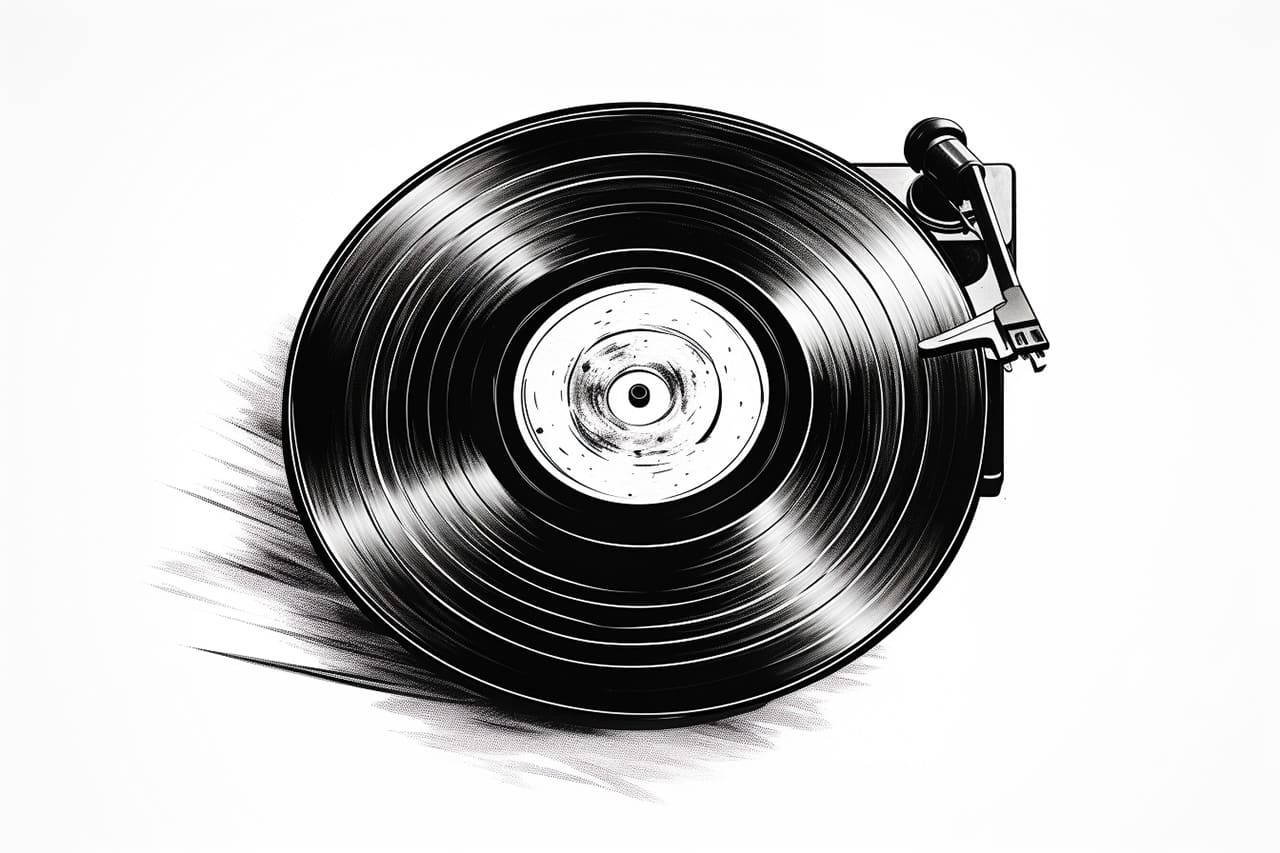
Have you ever wanted to create your own illustration of a record? Whether you’re a music lover or an art enthusiast, drawing a record can be a fun and rewarding experience. In this article, I will guide you through the step-by-step process of drawing a record. By following these instructions, you will be able to bring your own personal touch to this iconic object.
Materials Required
Before we begin, make sure you have the following materials handy:
- Drawing paper or sketchbook
- Pencil
- Eraser
- Fine liner or pen
- Ruler
- Compass
- Protractor
- Colored pencils or markers (optional)
- Reference image of a record (optional)
Now that you have your materials ready, let’s dive into the step-by-step process of drawing a record.
Step 1: Draw the Main Circle
Start by drawing a large circle in the center of your paper. You can use a compass to achieve a perfect circle, or you can freehand it if you prefer a more organic look. The size of the circle will depend on your preference, but try to make it relatively large to capture the details in the following steps.
Step 2: Add the Inner Circle
Inside the main circle, draw a smaller circle. This inner circle will represent the label of the record. Use your compass or a smaller circular object to help you create a neat and symmetrical shape. Make sure the inner circle is positioned in the center of the main circle.
Step 3: Divide the Inner Circle
To give the record a more authentic look, divide the inner circle into equal sections. You can use a protractor to measure and mark the angles, or you can estimate them by eye. Aim for at least six sections, but you can add more if you want a more detailed design.
Step 4: Draw the Grooves
Now it’s time to add the grooves to your record. Start by drawing a small curve from the outer edge of the inner circle to the outer edge of the main circle. Repeat this process, spacing the grooves evenly around the record. The number of grooves will depend on the number of sections you created in the previous step.
Step 5: Add Details to the Label
Next, let’s focus on the label of the record. Draw a smaller circle inside the inner circle to represent the center hole of the record. Add a ring around the center hole, giving it a textured appearance to resemble the record’s label. You can achieve this texture by drawing small dots or short lines.
Step 6: Draw the Record Sleeve
To complete the drawing, let’s add a record sleeve. Start by drawing a rectangle beneath the record, extending it slightly beyond the edges of the record. Then, add another rectangle on top of the first one, leaving a small gap in between. This will create the illusion of the record sleeve.
Step 7: Refine and Ink
Now that you have the basic structure of the record, take a step back and assess your drawing. Make any necessary adjustments to ensure everything looks balanced and proportionate. Once you’re satisfied with the sketch, use a fine liner or pen to ink over the lines, making them bold and defined. Let the ink dry completely before erasing any unnecessary pencil lines.
Step 8: Add Color (Optional)
If you want to add some color to your drawing, now is the time to do so. Use colored pencils or markers to bring your record to life. You can choose traditional vinyl record colors like black or experiment with vibrant tones. Fill in the label, grooves, and record sleeve with your chosen colors, and don’t forget to add shading for more depth and dimension.
Conclusion
Congratulations! You have successfully learned how to draw a record. I hope you enjoyed this step-by-step guide and found it helpful in creating your own record illustration. Now you can showcase your artistic skills or even create custom album covers. Remember, practice makes perfect, so don’t hesitate to try drawing more records in different styles and perspectives. Have fun and let your creativity spin!