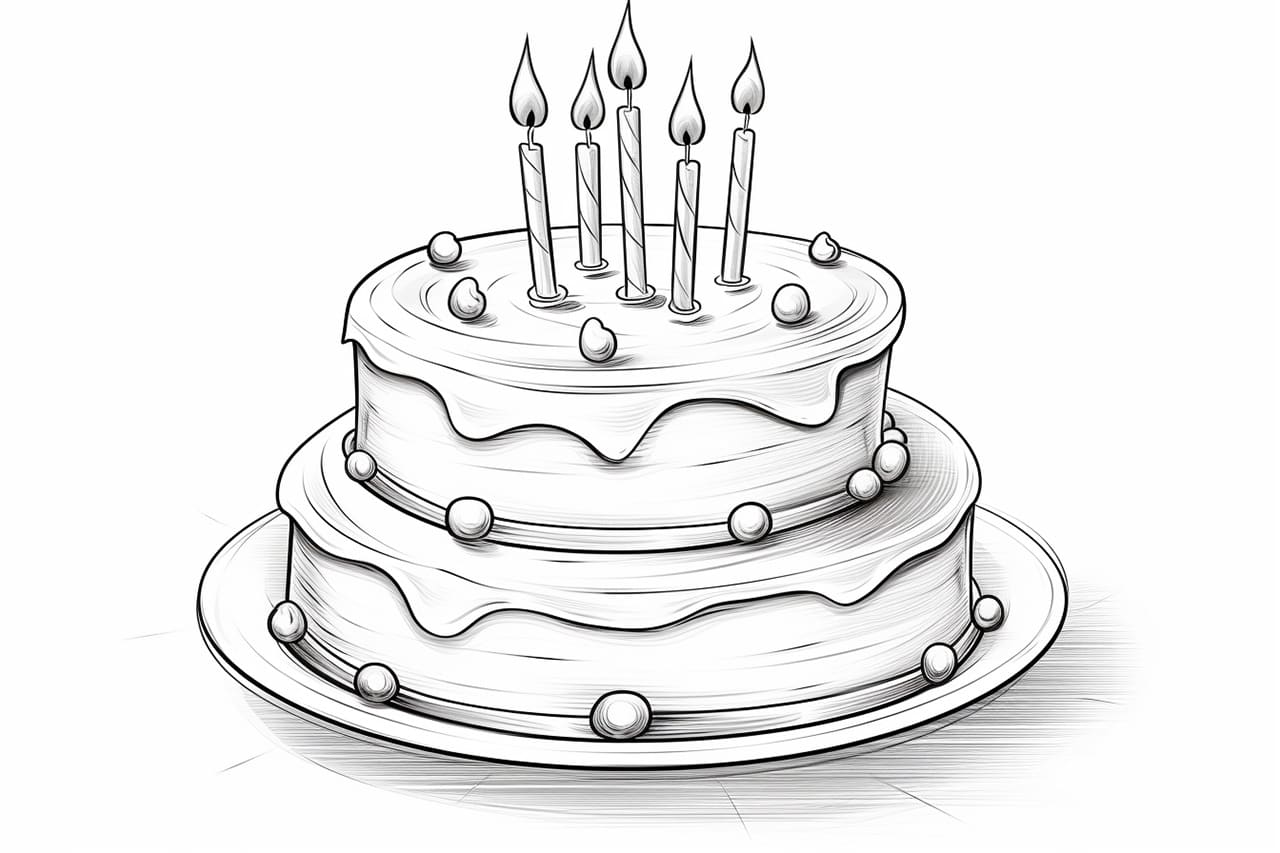
Are you looking to add a personalized touch to your loved one’s birthday celebration? Drawing a birthday cake is a thoughtful and creative way to create a unique gift or card. Whether you’re an experienced artist or just starting out, this step-by-step guide to how to draw a birthday cake will help you create a drawing that will bring joy to anyone’s special day.
Materials Required
Before we dive into the steps, it’s important to gather the necessary materials to ensure a successful drawing. Here’s what you’ll need:
- Pencil: A high-quality graphite pencil will allow you to create precise lines and add shading when needed.
- Eraser: Choose a soft eraser that won’t damage your paper and will easily remove any mistakes.
- Paper: Select a smooth, heavyweight paper that is suitable for drawing. A sketchbook or drawing paper pad works well.
- Colored pencils or markers (optional): To add color to your birthday cake drawing, have some colored pencils or markers on hand. These can be used to fill in the cake and decorations.
Now that you have your materials ready, let’s get started on drawing a birthday cake!
Step 1: Sketch the Shape of the Cake
Begin by lightly sketching the basic shape of the cake using your pencil. Start with a rectangular shape as the base of the cake. You can make it as tall or short as you like, depending on your preference. Remember, this is just the framework, so don’t worry about making it perfect at this stage.
Step 2: Add the Layers
Next, we’ll add the layers to our cake. Draw two more rectangular shapes on top of the base layer, decreasing in size as you move up. These layers represent the different tiers of the cake. Make sure the edges of the layers align with the base layer to create a cohesive look.
Step 3: Draw the Frosting
Now it’s time to add some delicious frosting to your cake drawing. Start by drawing curved lines along the top edges of each layer, representing the frosting on the sides. Then, add another set of curved lines on the top edges of the layers to depict the icing on the top.
Step 4: Decorate the Cake
Let’s make our birthday cake even more exciting by adding decorations! You can get creative here and choose any design you like. Here are a few ideas to help you get started:
- Candles: Draw a few candles on top of the cake. Use straight lines for the candle bodies and small circles for the flames.
- Sprinkles: Add some sprinkles by drawing small dots all over the frosting. You can use different colors to make them more vibrant.
- Flowers: Create a festive mood by drawing some flowers on the cake. Use curved lines to make simple petal shapes and add a circle in the center.
Feel free to personalize your cake with any other decorations you can think of. Remember, this is your creation, so have fun with it!
Step 5: Add Details and Shadows
To give your cake drawing depth and dimension, it’s important to add details and shadows. Start by adding small lines to represent the folds and creases in the frosting. This will make it look more realistic. Then, darken some areas of the frosting with your pencil to create shadows where the light wouldn’t reach.
If you’re using colored pencils or markers, this is the time to add color to your drawing. Experiment with different shades and blending techniques to make your cake come to life.
Step 6: Clean Up and Finalize
Take a step back and assess your drawing. Use your eraser to clean up any stray marks or mistakes that may have occurred during the process. Pay attention to the edges of the cake and make sure they are clean and well-defined.
Once you’re satisfied with your drawing, you can optionally add a background or any additional elements to enhance the overall composition.
Conclusion
Drawing a birthday cake is a wonderful way to show your creativity and thoughtfulness. By following these step-by-step instructions, you can create a beautiful and personalized birthday cake drawing that will make someone’s special day even more memorable.
Remember to have fun and experiment with different designs and colors. With practice, you’ll be able to create stunning birthday cake drawings that will be cherished by your loved ones for years to come.
So go ahead, grab your materials, and let your artistic skills shine as you create a delightful birthday cake drawing!

