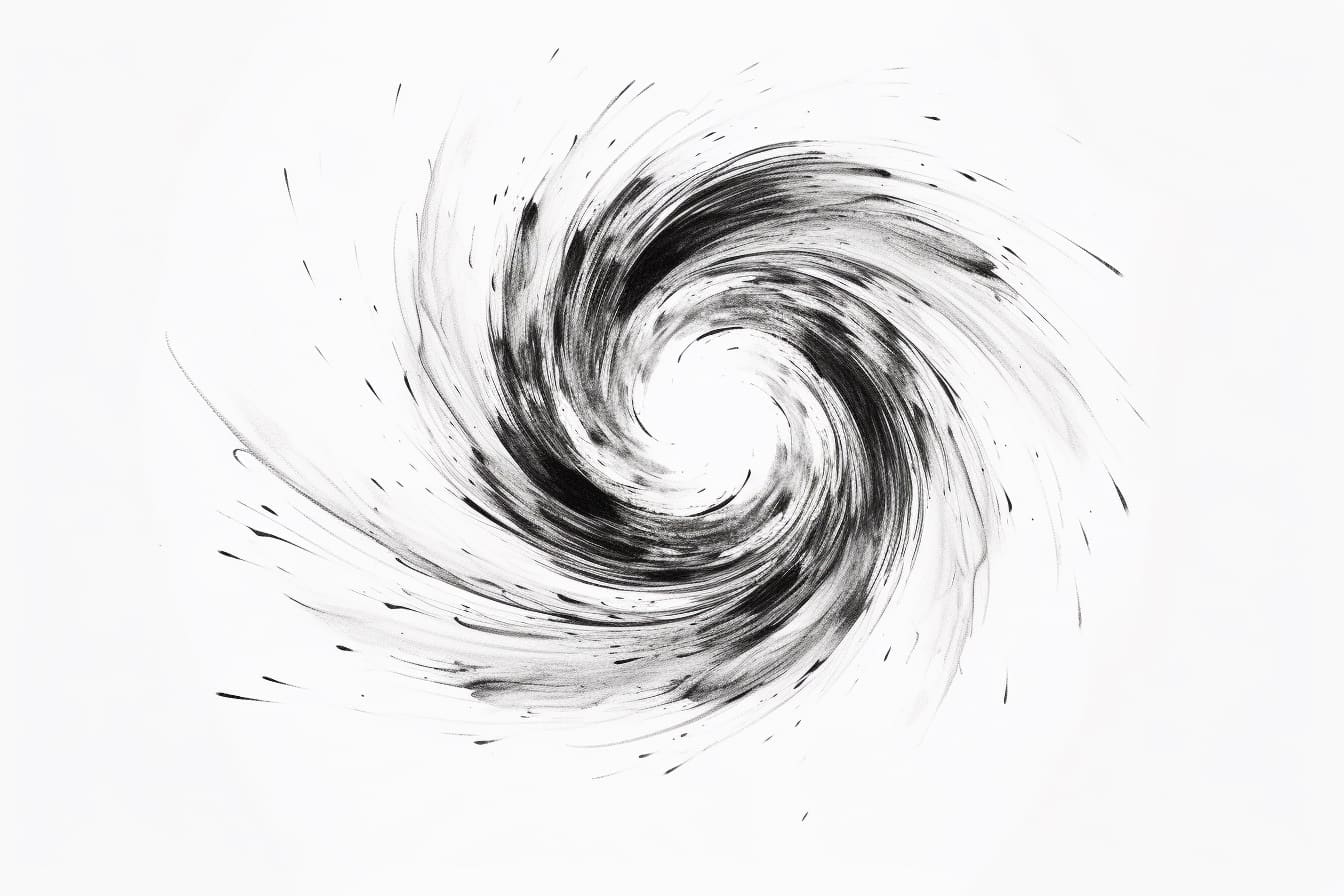
Welcome to this step-by-step guide on how to draw a vortex! Whether you are new to drawing or an experienced artist looking to explore new techniques, creating a vortex can be a fun and creative project. In this article, I will provide clear and concise instructions on how to draw a captivating vortex. So grab your materials, unleash your imagination, and let’s get started!
Materials:
To create your vortex drawing, you will need the following materials:
- 1 sheet of drawing paper or sketchbook
- Pencil
- Eraser
- Fine-tip black marker or pen
- Colored pencils or markers (optional)
Step 1: Plan Your Composition
Before diving into the actual drawing, take a few moments to plan your composition. Visualize the size and position of your vortex on the paper. Consider how much space you want the vortex to occupy and where you would like it to be placed. This initial planning will help you achieve a balanced and aesthetically pleasing result.
Step 2: Drawing the Core
Start by drawing a small circle in the center of your paper. This will be the core of your vortex. Use a light pencil so that you can easily erase any mistakes or guideline marks later on. The size of the core will determine the overall scale of your drawing, so adjust it according to your preference.
Step 3: Adding the First Set of Spirals
From the center of the core, imagine lines radiating outward like a star. These lines will serve as guidelines for the spirals. Begin drawing curved lines that start at the edge of the core and gradually get bigger as they move outward. These lines should maintain a consistent distance apart, creating a spiral-like effect. Repeat this process until you have completed the first set of spirals.
Step 4: Building the Layers
To make your vortex more dynamic, we will add additional layers of spirals. Start by drawing a second set of spirals, following the same pattern as before, but slightly bigger in size. These spirals should overlap with the first set, creating a sense of depth. Continue this process by adding more layers, with each subsequent layer being larger than the previous one. Aim for at least three layers to give your vortex a more intricate appearance.
Step 5: Refining the Shape
At this stage, your vortex may look rough and unfinished. To refine the shape and make it more polished, go over the pencil lines with a fine-tip black marker or pen. Trace along the outer edges of the spirals, making them bold and distinct. Take your time and be precise with your lines, ensuring that the overall shape of the vortex is clean and well-defined.
Step 6: Creating Texture
To give your vortex drawing more depth and texture, consider adding some shading. Use your pencil or colored pencils/markers to create shading effects within the spirals. Start by adding darker shades to the innermost part of the vortex and gradually lighten the shading as you move outward. This technique will enhance the 3D illusion of your drawing and make it more visually interesting.
Step 7: Adding Details
To further enhance your vortex drawing, you can add some details or embellishments. Consider incorporating small dots, circles, or patterns within the spirals to create a unique and intricate design. Experiment with different patterns and textures to make your vortex truly stand out.
Step 8: Erasing Guidelines
Now that your drawing is complete, carefully erase any remaining pencil guidelines or unwanted marks. Use a gentle touch to avoid smudging or damaging your drawing.
Step 9: Adding Color (Optional)
If you prefer a colorful vortex, you can use colored pencils or markers to add vibrant hues to your drawing. Consider using a gradient effect, starting with darker colors at the center and gradually transitioning to lighter shades as you move outward. Experiment with different color combinations to create a visually captivating vortex.
Conclusion:
Congratulations! You have successfully learned how to draw a vortex from start to finish. By following these step-by-step instructions, you have created a captivating and visually appealing vortex drawing. Remember, drawing is a form of self-expression, so feel free to add your personal touch and explore different variations of the vortex. Happy drawing!

