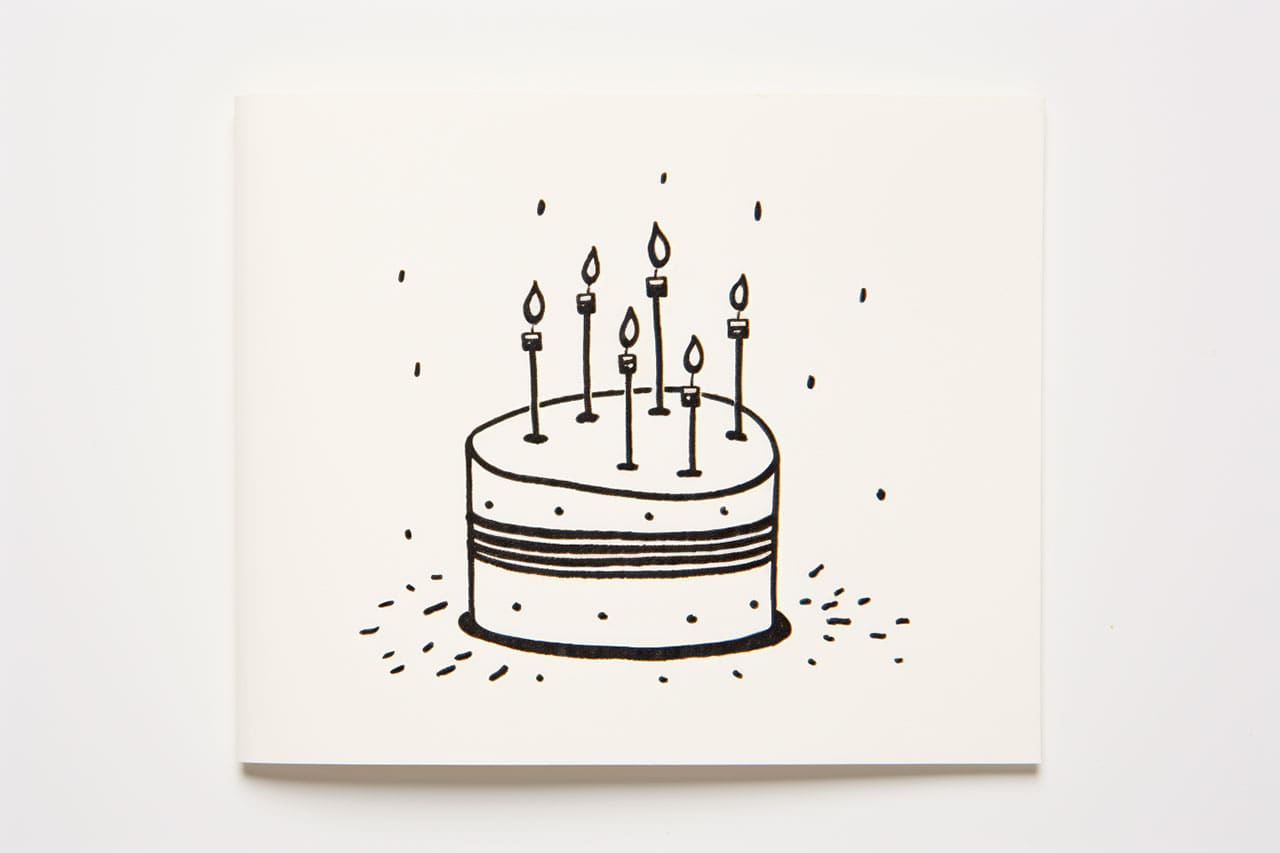
Welcome to this step-by-step guide on how to draw a birthday card! Whether you’re a beginner or an experienced artist, creating a personalized birthday card is a wonderful way to show someone special that you care. In this article, I will guide you through the process of drawing a birthday card from start to finish.
Materials Required
Before we get started, gather the following materials:
- A blank sheet of paper or a pre-folded card
- Pencil with eraser
- Fine-tip black marker or pen
- Colored pencils or markers
- Ruler (optional)
- Decorative elements like stickers or ribbon (optional)
Now that you have everything you need, let’s begin!
Step 1: Choose a Theme or Design
Think about the recipient’s interests and preferences. Are they a fan of animals, flowers, or sports? Do they have a favorite color? Select a theme or design that reflects their personality or captures the essence of what they enjoy. This will make the birthday card more meaningful and personalized.
Step 2: Plan the Layout
Before drawing, consider the placement of different elements on the card. Divide the card into sections and decide where you want to place the main image, any text, and additional decorations. This will help ensure a balanced and visually pleasing composition.
Step 3: Sketch the Main Image
Start by lightly sketching the main image or focal point of your birthday card. If you’re unsure about drawing freehand, you can use references or trace an image to get started. Don’t worry too much about details at this stage; focus on getting the basic shapes and proportions right.
Step 4: Add Details and Features
Once you’re satisfied with the overall shape of the main image, gradually add more details and features. Pay attention to the smaller elements that will bring your drawing to life. Use your pencil to create texture, shading, or any other desired effects.
Step 5: Outline the Drawing
Once you’re happy with the sketch, it’s time to outline the drawing with a black marker or pen. This will make your artwork more defined and bold. Carefully trace over the pencil lines, giving your drawing a clean and professional look.
Step 6: Erase Guidelines
After outlining, use an eraser to remove any visible pencil guidelines. Be gentle to avoid smudging the ink. This step is important to ensure that your finished birthday card looks polished and neat.
Step 7: Color it Up!
Now comes the fun part – coloring your drawing! Use colored pencils or markers to add vibrant and eye-catching hues to your birthday card. Consider the color scheme you selected earlier and use it to guide your choices. Remember to blend and layer colors for depth and texture.
Step 8: Add Text and Wishes
Consider adding a heartfelt message or birthday wishes to your card. You can use a marker or pen to write directly on the card or create a separate piece of paper that can be attached. Experiment with different fonts and styles to make your text visually appealing.
Step 9: Decorate and Personalize
To make your birthday card even more special, you can add decorative elements such as stickers, ribbons, or glitter. These extra touches will enhance the overall appearance and make the card more unique to the recipient.
Conclusion
Congratulations! You’ve successfully learned how to draw a birthday card. By following these step-by-step instructions and adding your own personal touch, you’ve created a one-of-a-kind greeting card that is sure to bring joy to the birthday celebrant. Have fun exploring different themes and designs to create memorable and thoughtful cards for your loved ones.

