Welcome to this step-by-step guide on how to draw an Arctic fox! In this article, we will explore the process of capturing the beauty and elegance of this majestic creature on paper. Whether you are a beginner or an experienced artist, these instructions will enable you to create a stunning representation of an Arctic fox. So grab your drawing materials and let’s get started!
Materials Required
To begin, gather the following materials:
- Drawing paper
- Pencil (preferably HB or 2B)
- Eraser
- Fine-tip black pen (optional)
- Colored pencils or markers (optional)
Make sure you have a comfortable and well-lit workspace. Now, let’s dive into the steps!
Step 1: Basic Shape of the Head
Start by drawing a large, round shape that will serve as the head of the Arctic fox. Make sure to leave enough space on the paper for the body and tail as well.
Step 2: Facial Features
Within the head shape, outline two circular eyes. Add a small, triangular shape for the nose and a curved line for the mouth. Remember to keep these features relatively small in proportion to the head.
Step 3: Ears and Fur
On top of the head, draw two pointy ears that sit upright. Add some fur details around the edges of the ears to make them look more realistic. Keep the lines light and feathery to mimic the softness of the fox’s fur.
Step 4: Body and Tail
Extend a curved line from the head to create the back of the Arctic fox. Add another curved line beneath the head to form the chest area. Now, draw a long, fluffy tail that curves gently at the end. Use quick, light strokes to depict the fur texture.
Step 5: Legs and Paws
Sketch four legs extending from the body. Make the front legs slightly shorter and thicker than the hind legs. Add small ovals at the end of each leg to represent the paws.
Step 6: Facial Details
Refine the facial features by adding more details. Draw a small oval inside each eye for the pupils. Add some fur lines around the eyes and the bridge of the nose. Enhance the mouth by adding a line for the lower lip and a small curve for the tongue.
Step 7: Fur Texture
To create the illusion of fur, lightly add gentle curved lines throughout the body and tail. These lines should follow the contours of the fox’s shape. Pay special attention to the tail, where the fur tends to be longer and more pronounced.
Step 8: Finalizing the Outline
Review your drawing and make any necessary adjustments. Erase any stray lines or guidelines that are no longer needed. Once you are satisfied with the overall appearance, darken the lines using a pencil or fine-tip black pen.
Step 9: Adding Depth and Shadows
To give your Arctic fox drawing more depth, use shading techniques. Identify the light source and imagine where the shadows would fall. Shade the areas that are farthest from the light source, such as the underside of the body, the chest, and the inner part of the ears. Gradually build up the shading, starting with light strokes and gradually increasing the pressure for darker areas.
Step 10: Coloring (Optional)
If you wish to add color to your drawing, use colored pencils or markers. Arctic foxes have a predominantly white or creamy coat with hints of gray, black, and brown. Start by layering light colors and gradually build up to darker shades. Pay attention to the fur texture while coloring, using short, feathery strokes to mimic the appearance of fur.
Conclusion
Congratulations! You have successfully completed your Arctic fox drawing. By following these step-by-step instructions, you have learned how to capture the beauty and grace of this remarkable animal. Remember, practice makes perfect, so don’t hesitate to attempt this drawing multiple times to further refine your skills. Enjoy the process and have fun expressing your creativity!
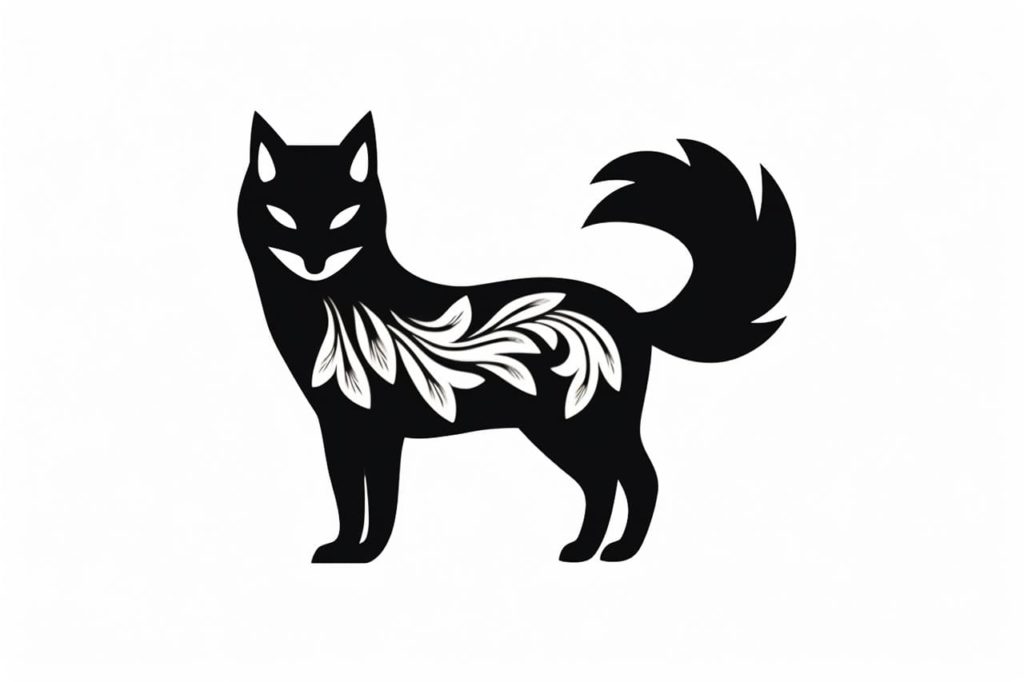
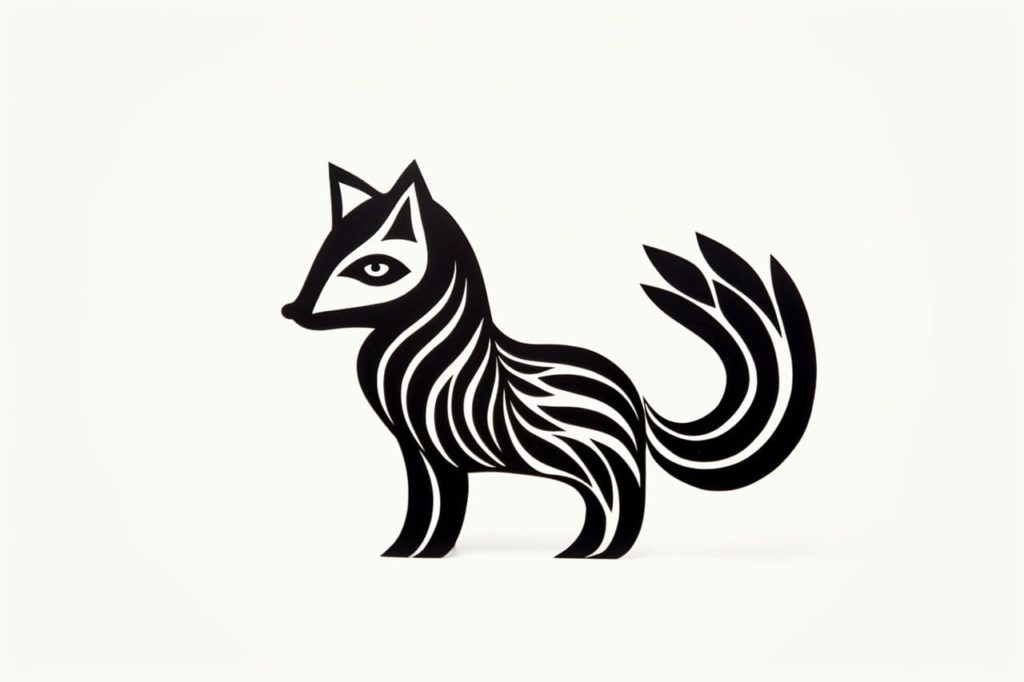
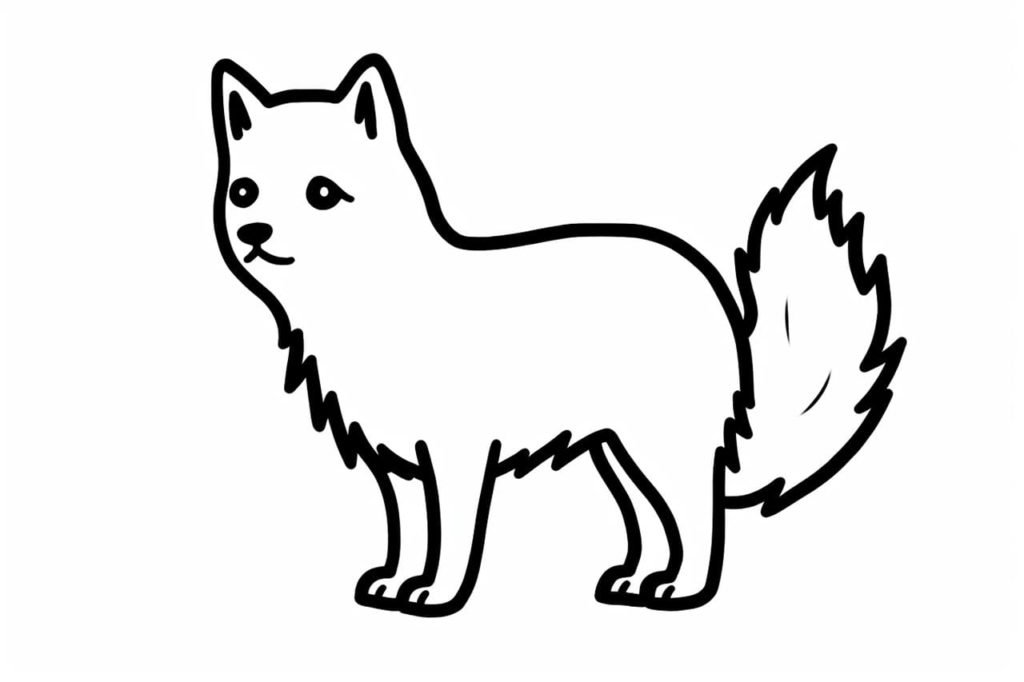
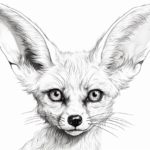
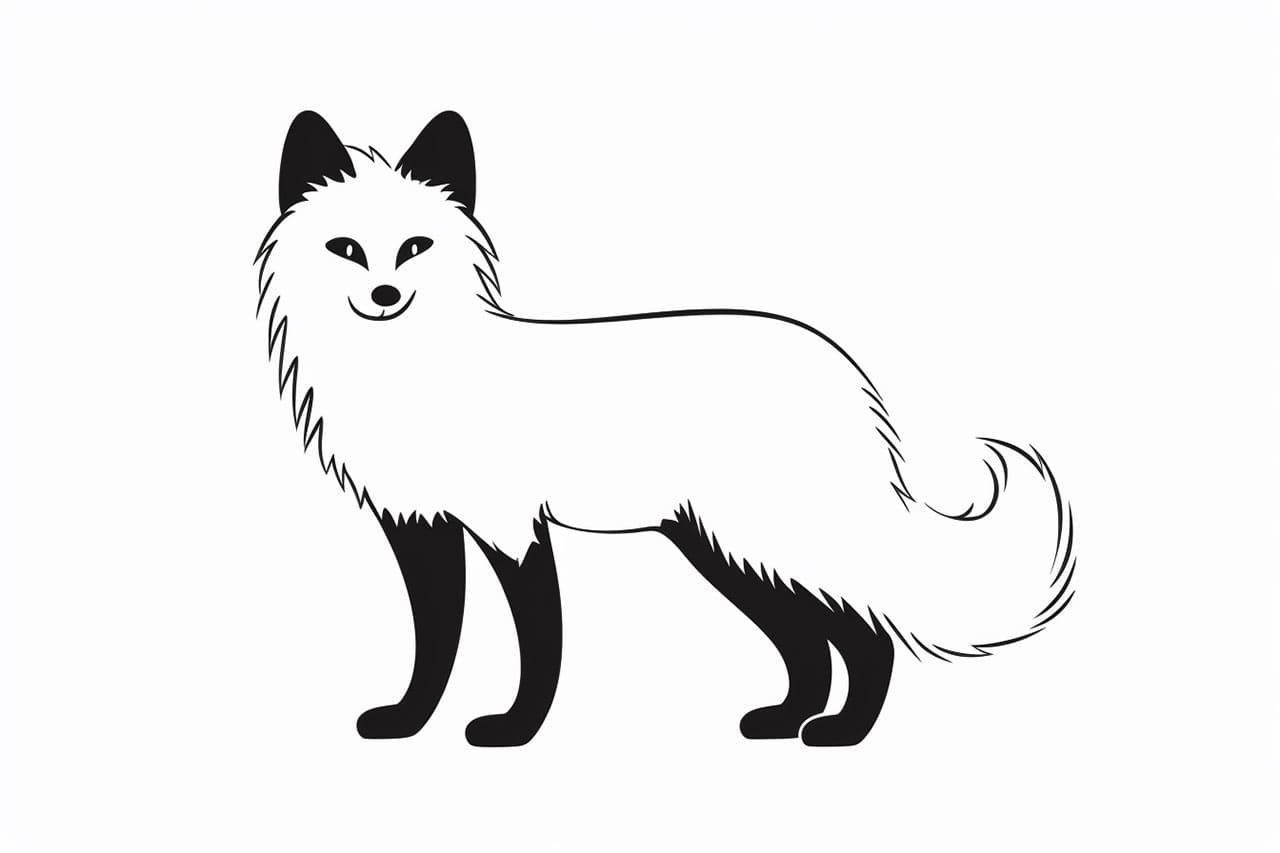
Gallery of Arctic Fox Drawings