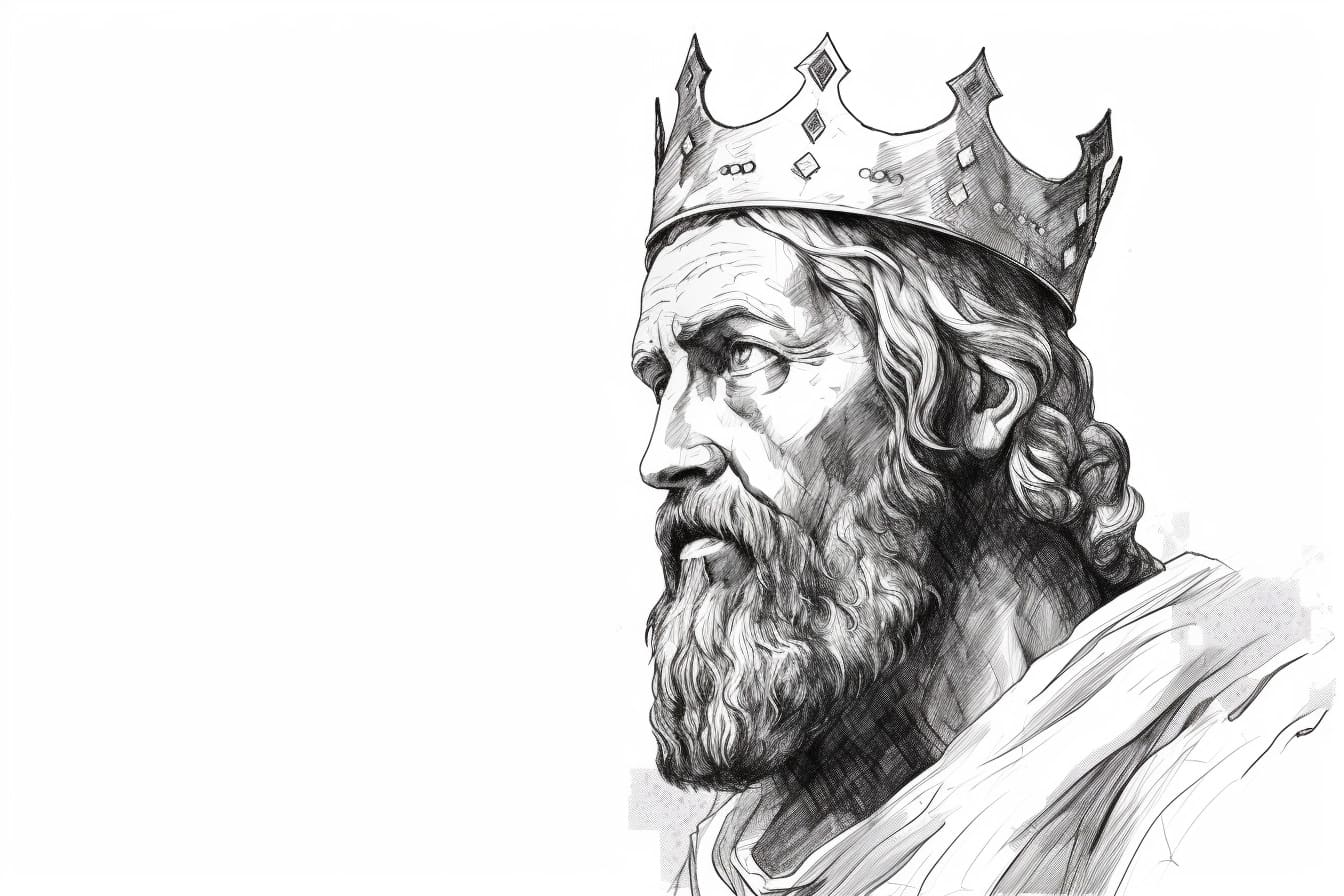
As an expert artist and drawing instructor, I will guide you through the process of drawing a king. With step-by-step instructions and clear illustrations, you will be able to create a regal and majestic figure on paper. So, grab your art supplies and let’s begin!
Materials Required
Before we get started, make sure you have the following materials:
- Drawing paper
- Pencil
- Eraser
- Fine-tipped black pen
- Colored pencils or markers (optional)
The above materials will help you create a detailed and visually appealing drawing of a king. Now, let’s dive into the steps!
Step 1: Outline the Head and Shoulders
Start by drawing a large oval shape for the king’s head. Place it near the top of your paper, leaving enough space for the rest of the body. Just below the head, draw two curved lines that represent the shoulders. These lines should slope downward and slightly outward.
Step 2: Add Facial Features
Within the oval shape, sketch the facial features of the king. Begin with two horizontal lines across the middle of the oval to mark the eye level. Then, draw two oval shapes for the eyes on the upper half of the face. Add a small curved line below each eye to indicate the cheeks. Next, draw a straight line for the nose, extending from the center of the oval downward. Finally, add a smiling mouth by sketching a curved line between the cheeks.
Step 3: Detail the Eyes and Eyebrows
Within the eye shapes, draw smaller ovals for the irises. Add a tiny circle within each iris to represent the reflection of light. Above the eyes, draw curved lines for the eyebrows, giving the king a dignified and expressive look.
Step 4: Define the Hair and Beard
Extend the lines above the king’s head to create his hairstyle. You can make it short and neat or long and flowing, depending on your preference. Next, draw a beard that starts from the bottom of the chin and extends outward. You can add some waves or curls to make it more interesting.
Step 5: Draw the Body
Using the shoulder lines as a guide, outline the rest of the king’s body. Draw two vertical lines that extend downward from the shoulders, creating the torso. Then, add two more lines curving outward to form the sides of the robe. Connect these lines at the bottom with a horizontal line to complete the robe shape.
Step 6: Add Details to the Robe
To give the robe a regal appearance, add some decorative elements. Draw a pattern along the edges of the robe, such as lines or small shapes. You can also add a belt around the waist by drawing a horizontal line with a buckle in the center. Don’t forget to add some folds and creases to make the robe look realistic.
Step 7: Define the Hands and Arms
Starting from the shoulders, draw two slightly curved lines that represent the upper arms. Then, add two more lines for the lower arms, connecting to the hands. The hands can be drawn as simple shapes, with the fingers slightly curved. Remember to make the hands proportional to the rest of the body.
Step 8: Refine the Face and Features
Take a closer look at the king’s face and make any necessary adjustments. Erase any unnecessary lines and refine the shape of the face, eyes, nose, and mouth. Pay attention to the shading around the eyes and under the chin to add depth. Use your artistic judgment to capture the expression and character of the king.
Step 9: Add Details and Accessories
To enhance the royal look, consider adding a crown or a regal headdress on top of the king’s head. You can also draw some jewelry, such as a necklace or earrings, to accentuate the regalia. Be creative and add any additional details that you think would enhance the overall drawing.
Step 10: Outline and Finalize
Once you are satisfied with the sketch, carefully go over the lines with a fine-tipped black pen. Start with the facial features and move on to the body and details. Erase any remaining pencil marks, leaving only the clean and crisp lines of your king drawing.
Conclusion
Congratulations! You have successfully learned how to draw a king. By following the step-by-step instructions and using your creativity, you have created a regal and majestic figure on paper. Remember, practice makes perfect, so don’t hesitate to try again and refine your technique. Happy drawing!