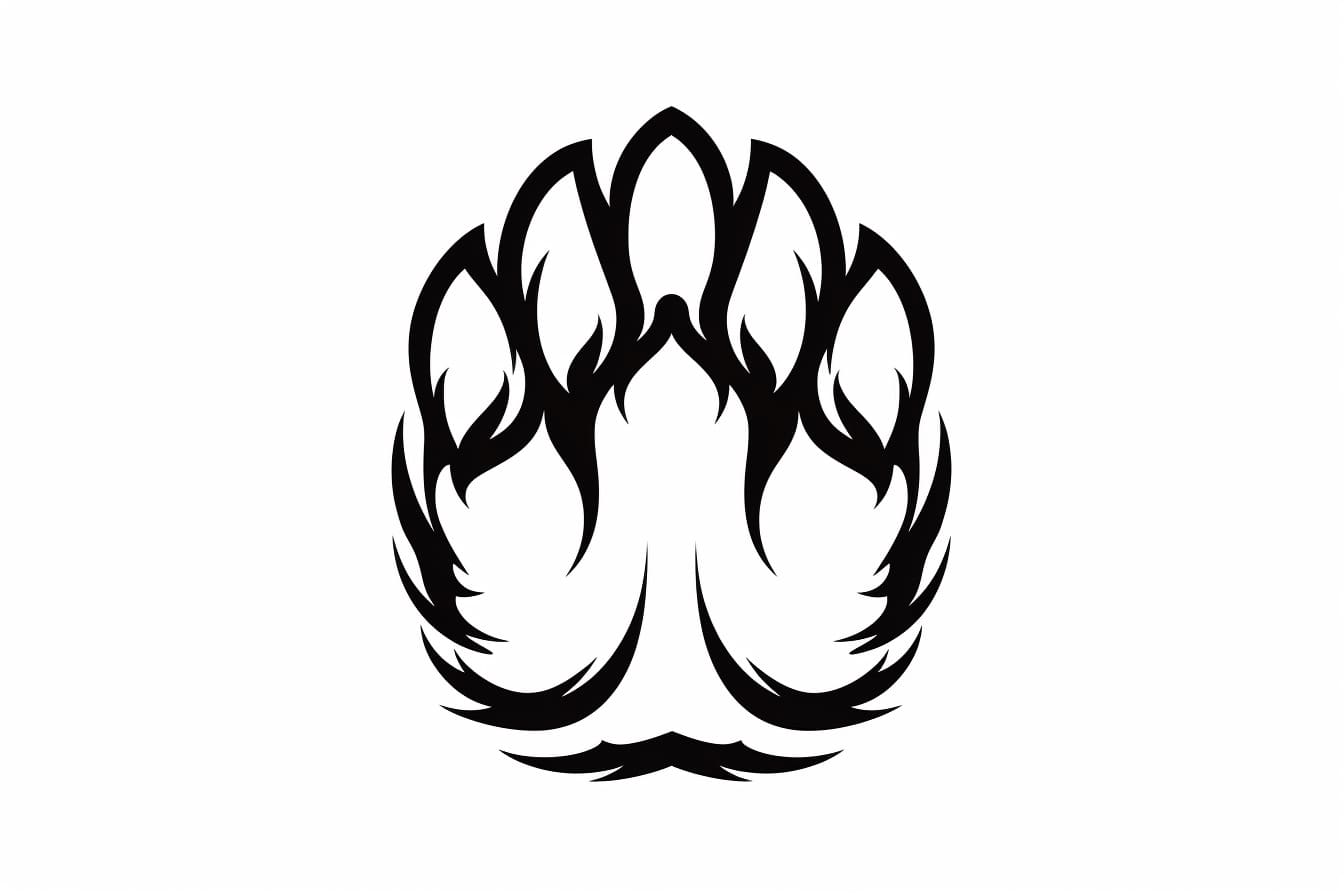
Welcome to this step-by-step guide on how to draw a bear paw! Whether you’re a beginner or an experienced artist, this tutorial will provide you with clear instructions on creating a lifelike bear paw drawing. The bear paw symbolizes strength and courage, making it a popular subject in various forms of art. So, let’s get started and unleash your creativity!
Materials Required
Before we begin, gather the following materials to ensure a smooth drawing process:
- Pencil: You’ll need a regular or mechanical pencil with a medium or soft lead for sketching and outlining.
- Paper: Use a clean, white sheet of drawing paper or sketchbook to work on. Make sure it’s of good quality to prevent smudging and tearing.
- Eraser: Have a kneaded eraser or a vinyl eraser handy to correct any mistakes or remove guidelines.
- Fine-tipped pens: These pens are optional but can be helpful for adding details or refining the drawing later on.
- Reference Image: Find a clear picture of a bear paw for reference. This will assist you in understanding the shape and details of the paw.
Step 1: Basic Outline
Start by lightly drawing a large oval shape in the center of your paper. This will form the main body of the bear paw. Keep the lines loose and easily erasable.
Step 2: Toe Placement
Draw four small circles at the bottom of the oval to represent the bear’s toes. These circles should be evenly spaced and positioned in a semi-circular shape. Take your time to ensure they’re proportionate and symmetrical.
Step 3: Adding Claws
Extend each of the toe circles by drawing a small curved line outwards. This will create the claws of the bear paw. Make sure to angle the claws slightly upward for a realistic look. Repeat this step for each toe.
Step 4: Pads and Fur
Next, we’ll add details to the central part of the paw. Draw three oval shapes overlapping each other in the center of the paw. These ovals will represent the bear’s paw pads. To create a textured fur effect, lightly sketch short, curved lines around the edges of the paw, following its shape.
Step 5: Connecting the Toes
To give a more natural look to the paw, connect the toes by drawing a small curve at the base of each toe, forming a gentle arch. This will create the palm of the bear paw.
Step 6: Refining the Outline
Now, it’s time to refine the outline of the bear paw. Go over the basic shapes and lines, making them more defined and confident. Adjust any proportions or details that need improvement. Use an eraser to remove any unnecessary guidelines or mistakes.
Step 7: Adding Details
To make your bear paw drawing stand out, add some additional details. Draw small curved lines around the claws to emphasize their shape and texture. You can also add some lines to the paw pads to indicate fur texture. Remember to keep these lines gentle and subtle to maintain a realistic appearance.
Step 8: Shading and Texture
To give your bear paw a three-dimensional look, we’ll add shading. Identify a light source and imagine where the shadows would fall. Use your pencil to lightly shade the areas that would be in shadow, such as the indents between the toes and around the paw pads. Gradually build up the shading, focusing on creating a gradual transition between light and dark areas.
Step 9: Final Touches
Take a step back and assess your drawing. Look for any areas that need further refinement or adjustment. Add any additional details to enhance the overall appearance of the bear paw. You can use fine-tipped pens to outline and define certain areas, such as the claws or fur.
Conclusion
Congratulations! You’ve successfully learned how to draw a bear paw. By following these step-by-step instructions, you’ve created a realistic and detailed representation of this powerful symbol. Remember, practice makes perfect, so keep honing your drawing skills and exploring different techniques. We hope you’ve enjoyed this tutorial and feel inspired to continue your artistic journey!


