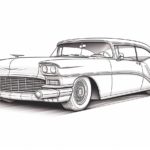
Welcome to this step-by-step tutorial on how to draw a Rolls Royce! Whether you’re an aspiring artist or just want to try your hand at sketching this iconic luxury car, this guide will walk you through the process. By following these simple instructions, you’ll be able to capture the sleek and elegant design of the Rolls Royce on paper. So, let’s get started!
Materials Required
Before we begin, let’s make sure you have all the necessary materials at hand. Here’s what you’ll need:
- Drawing paper or sketchbook
- Pencil (preferably an HB or 2H)
- Eraser
- Ruler
- Fine-tipped markers or pens (optional, for inking)
Step 1: Outline the Basic Shape of the Car
To start, lightly sketch an elongated rectangle for the body of the car. This will serve as the basic framework for your drawing. Remember to keep your lines light and loose for now, as you can refine them later.
Step 2: Add the Wheels and Other Details
Next, draw two larger circles towards the bottom of the rectangle to represent the wheels. These will be the rear wheels. Then, add two smaller circles towards the front of the rectangle for the front wheels.
Now, let’s work on the details of the car. Use straight lines to outline the hood, roof, and trunk. Pay attention to the contours and curves of the Rolls Royce’s body as you draw. Don’t worry about getting it precisely accurate at this stage – we’ll refine it further in the following steps.
Step 3: Refine the Shape of the Car
Once you have the basic outline and details in place, it’s time to refine the shape of the car. Use your ruler to straighten and perfect the lines you’ve drawn. Pay close attention to the distinctive curves and angles that make a Rolls Royce unique.
Step 4: Add the Roof and Windows
Now that we have the main structure of the car, let’s add the roof and windows. Draw a slightly curved line to connect the front and rear parts of the car and create the roof. Then, sketch the outline of the windows, making sure they follow the natural contours of the car.
Step 5: Draw the Details
The devil is in the details, and in this step, we’ll add some important features of the Rolls Royce. Start by drawing the headlights and the grille at the front of the car. Use geometric shapes and straight lines to create the grille’s iconic design.
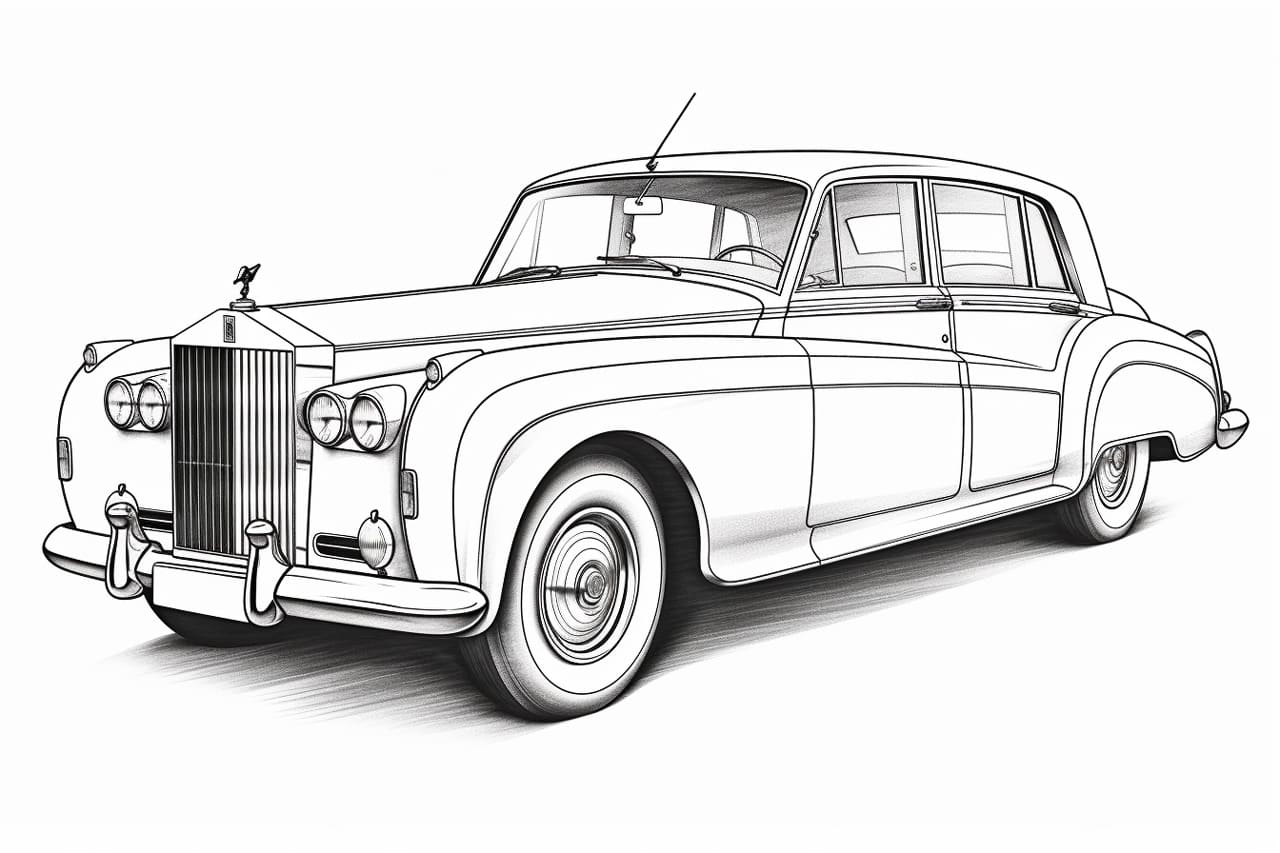
Next, draw the iconic Spirit of Ecstasy ornament on top of the grille. This ornament resembles a woman leaning forward with her arms outstretched behind her. Take your time and pay attention to the fine details as you sketch this beautiful emblem.
Step 6: Add the Finishing Touches
In this final step, we’ll add the finishing touches to our Rolls Royce drawing. Erase any unnecessary lines and refine the contours of the car, making sure everything is well-proportioned and symmetrical. Once you’re satisfied with the overall shape, you can go over your drawing with ink or markers for a more polished look.
Conclusion
Congratulations! You’ve successfully learned how to draw a Rolls Royce. By following these step-by-step instructions, you’ve captured the elegance and beauty of this luxury car on paper. Don’t forget to experiment with shading and coloring to add depth and dimension to your drawing.
Remember, practice makes perfect. Keep honing your drawing skills by attempting different angles and perspectives of the Rolls Royce or other vehicles. With time and practice, you’ll be able to master the art of drawing cars and create stunning compositions.
So grab your pencil and sketchbook and let your creativity flow, bringing these exquisite automobiles to life on paper!