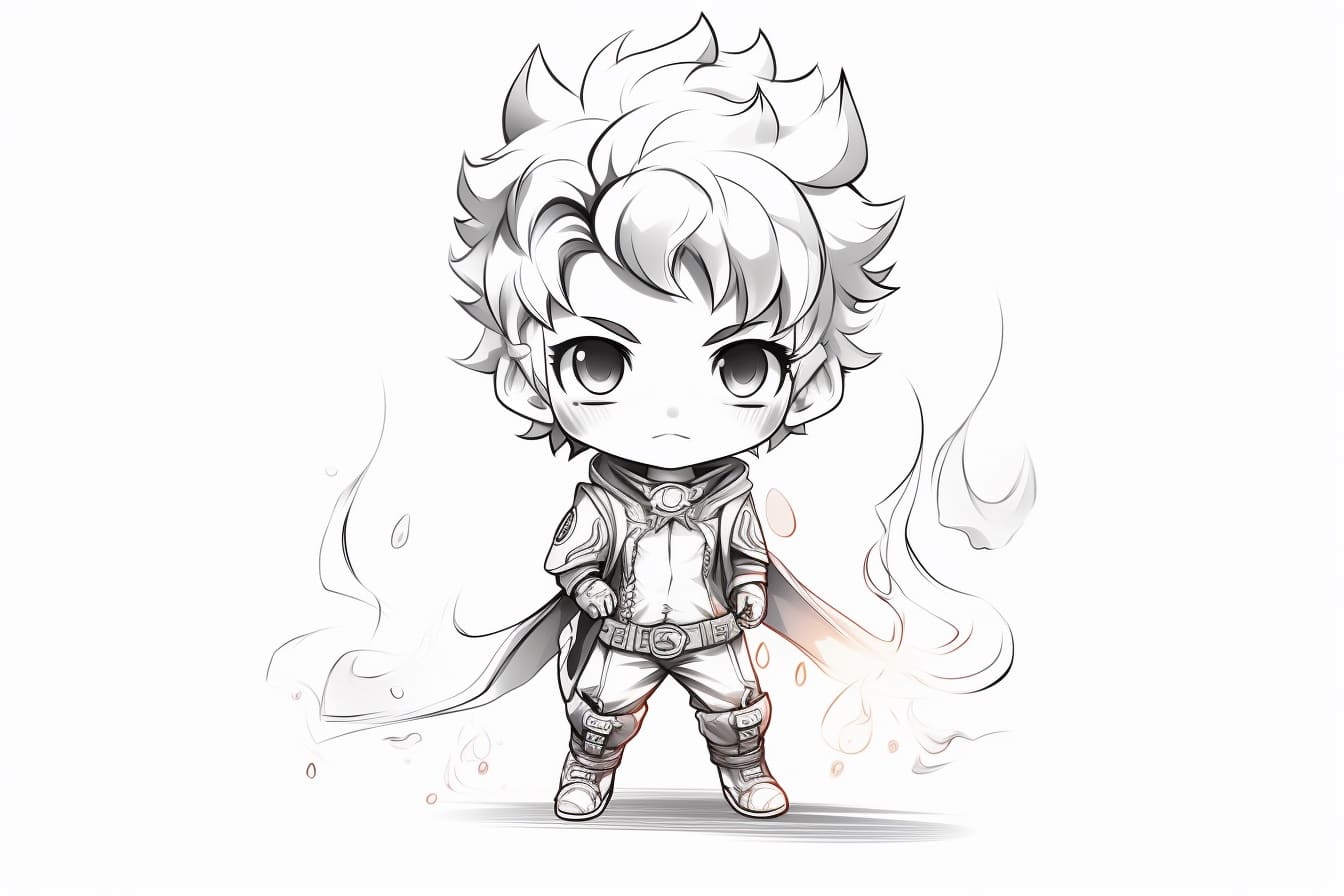
Chibi characters are cute, small, and have exaggerated features. They have become immensely popular in manga and anime, capturing the hearts of many fans around the world. If you’re interested in learning how to draw these adorable characters, you’re in the right place! In this step-by-step guide, I will walk you through the process of drawing a chibi character from start to finish. So grab your pencils, paper, and let’s get started!
Materials Required
To begin, gather the following materials:
- Pencil (HB or 2B recommended)
- Eraser
- Paper (preferably sketch paper)
- Fine-tip black marker or pen
- Colored pencils or markers (optional)
Now that you have everything you need, let’s dive into the steps!
Step 1: Sketching the Head
Start by drawing a large oval shape for the head. Chibi characters typically have big heads in relation to their bodies. Keep the lines light as you will be refining them later.
Step 2: Adding Facial Features
Next, draw two large round eyes near the top of the head. Chibi eyes are usually big and expressive. Add a small dot inside each eye for the pupil. Beneath the eyes, draw a curved line for the mouth. Chibi characters often have a simple, happy expression.
Step 3: Drawing the Body
Chibi characters have small, stubby bodies. Draw a small circle shape beneath the head as a guide for the body. From the bottom of the circle, extend two curved lines downwards to create the legs. Chibi legs are usually shorter and thicker in proportion to the body.
Step 4: Adding Arms and Hands
Extend two lines from the sides of the body to form the arms. Keep the arms short and stubby. At the end of each arm, draw small circles to represent the hands. Chibi hands are simplified, usually depicted as round shapes.
Step 5: Detailing the Hair
Chibi characters often have exaggerated and playful hairstyles. Add the hair by drawing a series of curved lines around the head. Feel free to get creative and experiment with different hairstyles, such as pigtails or spiky hair.
Step 6: Refining the Outline
Once you’re satisfied with the basic shapes and proportions, darken the lines to refine the character’s outline. Use your pencil or a fine-tip black marker to go over the sketch. You can erase any unnecessary guide lines as you go.
Step 7: Adding Clothing
Give your chibi character some personality by adding clothing. You can draw a simple shirt, dress, or any other outfit you prefer. Chibi clothing is usually simplified and has a cute and playful style. Add some details like ruffles or accessories if you like.
Step 8: Coloring (Optional)
If you want to bring your chibi character to life, you can add color using colored pencils or markers. Chibi characters often have vibrant and eye-catching colors. Start by coloring the base colors, and then add shading and highlights to give depth to your drawing.
Conclusion
Congratulations! You have successfully learned how to draw a chibi character. Remember, practice makes perfect, so keep drawing and experimenting with different poses and expressions. Chibi characters are a fun and creative way to explore your artistic skills. Enjoy the process and let your imagination run wild!