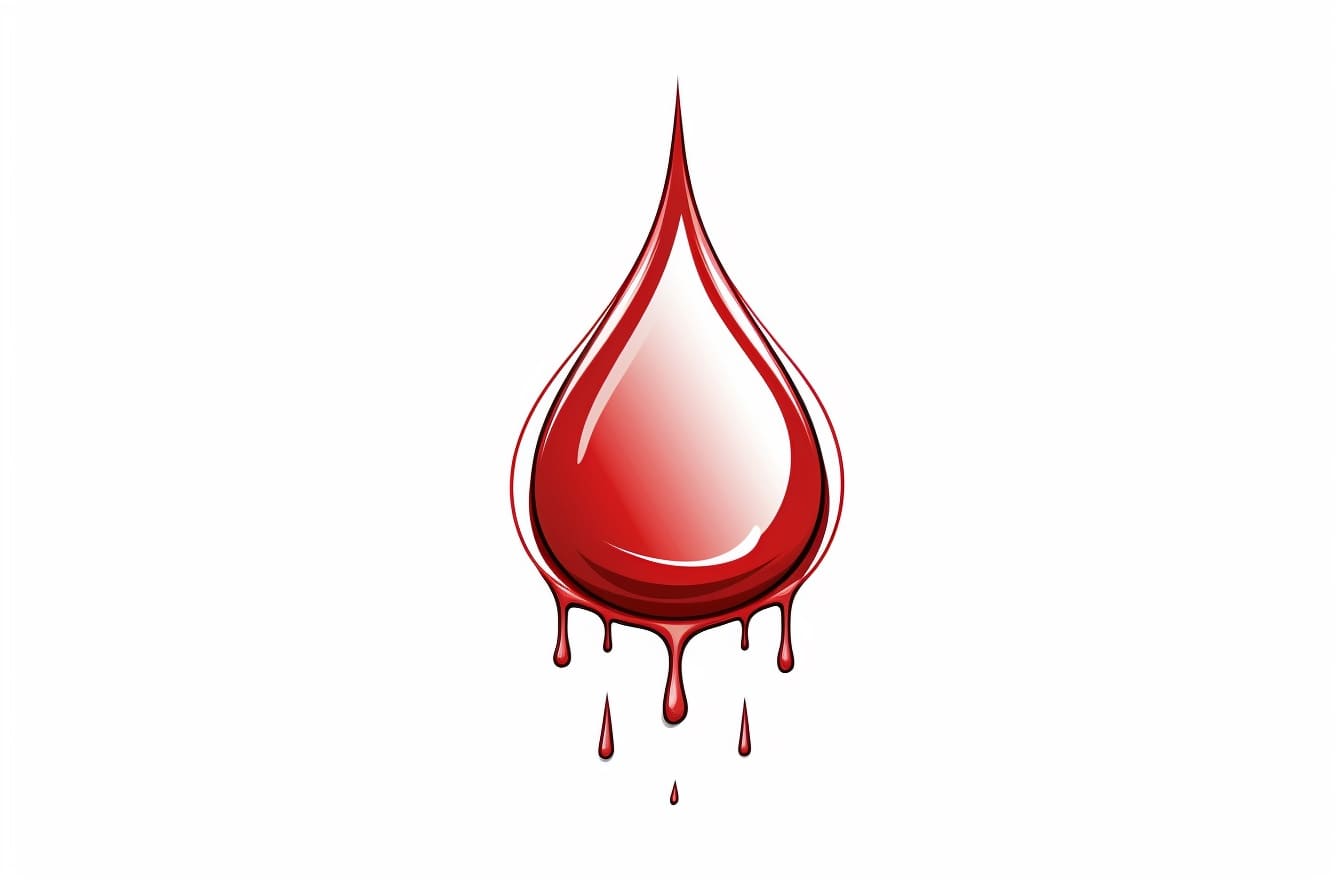
Welcome to this step-by-step guide on how to draw a blood drop. Whether you are an aspiring artist, a medical student, or just someone passionate about art, learning how to draw a blood drop can be a fascinating and educational experience. In this tutorial, I will walk you through the process of creating a realistic and vibrant blood drop, utilizing both basic shapes and shading techniques. So, let’s get started!
Materials Required
Before we begin, let’s ensure that we have all the necessary materials on hand:
- Pencil (HB or 2B)
- Eraser
- Drawing paper
- Fine tip marker or pen
Now that we have everything ready, let’s dive into the step-by-step process of drawing a blood drop.
Step 1: Basic Shape
Start by lightly sketching an elongated tear shape on your drawing paper. This shape will serve as the foundation for your blood drop. Keep the lines gentle and simple at this stage, as we will be refining the shape in the following steps.
Step 2: Refining the Shape
Using your pencil, refine the shape of the blood drop by curving the edges and adding more detail. Pay close attention to the top, where the drop tapers off into a point. Take your time to achieve a shape that captures the organic nature of a blood drop.
Step 3: Outlining
Once you are satisfied with the shape of your blood drop, it’s time to outline it using a fine tip marker or pen. Carefully trace over your pencil lines, emphasizing the curves and contours of the drop. Remember to take smooth and deliberate strokes to maintain the integrity of the shape.
Step 4: Shading
To add depth and dimension to your blood drop, we will now focus on shading. Begin by identifying the light source in your drawing. This will determine where the highlights and shadows should be placed.
Step 5: Shadows
Using your pencil, apply light shading on the opposite side of the light source. Gradually build up the darkness, making sure to blend the pencil strokes smoothly. The shadow should be darker towards the bottom of the blood drop and gradually fade as it reaches the top.
Step 6: Highlights
Next, using your eraser, carefully remove some of the graphite on the side of the blood drop that is facing the light source. This will create highlights and add a glossy effect to the drop. Take your time and work gradually to achieve a realistic reflection.
Step 7: Texture
To make your blood drop look more realistic, we will add some texture to its surface. Use your pencil to lightly sketch small, irregular dots and lines throughout the drop. These texture details will simulate the uneven surface of a real blood drop.
Step 8: Final Touches
Now that you have completed the basic shading and texture, take a step back to evaluate your drawing. Make any necessary touch-ups and adjustments to ensure that the blood drop looks vibrant and lifelike.
Congratulations! You have successfully learned how to draw a blood drop. With practice, you can experiment with different variations, colors, and techniques to create even more realistic and unique blood drops.
Conclusion
Drawing a blood drop may seem challenging at first, but with patience and practice, you can master this intriguing subject. Remember to take your time, pay attention to details, and most importantly, enjoy the process of creating art. We hope this step-by-step guide has provided you with the knowledge and inspiration to create your own stunning blood drop drawings. Happy drawing!

