Whether you’re an aspiring artist, a fan of the game of basketball, or simply looking for a fun and creative project, learning how to draw a basketball jersey can be a rewarding experience. With a few simple steps, you can create a realistic and detailed representation of this iconic sports garment. In this article, I will guide you through the process of drawing a basketball jersey from start to finish. So grab your sketchbook and pencils, and let’s get started!
Materials Required:
To begin drawing a basketball jersey, you will need the following materials:
- Pencils (preferably a range of H, HB, and B pencils for shading)
- Eraser
- Sketchbook or drawing paper
- Ruler
- Colored pencils or markers (optional, for adding color to your drawing)
Now that you have all the necessary materials, let’s move on to the step-by-step process of drawing a basketball jersey.
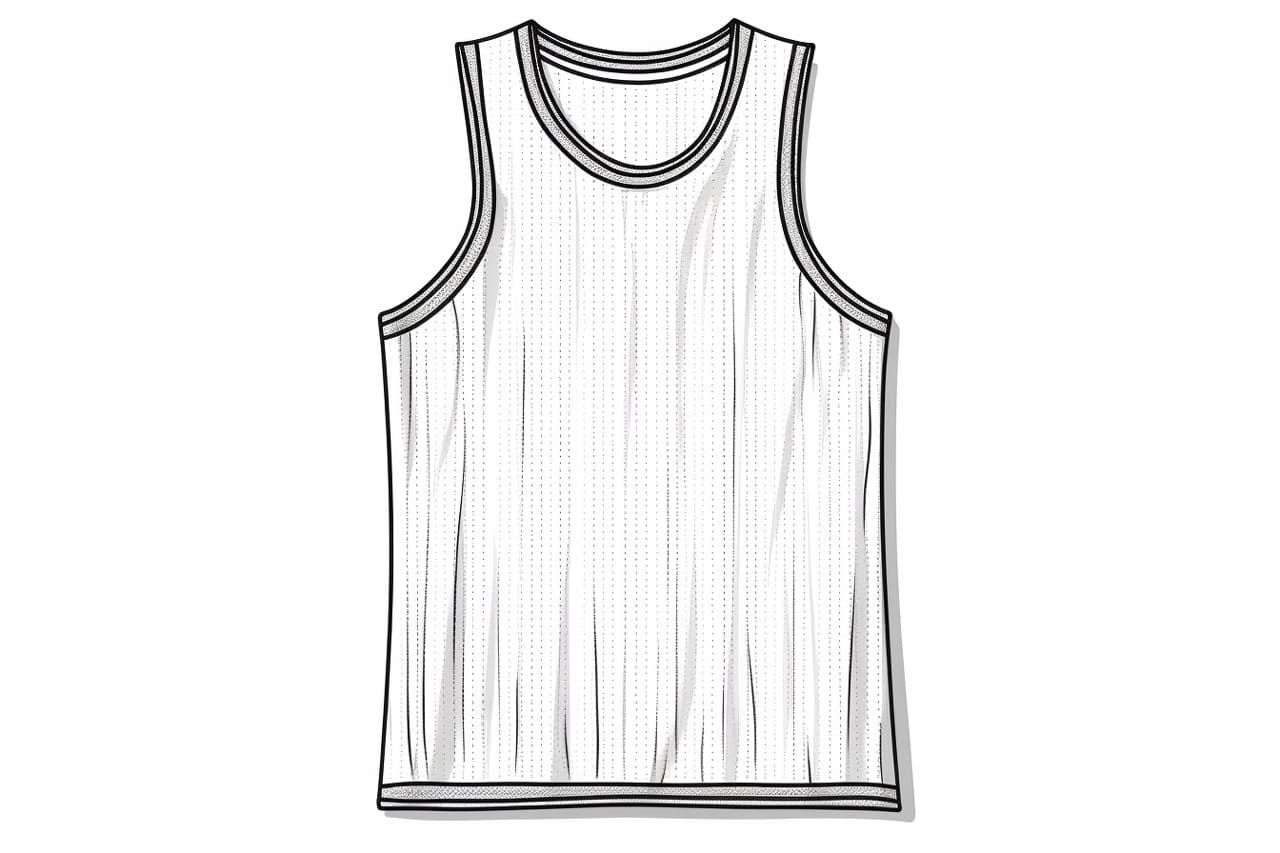
Step 1: Create a Basic Outline
Start by drawing a rectangular shape on your paper to represent the body of the jersey. Use light and loose lines to create the outline, as this will serve as a guide for the rest of your drawing.
Step 2: Add the Collar and Armholes
Next, draw the collar of the jersey by adding a curved line at the top of the body outline. Then, draw two smaller curved lines on each side of the body to indicate the armholes. Make sure the armholes are symmetrical and evenly spaced.
Step 3: Define the Neckline and Arm Sleeves
Using your ruler, draw a straight line across the curved collar to define the neckline of the jersey. Then, draw two curved lines extending from the armholes down towards the bottom of the body outline to represent the arm sleeves.
Step 4: Add the Side Panels and Bottom Hem
To give your basketball jersey more dimension, draw two curved lines extending from the arm sleeves towards the sides of the body outline. These lines represent the side panels of the jersey. Finally, draw a straight line across the bottom of the body outline to create the bottom hem of the jersey.
Step 5: Detail the Jersey
Now that you have the basic shape of the basketball jersey, it’s time to add some details. Start by drawing the number on the front and back of the jersey. You can choose any number you like, but traditionally, basketball jersey numbers range from 0 to 99. Draw the number using bold and blocky digits, ensuring they are centered and positioned correctly on the jersey.
Step 6: Add Logos and Sponsors (Optional)
If you want to make your basketball jersey more authentic, you can add logos and sponsors. Research the team or player whose jersey you’re drawing and look for their official logos. Draw these logos on the front and back of the jersey, using reference images if necessary.
Step 7: Shade and Add Texture
To make your drawing more realistic, add shading and texture to the basketball jersey. Use your pencils to lightly shade areas that would have shadows, such as the folds and creases of the fabric. Pay attention to the direction of the light source and use hatching or cross-hatching techniques to create depth and texture.
Step 8: Add Color (Optional)
If you want to take your drawing to the next level, consider adding color to your basketball jersey. Use colored pencils or markers to fill in the jersey with the appropriate team colors. Refer to reference images or team logos to ensure accuracy.
Conclusion
Drawing a basketball jersey is a fun and creative project that allows you to express your artistic skills while paying homage to your favorite team or player. By following these step-by-step instructions, you can create a detailed and realistic representation of this iconic sports garment. So grab your art supplies and start sketching!
Remember, practice makes perfect, so don’t be discouraged if your first attempt isn’t exactly as you envisioned. With time and patience, you will improve as an artist and refine your drawing skills. Enjoy the process and have fun showcasing your love for basketball through your art!