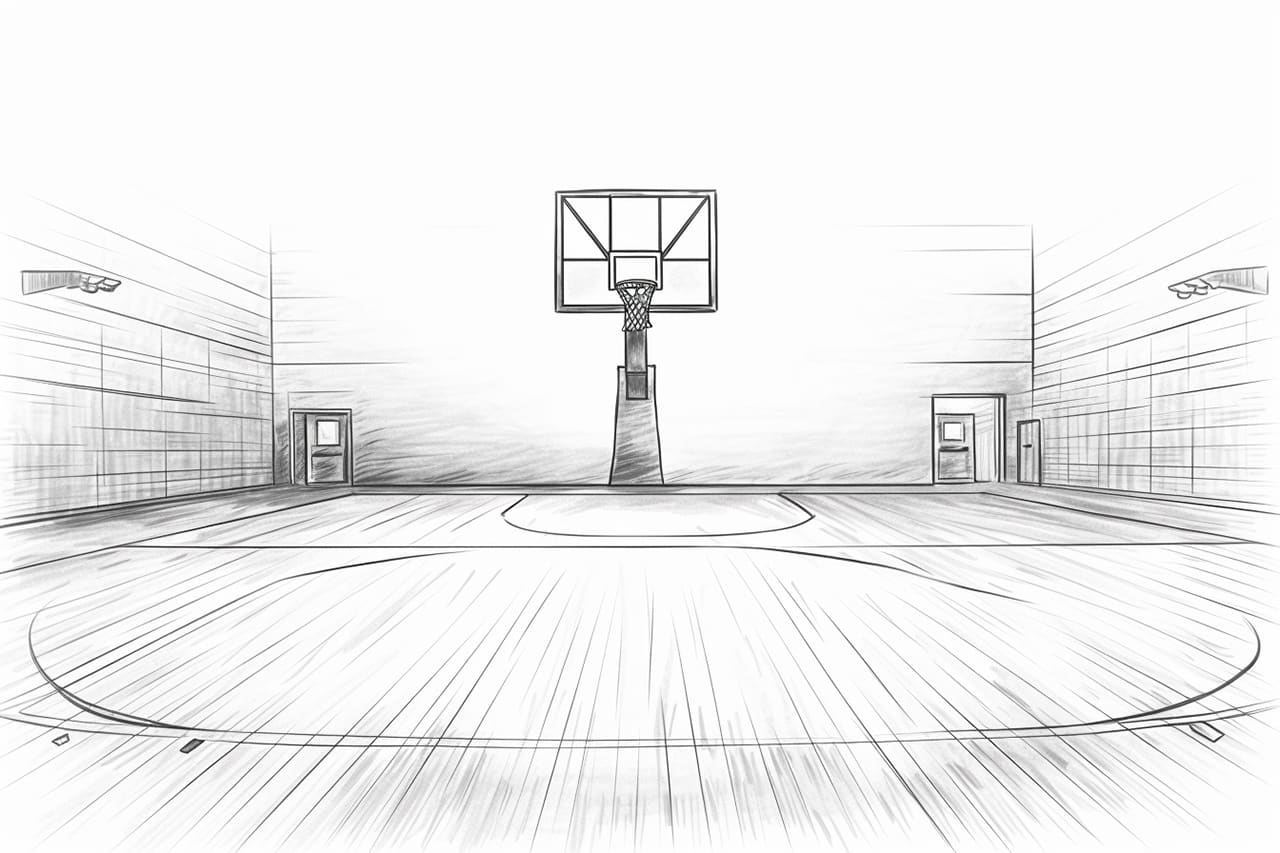
Basketball courts are essential for organizing and playing the game. Whether you’re an artist looking to practice drawing or a basketball enthusiast wanting to create your court design, learning how to draw a basketball court can be a fun and rewarding experience. In this step-by-step guide, I will walk you through the process and provide clear instructions to help you create an accurate and visually appealing basketball court.
Materials Required
Before we get started, let’s gather all the materials you’ll need to draw a basketball court:
- Paper: Look for a clean, white sheet of paper that is large enough to accommodate the entire court.
- Pencil: Use a sharp pencil with an eraser for accurate sketching.
- Ruler: A straight ruler will help you draw straight lines and maintain symmetry.
- Compass: This tool will enable you to draw the curved lines for the three-point line and the center circle.
- Protractor: You’ll need a protractor to measure and draw the proper angles for the key.
Now that we have all the necessary materials, let’s begin sketching our basketball court!
Step 1: Start with the Basic Outline
Begin by lightly sketching a rectangle in the center of your paper. This will serve as the outline for the basketball court. Take measurements and make sure the rectangle is a proportional representation of a real basketball court. Remember, the standard dimensions for an NBA court are 94 feet long and 50 feet wide, while a college basketball court is 94 feet long and 50 feet wide.
Step 2: Add the Baseline and Sideline
Using your ruler, draw two straight lines along the longer sides of the rectangle to represent the baseline and the sideline. Make sure the lines are parallel to each other and extend beyond the rectangle’s boundaries.
Step 3: Draw the Key
Next, it’s time to draw the key or the free-throw lane. Measure and mark the appropriate distance from the baseline to the free-throw line. On each end of the rectangle, draw two parallel lines that extend from the baseline towards the center of the rectangle. The width of the key is 12 feet for both NBA and college basketball courts.
Step 4: Sketch the Free-Throw Line
Using your ruler, draw a straight line across the width of the key to create the free-throw line. The free-throw line is 15 feet from the backboard for NBA courts and 13 feet, 9 inches for college basketball courts.
Step 5: Add the Restricted Area
Within the key, draw two curved lines using your compass to create the restricted area. For NBA courts, this curved line has a radius of 6 feet, while for college basketball courts, the radius is 4 feet.
Step 6: Draw the Three-Point Line
Measure and mark the positions for the three-point line. For NBA courts, the three-point line extends 23 feet, 9 inches from the center of the basket, while for college basketball courts, it extends 22 feet, 1¾ inches. Use your compass to draw the curved lines for the three-point line, ensuring they are symmetrical on both sides.
Step 7: Outline the Center Circle
Measure and mark the position for the center circle. The center circle has a radius of 6 feet for both NBA and college basketball courts. Use your compass to draw a perfectly round circle at the center of the court.
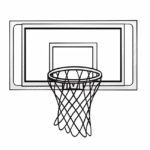
Step 8: Add the Backboard and Hoop
Draw a rectangular shape for the backboard, making sure it is centered on the baseline. Add the basketball hoop by drawing a circle directly above the center of the free-throw line. The diameter of the basketball hoop is 18 inches.
Conclusion
Drawing a basketball court is a great way to improve your artistic skills while showing your love for the game. By following these step-by-step instructions and using the suggested materials, you can create a detailed and accurate basketball court drawing. Remember to take your time and use your tools, such as rulers and compasses, to ensure precision. Enjoy the process, and happy drawing!