Drawing a playground can be a fun and creative way to showcase your artistic skills. Whether you want to create a vibrant scene for a children’s book illustration or simply enjoy the process of bringing a playground to life on paper, this step-by-step guide will help you achieve fantastic results. In this tutorial, we will cover all the necessary materials, along with clear and concise instructions to guide you through the process of how to draw a Playground. So grab your pencils, paper, and let’s get started!
Materials Required
To draw a playground, you will need the following materials:
- Drawing paper or sketchbook
- Pencil (HB or B)
- Eraser
- Fine-tip markers or colored pencils (optional)
- Ruler (optional)
Having these materials ready will ensure you have everything you need to create a beautiful playground drawing.
Step 1: Start with a Basic Layout
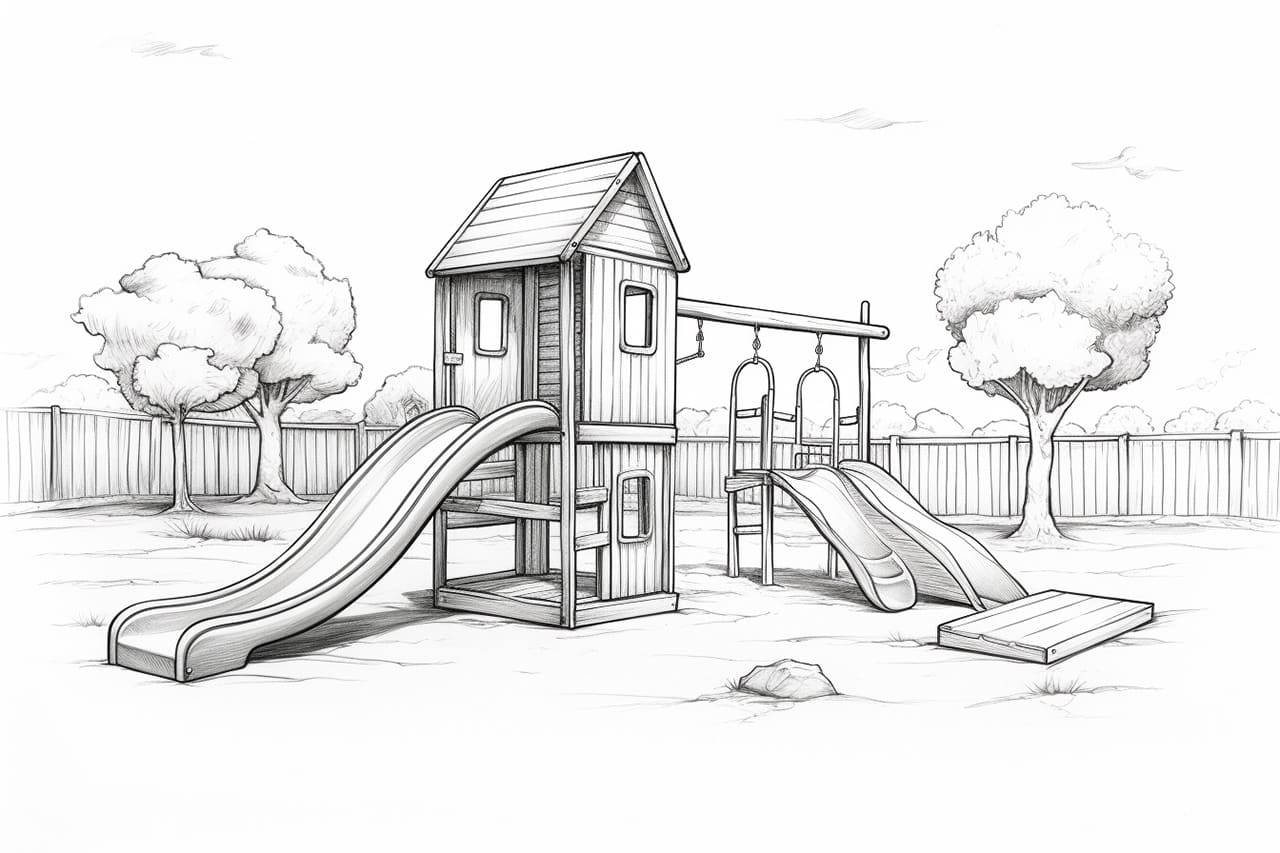
Begin by sketching a simple outline for the playground. You can use a light pencil so that you can easily erase any mistakes or adjust the layout as needed. Think about the different elements you want to include, such as swings, slides, a sandbox, or a merry-go-round. Plan their placement and size, keeping in mind the overall composition of your drawing.
Step 2: Add Swings and Slides
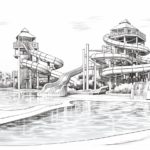
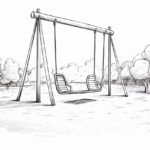
Once you have the basic layout in place, start adding the swings and slides. Draw two vertical lines for each swing, with a horizontal line connecting them at the top. Add the swing seats by drawing small rectangles or circles attached to the vertical lines. For the slides, sketch a straight line with curves at the top and bottom to represent the ladder and slide section.
Step 3: Incorporate a Sandbox and Playhouse
To create a sandbox, draw a square or rectangular shape on the ground. Add a few lines inside to represent the texture of the sand. For the playhouse, draw a square or rectangular shape with a triangular roof on top. Add details such as windows and a door to bring it to life.
Step 4: Draw a Merry-Go-Round
Next, let’s add a merry-go-round to your playground drawing. Begin by drawing a large circle on the ground. Inside the circle, sketch several horizontal lines evenly spaced apart to represent the seats. Above the circle, draw a pole with a circular top that holds the merry-go-round in place. Add handles or railings on the circle’s outer edge for children to hold onto.
Step 5: Detail the Playground Equipment
Now it’s time to add more details to your playground drawing. Begin by refining the shapes of the swings, slides, sandbox, playhouse, and merry-go-round. Add curves and rounded edges to make them look more realistic. Use your imagination to embellish the equipment with additional features, such as decorative patterns or color.
Step 6: Include Additional Elements
To make your playground scene more interesting, consider adding some additional elements. You could draw trees, bushes, flowers, or even a picnic area nearby. These elements will enhance the overall composition and make your drawing more visually appealing.
Step 7: Finalize the Outline
After adding all the necessary elements and details, it’s time to finalize the outline of your playground drawing. Go over the entire sketch, refining the lines and shapes. Use a darker pencil or a fine-tip marker to trace the final outline, making sure to erase any unnecessary guidelines. This will give your drawing a polished and finished look.
Step 8: Add Color (Optional)
If you prefer to have a colorful playground drawing, now is the time to bring it to life with markers or colored pencils. Select vibrant colors that complement each other and fill in different areas of your drawing. Add shading and highlights to create depth and dimension.
Conclusion
Drawing a playground allows you to unleash your creativity and create a whimsical scene filled with fun and laughter. By following these step-by-step instructions, you can bring your vision to life on paper. Remember to start with a basic layout, add the swings and slides, incorporate other playground equipment, and finish with additional elements. Don’t forget to finalize the outline, and if desired, add color to make your illustration pop. So grab your pencils and let your imagination soar as you create a playground masterpiece!