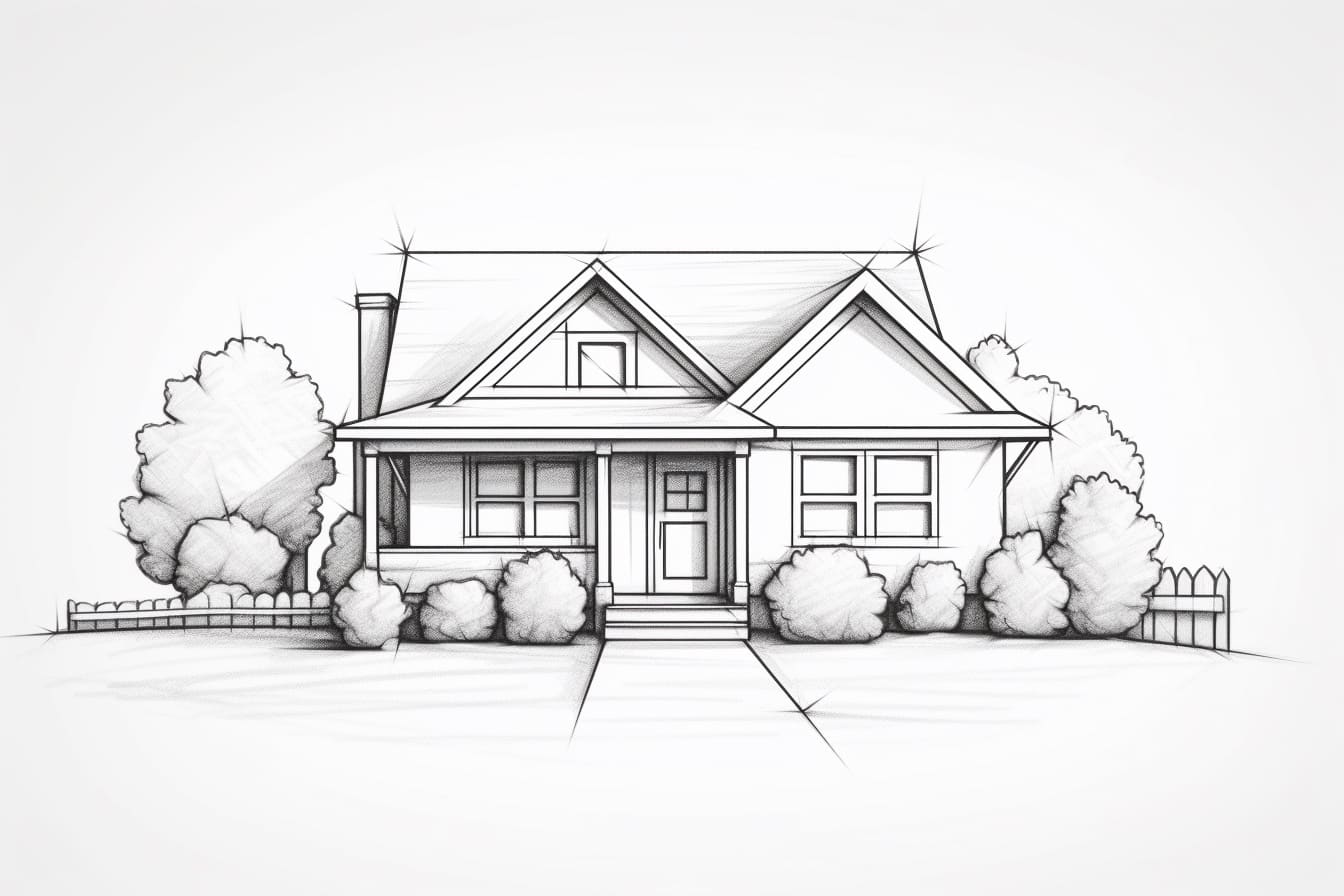
Welcome to this step-by-step guide on how to draw a home. Whether you’re a beginner or an experienced artist, this tutorial will provide you with the skills and techniques to create a beautiful representation of a home on paper. So grab your drawing materials and let’s get started!
Materials Required
Before we begin, make sure you have the following materials on hand:
- Drawing paper or sketchbook
- Pencil
- Eraser
- Fine-tip markers or pens (optional for outlining)
- Ruler (optional for straight lines)
Now that you have your materials ready, let’s delve into the process of drawing a home.
Step 1: Sketch the Basic Shape of the House
Start by lightly sketching a square or rectangle on your paper to represent the main structure of the house. This will serve as a guideline for the rest of your drawing.
Step 2: Add the Roof
On top of the square or rectangle shape, draw a triangle or trapezoid to represent the roof. You can choose between a gabled roof, hip roof, or any other style that you prefer. Experiment with different shapes and angles to create the look you desire.
Step 3: Outline the Windows and Doors
Using straight lines, sketch the basic shapes of the windows and doors. Consider the style of the house you’re drawing and decide on the appropriate size and placement for these elements. Remember to keep your lines light at this stage, as you may need to make adjustments later.
Step 4: Add Details and Features
Now it’s time to add more details to your drawing. This can include features such as chimneys, porches, balconies, or any other architectural elements you’d like to incorporate into your home. Take your time to ensure that these details align with the overall design and proportions of the house.
Step 5: Refine Your Lines
Once you’re satisfied with the overall composition of your home, go over your sketch with bolder and darker lines. Use your eraser to remove any unnecessary lines or mistakes. This step will help bring your drawing to life and give it a more polished appearance.
Step 6: Add Shading and Texture
To add depth and dimension to your drawing, consider adding shading and texture. Shade the areas that would naturally be in shadow, such as the underside of the roof or the sides of the house that are not exposed to direct light. You can achieve this by using your pencil to create darker tones or by cross-hatching.
Step 7: Finalize Your Drawing
Once you’re satisfied with the shading and overall look of your home, you can consider outlining your drawing with fine-tip markers or pens. This step is optional but can help make your artwork stand out and give it a more finished appearance. Remember to let the ink dry completely before erasing any pencil marks underneath.
Conclusion
Congratulations! You have successfully learned how to draw a home. By following these step-by-step instructions and utilizing your creativity, you can create stunning illustrations of houses that showcase your artistic abilities. Remember, practice makes perfect, so don’t be afraid to experiment with different styles and techniques. Enjoy the process and have fun creating your own beautiful homes on paper!


