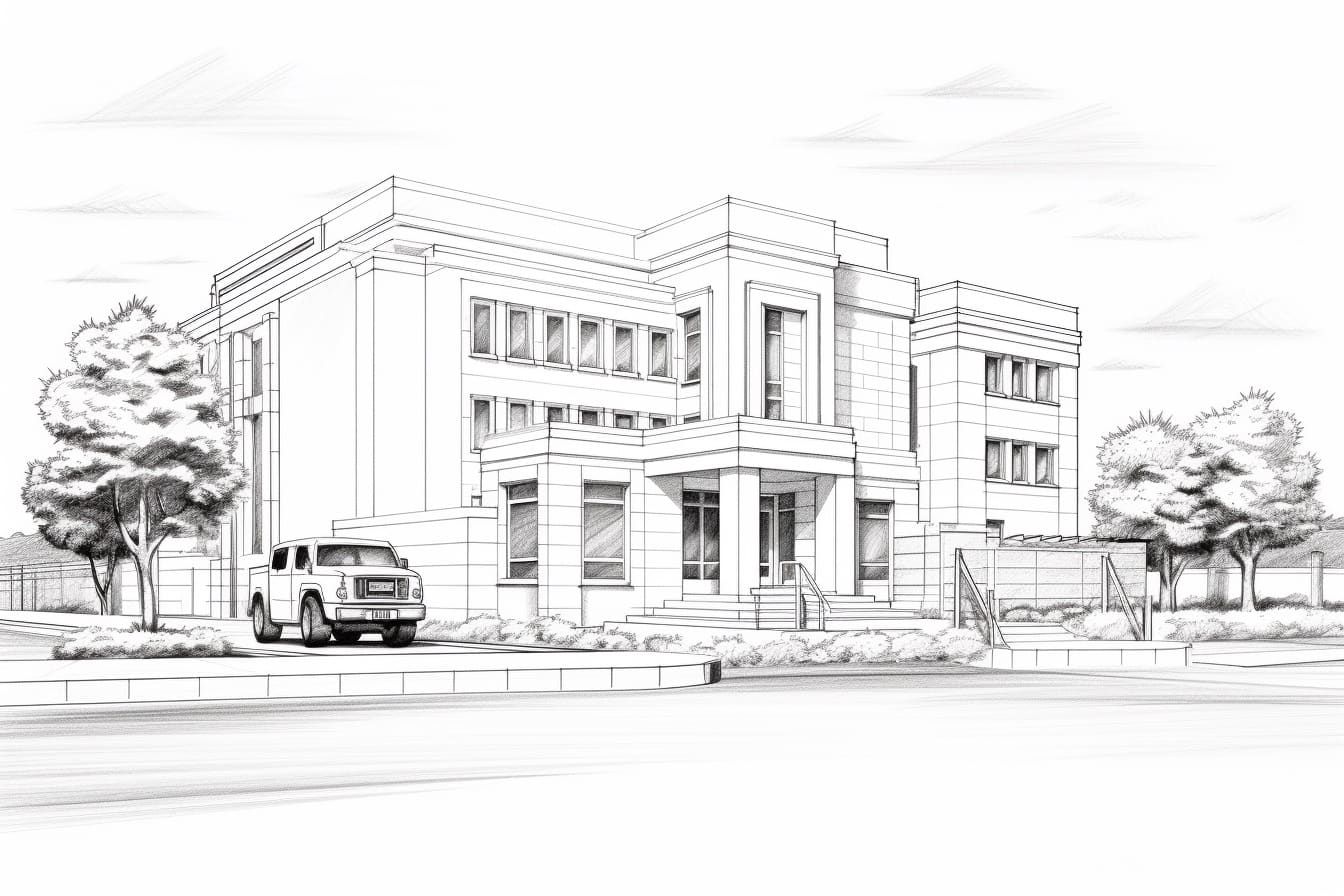
Welcome to this step-by-step guide on how to draw a police station. In this tutorial, we will walk you through the process of creating a detailed and realistic illustration of a police station. Whether you are an aspiring artist or just looking for a fun and creative project, this guide will provide you with all the necessary steps and techniques to bring your drawing to life.
Materials Required
Before we begin, let’s gather the materials you will need for this drawing:
- Drawing paper or sketchbook
- Pencil (HB or 2B recommended)
- Eraser
- Ruler
- Fine-tip pens or markers (optional for inking)
- Colored pencils or markers (optional for coloring)
Now that we have all the necessary materials, let’s dive into the step-by-step process of drawing a police station.
Step 1: Sketch the Basic Structure
Start by lightly sketching the basic structure of the police station. Use your ruler to draw straight lines to create the building’s main shape. You can make it as tall or as wide as you like, depending on your preference. Be sure to leave enough space at the bottom for the entrance and some surrounding landscape.
Step 2: Add Windows and Doors
Next, add the windows and doors to your police station. Use small rectangles to represent the windows and a larger rectangle for the main entrance door. For added detail, you can draw smaller rectangles within the larger ones to indicate panes of glass.
Step 3: Include Architectural Details
To make your police station look more realistic, add architectural details such as pillars, arches, and decorative elements. Use your ruler to draw straight lines for the pillars and curved lines for the arches. Don’t forget to add a sign with the word “Police” above the entrance door.
Step 4: Sketch the Roof
Now, let’s work on the roof of the police station. Draw a sloping line at the top of the building to represent the roof. Then, add triangular shapes on each side to complete the roof structure. You can also add some detail by drawing rectangular sections on the roof.
Step 5: Draw Surrounding Landscape
To give your police station some context, sketch the surrounding landscape. You can draw trees, bushes, a sidewalk, and a road. Remember to use your ruler to create straight lines for the road and sidewalk.
Step 6: Ink Your Drawing (Optional)
If you want to add more definition and depth to your drawing, you can use fine-tip pens or markers to ink over your pencil lines. This step is optional and can be skipped if you prefer to keep your drawing in pencil.
Step 7: Color Your Drawing (Optional)
To bring your police station to life, you can add color using colored pencils or markers. Use shades of gray or blue for the building, green for the trees, and brown for the sidewalk and road. Feel free to get creative and use different colors that appeal to you.
Conclusion
Congratulations! You have successfully learned how to draw a police station. By following these step-by-step instructions, you can create a detailed and realistic illustration of a police station. Remember to have fun and let your creativity shine through.
So grab your drawing materials and start creating your own police station masterpiece today!


