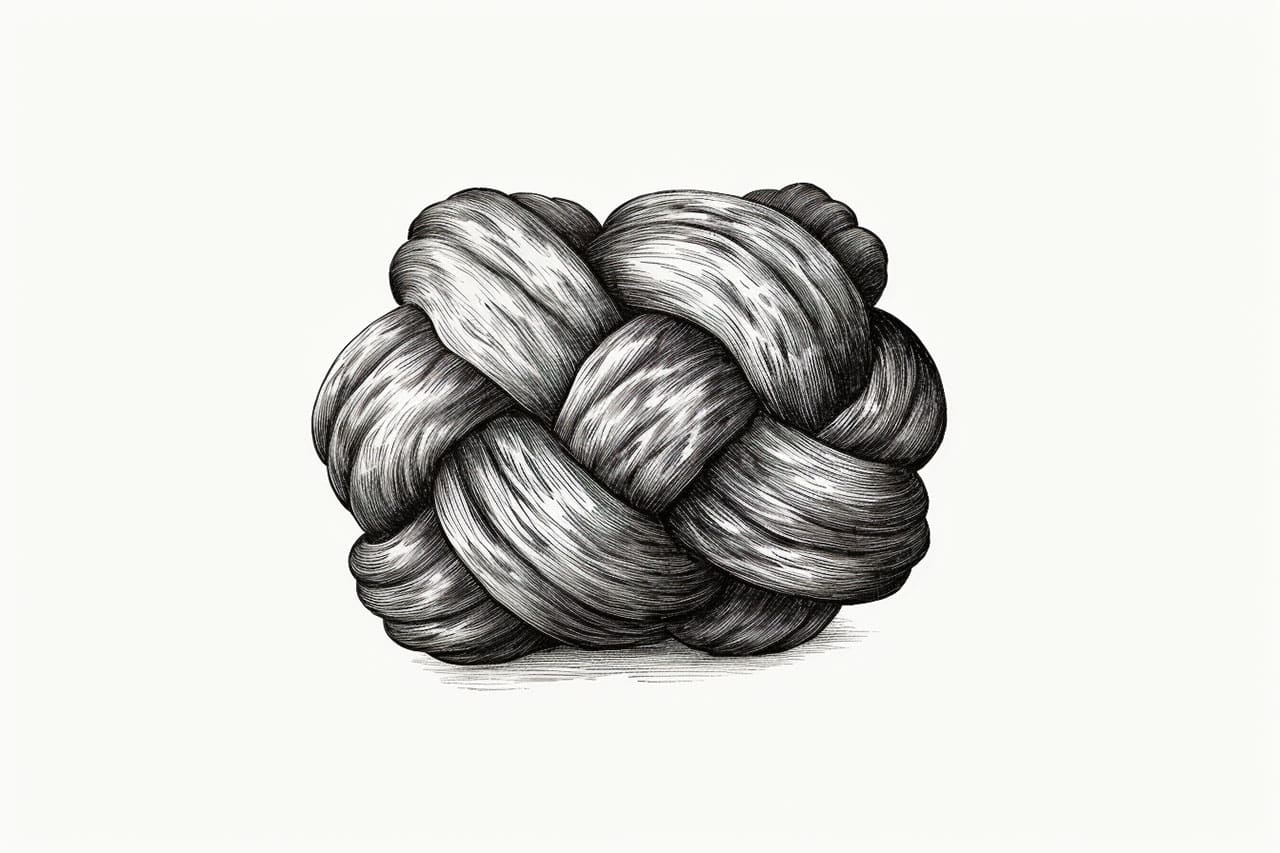
Are you interested in adding intricate designs to your artwork? Learning how to draw a knot can be a fantastic way to enhance your drawings, whether you enjoy illustrating Celtic patterns or want to create eye-catching designs. In this article, we’ll guide you through the process of drawing a knot step by step. By following these instructions, you’ll be able to create stunning knots that will impress everyone who sees your artwork.
Materials Required
Before we begin, let’s gather the materials you’ll need:
- Paper: Choose a smooth and sturdy paper that can withstand detailed drawings. A sketchbook or drawing paper will work well.
- Pencils: Use a set of high-quality pencils with a range of hardness, such as HB, 2B, and 4B. These will allow you to achieve different tones and shading effects in your knot.
- Eraser: Select a good quality eraser that doesn’t leave smudges or damage the paper. A kneaded eraser or a vinyl eraser will work well.
- Ruler: A straight ruler will help you create clean and precise lines in your knot drawing.
- Fine-tip pens or markers (optional): If you want to add more definition to your knot, consider using fine-tip pens or markers in different colors.
Now that you have your materials ready, let’s dive into the step-by-step process of drawing a knot.
Step 1: Start with Basic Shapes
Begin by sketching the basic shapes of your knot. Knots are often composed of interwoven lines and loops, so start by drawing a simple rectangle or square shape as the framework for your knot. This will serve as a guide for the placement and proportions of the interwoven lines.
Step 2: Add Intersecting Lines
Next, add intersecting lines within the framework shape to create the main structure of the knot. These lines will represent the paths that the interwoven lines will follow. Make sure the lines intersect and overlap each other at various points to create the illusion of an intertwining pattern.
Step 3: Create the Interwoven Lines
Now it’s time to create the detailed interwoven lines of your knot. Start by adding thicker lines along the intersecting lines you drew in the previous step. These lines will form the base of your knot. Then, add thinner lines that weave in and out of the thicker lines to create a sense of depth and complexity.
Step 4: Refine the Details
Once you have the basic interwoven lines in place, take a critical look at your drawing and refine the details. Pay attention to the areas where the lines overlap and adjust them to create a visually appealing composition. You can also add additional embellishments, such as loops or spirals, to make your knot more intricate and unique.
Step 5: Add Shading and Texture
To give your knot drawing more depth and dimension, add shading and texture. Start by identifying the light source in your drawing and imagine where the shadows would fall. Use your pencils to create gradual shading, starting with light strokes and gradually building up to darker tones. This will help give your knot a three-dimensional appearance. Additionally, you can add texture to your knot by lightly hatching or cross-hatching areas to create the illusion of different materials or surfaces.
Step 6: Finalize Your Drawing
Take a step back and evaluate your drawing. Look for any areas that need further refinement or adjustment. Make sure the lines are clean and the shading is smooth. If you’re satisfied with your knot drawing, you can finalize it by going over the lines with a fine-tip pen or marker. This will make the lines stand out more and give your drawing a polished look.
Conclusion
Drawing a knot may seem challenging at first, but by following these step-by-step instructions, you’ll be able to create intricate and visually stunning designs in no time. Remember to start with basic shapes, add intersecting lines, and then develop the interwoven lines. Refine the details, add shading and texture, and finalize your drawing with a pen or marker. With practice, your knot drawings will become more intricate and impressive. So grab your materials and start drawing knots to add a touch of elegance to your artwork!


