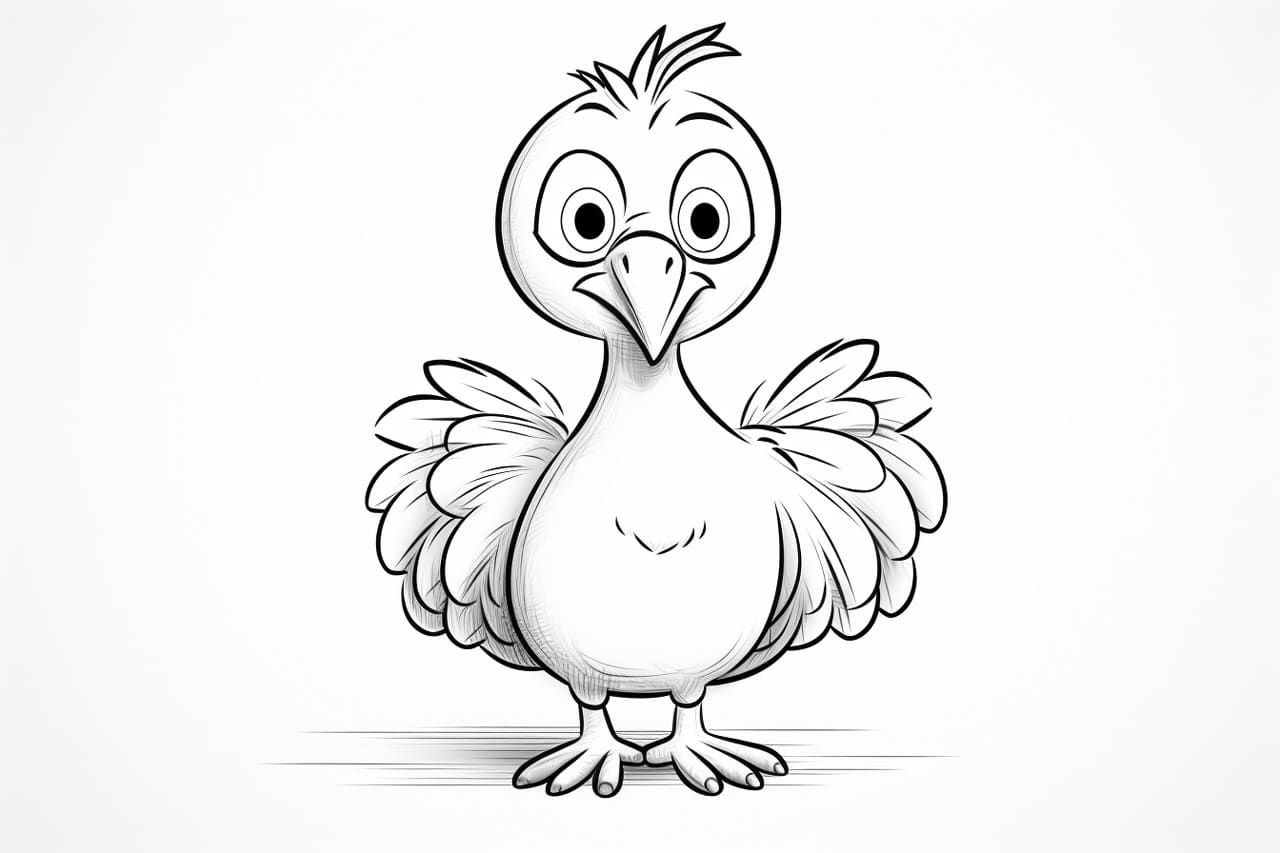
Welcome to this step-by-step guide on how to draw a cute turkey. With Thanksgiving just around the corner, what better way to bring some holiday cheer than by creating your very own turkey drawing? Whether you’re a seasoned artist or just starting, this tutorial will help you make an adorable turkey that will be the talk of the table. So, let’s get started!
Materials Required
Before we begin, let’s gather the materials you’ll need for this drawing. Here’s a list of what you’ll need:
- Pencil
- Eraser
- Paper
- Colored pencils or markers (optional)
Now that you have your materials ready, let’s dive into the drawing process.
Step 1: Draw the Body
To start, draw a large oval shape on your paper. This will be the body of the turkey. Make sure to leave some space at the top of the oval for the turkey’s head.
Step 2: Add the Turkey’s Head
Just above the oval shape, draw a smaller oval for the turkey’s head. Make sure it is proportionate to the body. Then, add a small triangle shape at the front of the head for the beak.
Step 3: Draw the Eyes
On each side of the beak, draw two small circles for the eyes. Add a tiny dot inside each eye to complete the look.
Step 4: Add the Feathers
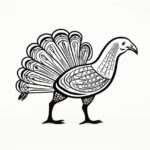
Now it’s time to add some feathers to our turkey drawing. Starting from the top of the body, draw a curved line that extends outwards. Repeat this process on both sides, creating a fan-like shape. These will be the turkey’s feathers.
Step 5: Complete the Feathers
To add more detail to the feathers, draw a series of curved lines inside the fan-like shape. These lines will give the feathers a textured look. Be creative and experiment with different patterns.
Step 6: Draw the Wings
On both sides of the body, draw two curved lines that extend outwards. These will be the turkey’s wings. Make sure the wings are proportionate to the body and feathers.
Step 7: Add the Legs and Feet
At the bottom of the body, draw two long, curved lines that extend downwards. These will be the turkey’s legs. At the end of each leg, add two small curved lines for the feet.
Step 8: Add Details to the Face
To give the turkey some character, add a small curved line underneath the beak. This will be the turkey’s wattle. Then, draw a small tuft of feathers sticking out from the top of the head. You can also add some lines near the beak to represent the turkey’s nostrils.
Step 9: Refine Your Drawing
Now that you have the basic shape of the turkey, take a moment to refine your drawing. Erase any unnecessary lines and make any adjustments to the proportions if needed. This is your chance to make the turkey truly unique.
Step 10: Color Your Drawing (optional)
If you want to add some color to your turkey drawing, now is the time. Use colored pencils or markers to bring your turkey to life. You can experiment with different color combinations and patterns. Get creative and have fun with it!
Conclusion
Congratulations! You have successfully learned how to draw a cute turkey. By following these step-by-step instructions, you have created a charming turkey drawing that is sure to impress your friends and family. Remember, practice makes perfect, so keep honing your drawing skills and exploring your creativity. Happy Thanksgiving!