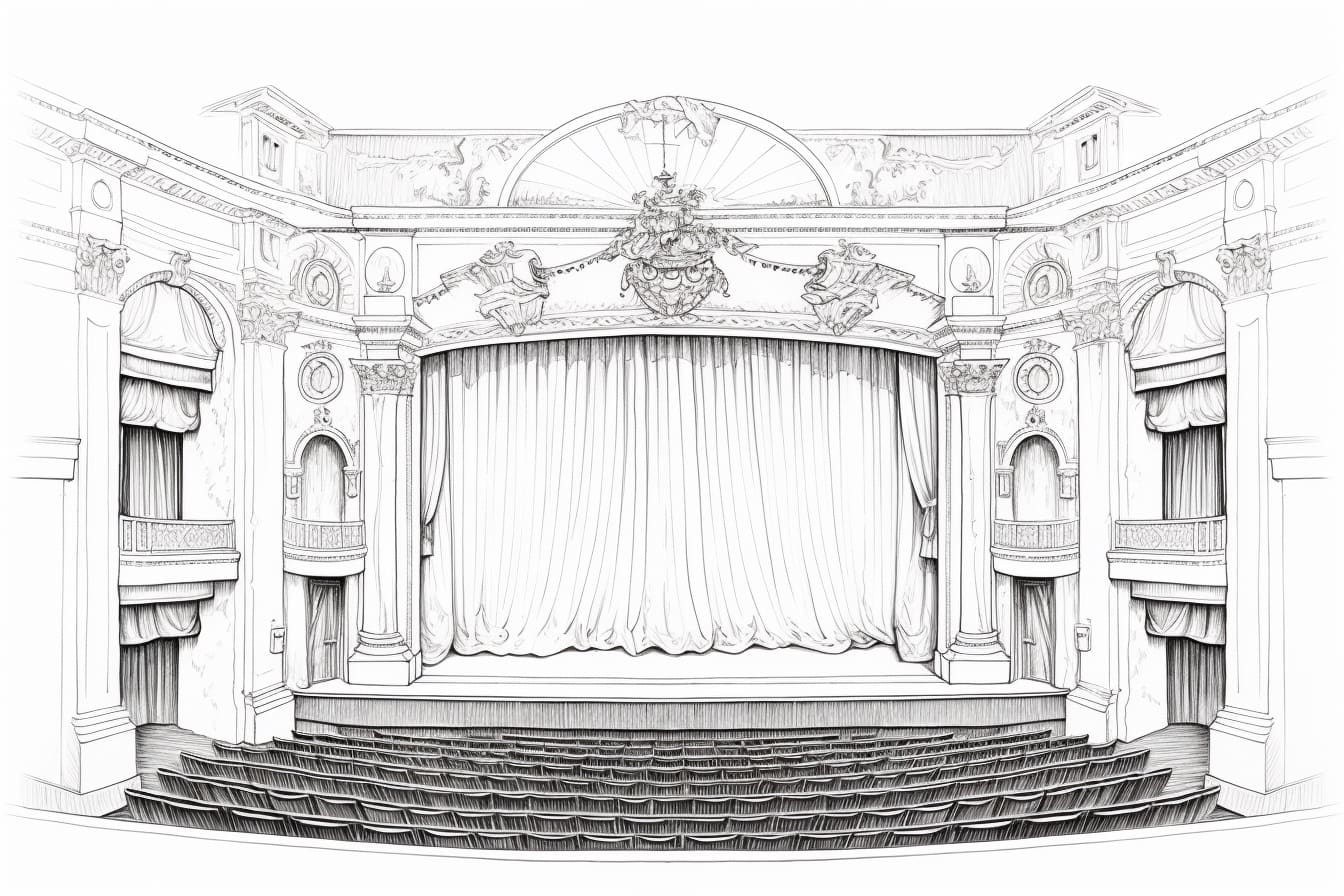
Welcome to this step-by-step guide on how to draw a theater! Whether you’re an aspiring artist, a theater enthusiast, or simply looking for a creative project to dive into, drawing a theater can be a fun and rewarding experience. In this tutorial, we will guide you through the process of creating a detailed and realistic theater drawing. So, grab your drawing materials and let’s get started!
Materials Required:
Before we begin, make sure you have the following materials handy:
- Drawing paper or sketch pad
- Pencils (HB, 2B, and 4B)
- Eraser
- Ruler
- Fine-tip black pen or marker
With these materials at your disposal, you’ll be able to create a detailed and visually stunning theater drawing.
Step 1: Sketch the Basic Structure
Start by drawing a horizontal line near the top of your paper. This line will serve as the horizon. Next, draw two vertical lines from the left and right sides of the horizon line, creating the basic outline of the theater building. Ensure that the vertical lines are evenly spaced and parallel to each other.
Step 2: Add the Roof and Walls
Draw a slanted line connecting the top ends of the vertical lines to create the roof of the theater. Then, extend the vertical lines downwards to form the walls of the building. Remember to leave space for the entrance and windows.
Step 3: Sketch the Entrance and Windows
Using your ruler, create a rectangular shape for the entrance to the theater. Add small details such as columns or archways to enhance the aesthetics. On the walls, draw rectangular shapes for the windows, evenly spaced from each other. Don’t forget to add smaller details like panes and curtains to make the windows more realistic.
Step 4: Add Details and Architecture
Now it’s time to add more details to the theater. Use your pencil to draw architectural elements like decorative pillars, balconies, or intricate patterns on the walls. Remember to pay attention to proportion and perspective to create a realistic look.
Step 5: Shade and Add Depth
With the basic structure and details in place, it’s time to bring your theater to life. Start by adding shading to create depth and dimension. Determine the direction of the light source and shade the areas that would be in shadow accordingly. Use your pencils to vary the shading, using lighter strokes for areas that catch more light and darker strokes for areas in shadow.
Step 6: Refine and Define
Go over your sketch with a finer pencil, such as a 2B or 4B, to define the lines and details more precisely. Erase any unnecessary guidelines or stray marks. This step will help refine your drawing and make it cleaner and more polished.
Step 7: Ink and Finalize
Once you are satisfied with your pencil drawing, use a fine-tip black pen or marker to ink over the lines. This will give your theater drawing a clean and professional look. Be careful to trace over only the lines you want to keep and avoid smudging the ink.
Conclusion
Congratulations! You have successfully learned how to draw a theater. By following these step-by-step instructions and using your creativity, you have created a detailed and realistic theater drawing. Drawing theaters can be a wonderful way to immerse yourself in the world of performing arts and architecture. So, grab your materials and keep practicing to refine your skills as an artist.
Remember, practice makes perfect, and the more you draw, the better you will become. So, don’t be afraid to experiment with different styles and techniques to develop your unique drawing style. Keep exploring the world of art and let your imagination soar!


