Drawing is a wonderful way to express your creativity and bring everyday objects to life on paper. In this step-by-step tutorial, we will guide you through the process of how to draw a bandaid. Whether you are a beginner or an experienced artist, this tutorial will provide the necessary techniques to create a lifelike representation of a bandaid. So grab your pencil and let’s get started!
Materials Required
Before we begin, gather the following materials:
- Paper: Choose a high-quality drawing paper that is suitable for your preferred drawing medium.
- Pencil: Use a medium softness pencil (HB or 2B) for initial sketching.
- Eraser: Have a soft eraser for correcting mistakes and a kneaded eraser for cleaning up your drawing.
- Fine-tipped pen or marker (optional): This will be used for outlining your final drawing.
- Colored pencils or markers (optional): If you want to add color to your bandaid drawing, have some colored pencils or markers ready.
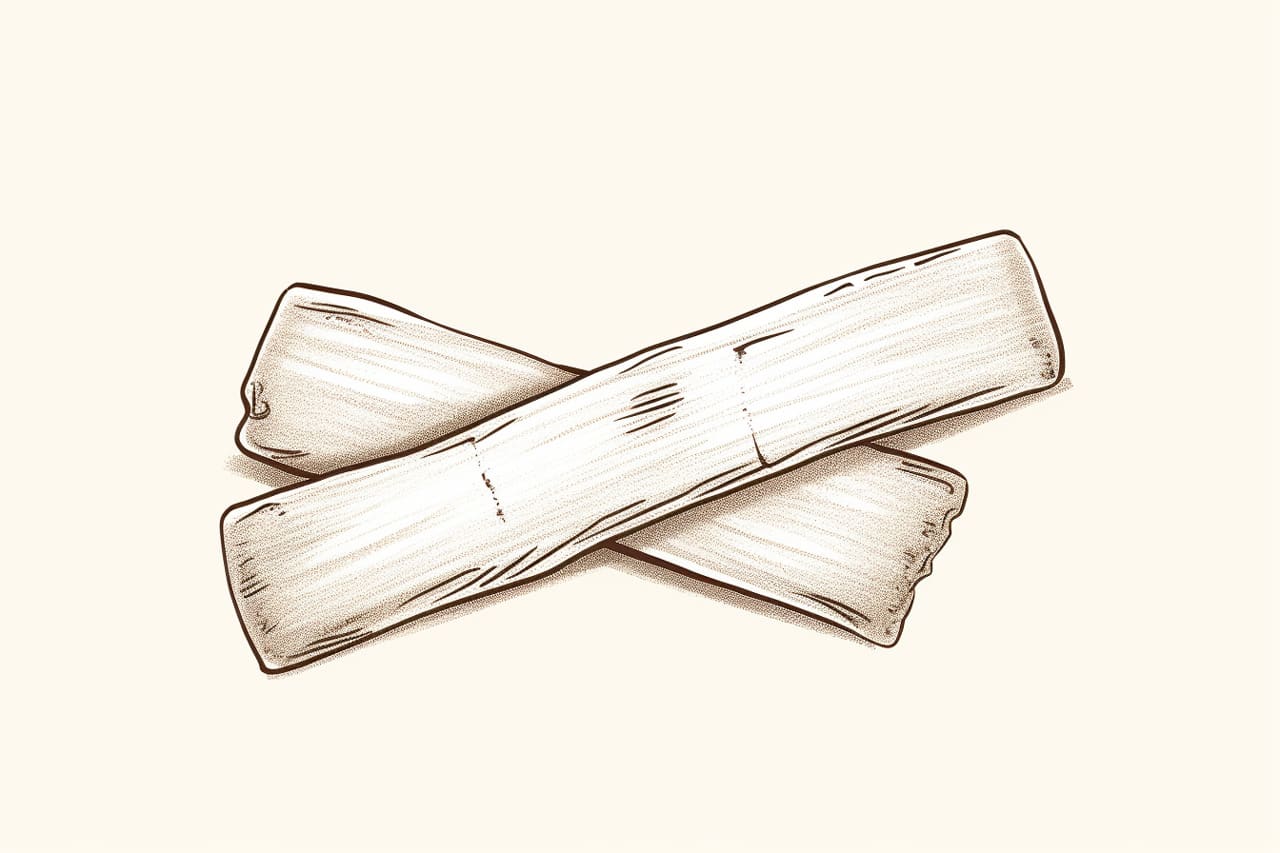
Step 1: Sketch the Basic Shape
Start by lightly sketching a rectangular shape on your paper. This will serve as the main body of the bandaid. It should be somewhat elongated with rounded corners. Take your time to ensure the proportions and shape are accurate.
Step 2: Add the Pad
Inside the rectangular shape, draw a smaller rectangular shape that represents the pad of the bandaid. The pad should be placed near the center of the bandaid. Make sure the edges of the pad align with the edges of the outer rectangle.
Step 3: Outline the Bandaid
Using the basic shapes as a guide, carefully outline the bandaid using a darker pencil or a fine-tipped pen. Pay attention to the curves and angles of the bandaid to create a clean and smooth outline.
Step 4: Add Texture
To make the bandaid look more realistic, we need to add texture. Draw a series of short, curved lines on the pad of the bandaid to represent the texture of the fabric. These lines should follow the contour of the pad and vary in length and direction. This will give the bandaid a woven appearance.
Step 5: Draw the Wings
On each side of the bandaid, draw two small wings that extend outward. These wings are used to secure the bandaid in place. They should be slightly curved and taper off towards the ends. Make sure the wings are symmetrical and aligned with each other.
Step 6: Add Details
Now it’s time to add the finishing touches to your bandaid drawing. Add two parallel lines on each wing to represent the adhesive strips. These lines should run along the length of the wings and be evenly spaced. You can also add small dots or circles on the pad of the bandaid to indicate the perforations.
Step 7: Refine and Erase
Take a step back and assess your drawing. Use a darker pencil or pen to refine the outline and make any necessary adjustments. If there are any unwanted sketch lines, gently erase them using a soft eraser. Pay attention to the overall shape and proportions of the bandaid to ensure accuracy.
Step 8: Color (optional)
If you wish to add color to your bandaid drawing, now is the time to do so. Use colored pencils or markers to shade the pad of the bandaid. You can mimic the color of a real bandaid or get creative and use different colors for a personalized touch. Color the wings and adhesive strips as well, if desired.
Conclusion
Congratulations, you have successfully learned how to draw a bandaid! By following these step-by-step instructions, you have acquired the skills to create a realistic representation of this everyday object. Drawing allows us to appreciate the beauty in everyday things, and a bandaid is a great example of that. So, keep practicing, experimenting with different techniques, and exploring the world of art. Remember, the more you draw, the better you become!