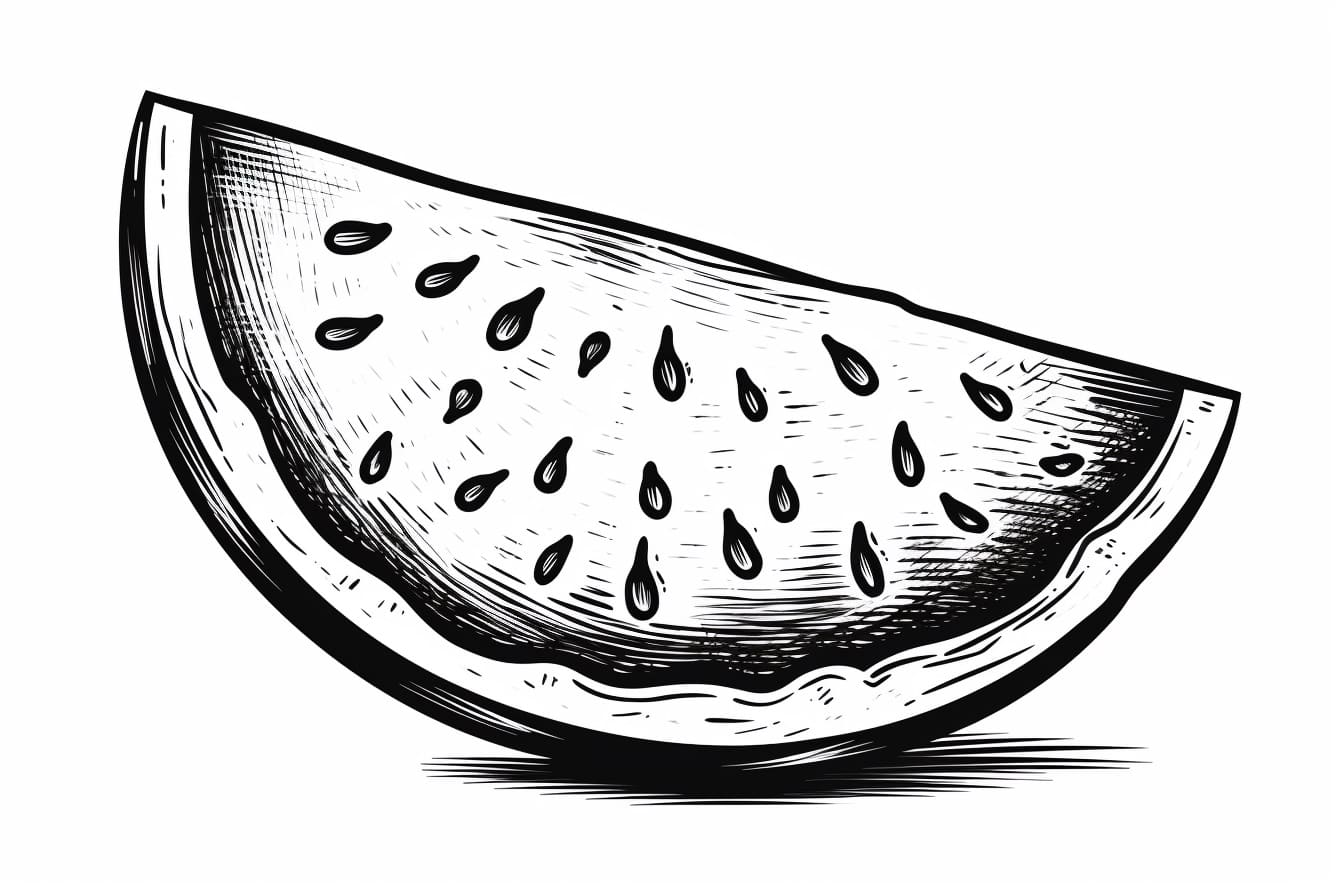
Drawing a watermelon slice is a fun and refreshing way to express your artistic skills. Whether you are a beginner or an experienced artist, this step-by-step guide will help you learn how to draw a watermelon slice. So grab your pencils, and let’s get started!
Materials Required
To create a beautiful watermelon slice drawing, you will need the following materials:
- Drawing paper
- Pencil (preferably HB or 2B)
- Eraser
- Colored pencils (green, red, and black)
- Blending stump or cotton swabs (optional)
- Reference image of a watermelon slice (optional)
Step 1: Sketch the Outline
Start by lightly sketching the outline of the watermelon slice. Use a light pencil, such as HB or 2B, to avoid leaving permanent marks on the paper. Begin with a rough oval shape to represent the overall shape of the watermelon. Then, add a curved line in the middle to indicate the division between the red and green parts of the fruit.
Step 2: Add the Rind
Next, draw the rind of the watermelon slice. The rind is the outer green skin of the fruit. Start by drawing a curved line following the outline of the oval shape, about a third of the way from the top. Then, draw another curved line parallel to the first, leaving some space in between. Connect the two lines at the top and bottom to form the rind.
Step 3: Define the Seed Area
Now, it’s time to define the area where the seeds will be. Draw a wavy line within the lower part of the watermelon slice. This irregular line will represent the edge of the red fruit flesh. Make sure to leave some space between the rind and the wavy line.
Step 4: Add the Seeds
Watermelon seeds are an important detail that adds realism to your drawing. Begin by drawing a small oval shape near the center of the red fruit flesh. Repeat this step to add more seeds, varying their sizes and positions within the seed area. Remember, seeds are not perfectly aligned or evenly spaced, so embrace the natural randomness.
Step 5: Shade the Rind
To give the rind a realistic texture, we will add shading. Start by darkening the area between the two lines that form the rind. Use short, curved lines to create the texture of the watermelon’s skin. Gradually increase the pressure on your pencil to achieve darker shades. Remember to leave some lighter areas to create contrast and depth.
Step 6: Color the Rind
Now, it’s time to color the rind of the watermelon slice. Use a dark green colored pencil to fill in the area between the two lines representing the rind. Apply the color evenly, following the contours of the watermelon. For a more vibrant look, add a layer of light green on top and blend the colors using a blending stump or a cotton swab.
Step 7: Shade the Fruit Flesh
To create a realistic appearance, we will add shading to the red fruit flesh. Start by lightly shading the entire seed area. Then, gradually darken the shading near the outer edges of the watermelon slice. This technique will give the fruit a three-dimensional look. Remember to use light, circular motions to avoid harsh lines and blend the shades together.
Step 8: Color the Fruit Flesh
Using a red colored pencil, start filling in the seed area with a light layer of color. Apply the color evenly, following the shape of the watermelon slice. Use a darker shade of red for the areas that are closer to the rind, gradually transitioning to a lighter shade towards the center. Blend the colors together gently to create a smooth transition.
Step 9: Add Highlights and Shadows
To enhance the realism of your watermelon slice drawing, we need to add highlights and shadows. Use a white colored pencil to create subtle highlights on the rind and the fruit flesh. These highlights should be placed on the opposite side of the light source, usually at the top-left corner. Then, use a black colored pencil to add shadows on the rind and around the seeds, giving the drawing more depth.
Step 10: Refine and Erase
Take a step back and examine your drawing. Look for any areas that need refinement or adjustments. Use a kneaded eraser or a gentle touch with a regular eraser to clean up any stray lines or smudges. Take your time with this step to ensure a clean and polished final result.
Conclusion
Congratulations! You have successfully created a realistic watermelon slice drawing. By following these step-by-step instructions, you have learned how to sketch the outline, add details, shade, and color to bring your watermelon slice to life. Remember to practice regularly and experiment with different techniques to further develop your drawing skills. Happy drawing!


