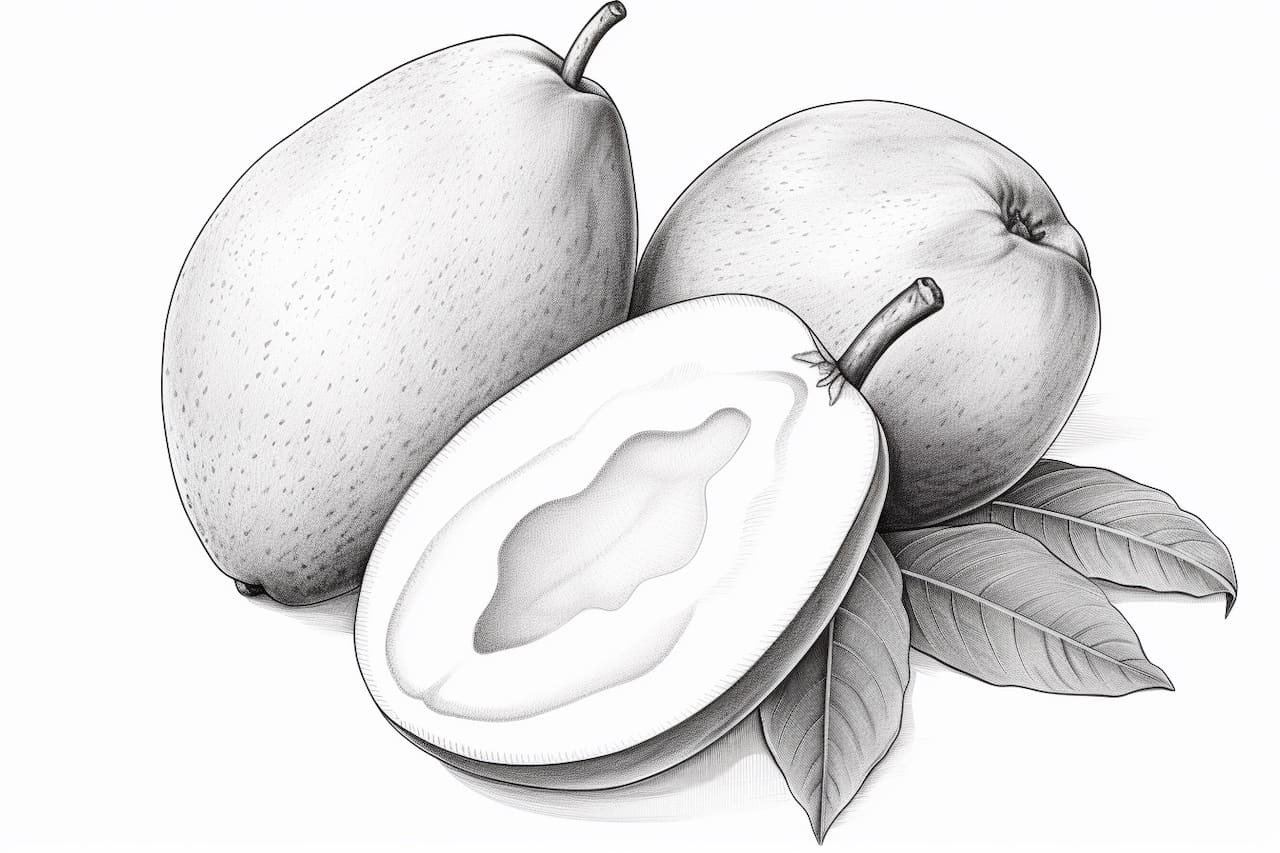
Welcome to this step-by-step guide on how to draw a realistic mango. In this tutorial, I will walk you through the process of creating a beautiful mango drawing from start to finish. Whether you are a beginner or an experienced artist, this tutorial will help you master the art of how to draw a mango. So let’s get started!
Materials Required
Before we begin, let’s gather all the necessary materials for this drawing. You will need:
- Drawing paper or sketchbook
- Pencil (preferably an HB or 2B)
- Eraser
- Colored pencils or markers (optional for adding color)
Now that we have everything we need, let’s move on to the step-by-step instructions.
Step 1: Draw the Basic Shape
Start by drawing a simple oval shape in the center of your paper. This will act as the main body of the mango. Keep the lines light and faint, as we will be adding details later.
Step 2: Add the Stem
Next, draw a small stem at the top of the mango. The stem should be slightly curved and extend from one end of the oval shape. Make sure to leave enough space for the leaves that we will add later.
Step 3: Sketch the Outline
Now, it’s time to sketch the outline of the mango. Begin by following the shape of the oval you drew in step 1. Make the lines slightly curved, as mangoes are not perfectly round. Pay attention to the contours and subtle curves of the fruit.
Step 4: Define the Shape
Refine the outline by adding more definition to the mango shape. Darken the lines and smooth out any rough edges. Pay attention to the areas where the mango curves inward and outward, as this will give your drawing a more realistic look.
Step 5: Draw the Details
Next, let’s add some details to the mango. Start by drawing a few short, curved lines across the fruit’s surface. These lines represent the natural ridges and indentations of a mango. Be careful not to overdo it; just a few lines will be sufficient to suggest the texture.
Step 6: Shade the Mango
To add depth and dimension to your drawing, let’s proceed with shading. Begin by identifying the light source in your drawing. This will determine where the shadows fall. Use your pencil to lightly shade the areas of the mango that are away from the light source. Gradually build up the shading, making it darker as you move away from the light.
Step 7: Add Highlights
Now, let’s add some highlights to make the mango appear more three-dimensional. Use a kneaded eraser or a white colored pencil to create small, bright spots on the surface of the fruit. These highlights will simulate the way light reflects off a shiny object like a mango.
Step 8: Draw the Leaves
To complete the drawing, let’s add some leaves to the stem. Start by drawing two curved lines extending from the top of the stem. These lines will serve as the center veins of the leaves. Then, draw several elongated, curved shapes on either side of the center veins to create the leaf blades. Add some smaller veins branching out from the center veins to add detail.
Step 9: Final Touches
The last step is to add any finishing touches and make any necessary adjustments. Take a step back and assess your drawing. Are there any areas that need more shading or blending? Are there any lines or shapes that need refinement? Take the time to make any necessary changes until you are satisfied with the final result.
Conclusion
Congratulations! You have successfully completed a realistic drawing of a mango. I hope this step-by-step guide has been helpful in improving your drawing skills. Remember, practice makes perfect, so keep honing your skills and don’t be afraid to experiment with different techniques. Enjoy the process and have fun creating more amazing drawings!