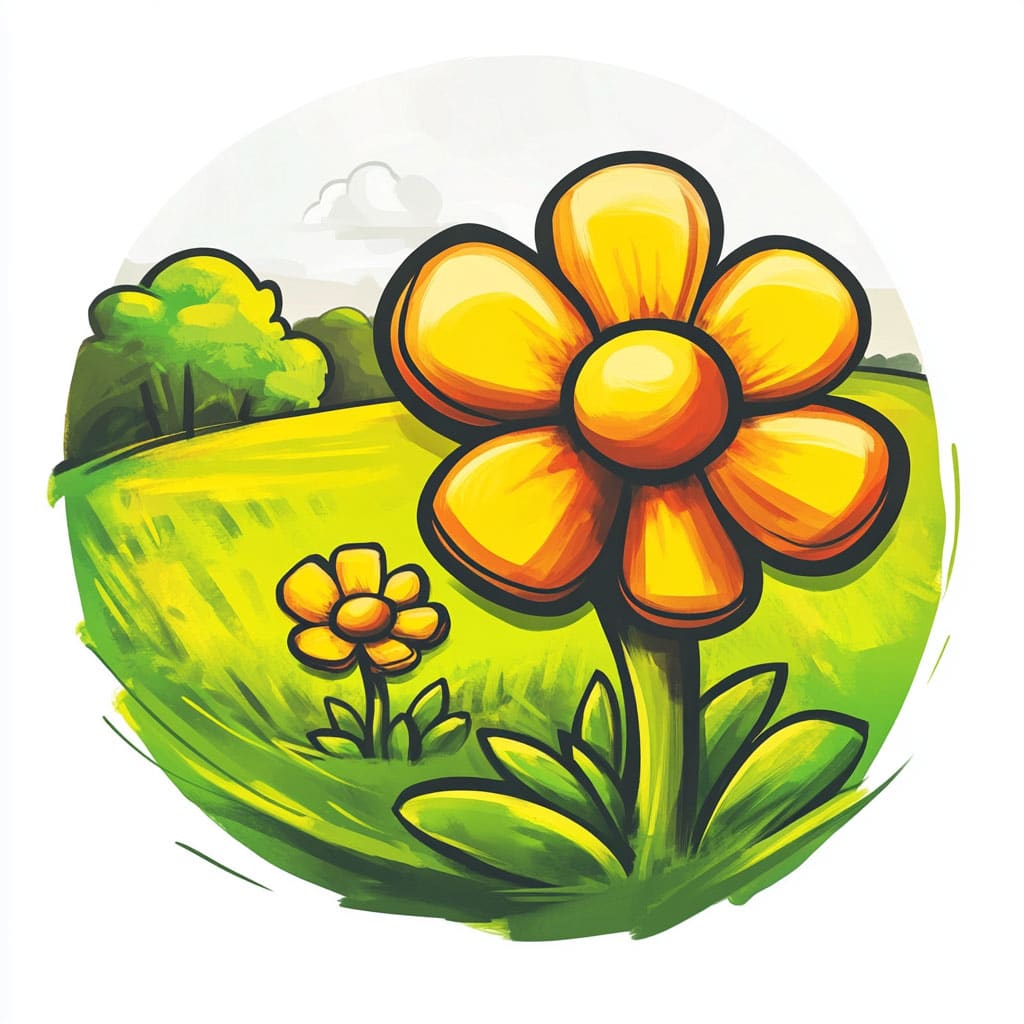
Are you ready to dive into a vibrant sea of blossoms and bring the beauty of nature to life on paper? In this step-by-step guide, we’ll explore how to draw a flower field that bursts with color, energy, and charm. Whether you’re a seasoned artist looking for a creative challenge or a beginner eager to try your hand at something new, this tutorial is designed to make the process simple and enjoyable.
With just a few basic materials and a touch of imagination, you’ll learn how to create a lively, blooming flower field that stretches across the horizon. From layering tiny blossoms to adding depth and texture, you’ll capture the essence of nature’s splendor in no time. So, grab your pencils, markers, or paints, and let’s journey into the artistic world of flower-filled meadows!
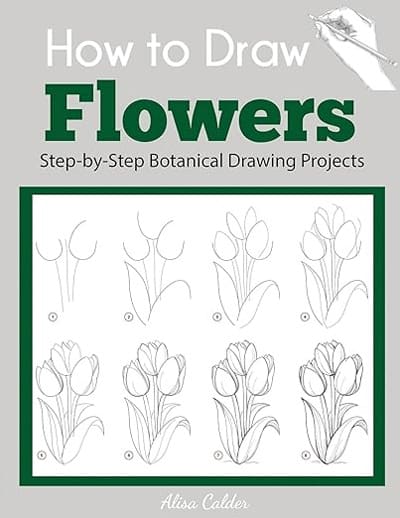
Learn How to Draw Flowers Step-by-Step
This simple and straightforward guide teaches you how to draw many different kinds of flowers with step-by-step instructions. It’s perfect both for total beginners and experienced artists who want to expand their skills.
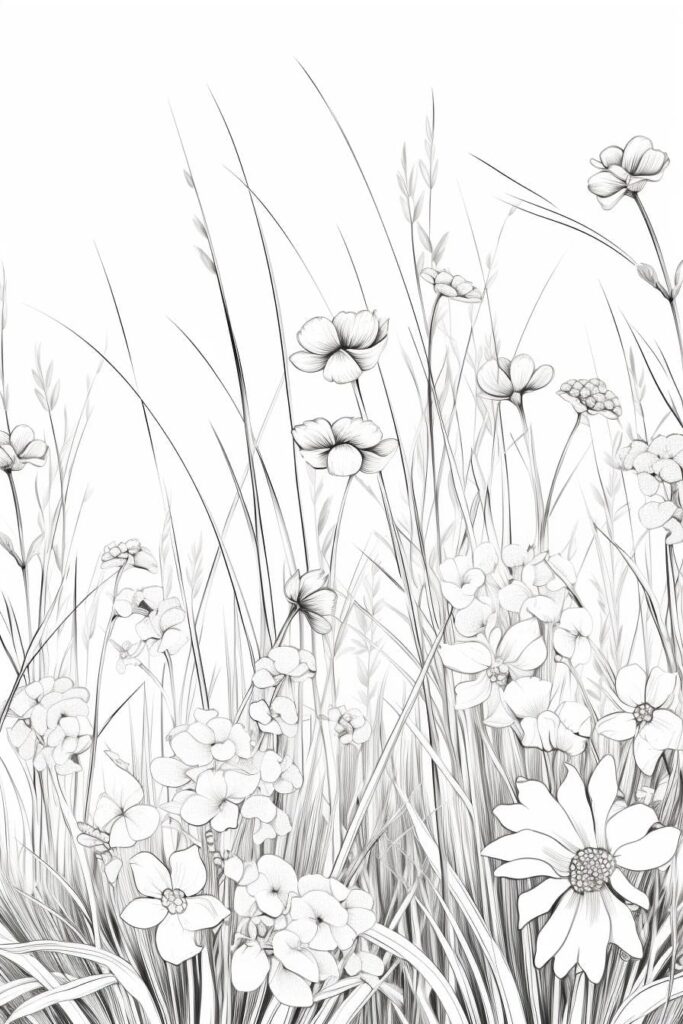
Materials Required
Before we begin, let’s gather the materials you will need:
- Drawing paper: Select a smooth and sturdy paper suitable for your preferred drawing medium.
- Pencils: Have a range of pencils with different levels of hardness, such as 2B, 4B, and 6B.
- Eraser: Choose a soft, non-abrasive eraser that won’t damage the paper.
- Colored pencils or markers (optional): If you wish to add color to your drawing, have some colored pencils or markers on hand.
Now that you have everything you need, let’s get started on our flower field drawing!
How to Draw a Flower Field: Step-by-Step Guide
Step 1: Lay the Foundation with a Horizon Line
Begin by lightly sketching a horizontal line across your paper. Position this line slightly above the center to give your flower field room to bloom in the foreground. The horizon line will act as a guide throughout your drawing, anchoring the composition and helping to establish depth in your scene.
Step 2: Shape the Rolling Hills
Using gentle, flowing lines, sketch the contours of rolling hills extending from the horizon line. These hills will form the background of your flower field. Keep the lines light and curvy to create a natural, organic landscape. Imagine the soft rise and fall of a countryside meadow, letting the shapes flow effortlessly across the page.
Step 3: Add Distant Flowers for Depth
Now, sprinkle the background with small, simple flower shapes to suggest a faraway field of blooms. Use tiny circles, ovals, or even dots to represent the flower heads. Space them unevenly to mimic the randomness of nature. These flowers should be small and minimally detailed to create the illusion of distance, blending seamlessly into the rolling hills.
Step 4: Bring Focus to the Foreground Flowers
Shift your attention to the foreground and draw larger, more detailed flowers. Begin with basic shapes—circles for daisies, ovals for tulips, or wider shapes for sunflowers. Arrange these flowers at varying heights and angles to give your field a lively and dynamic feel. Let some flowers overlap slightly to add a sense of depth and abundance.
Step 5: Add Stems and Leaves for Structure
Connect each flower to the ground by sketching long, curved stems. Use thin lines to represent the stems, ensuring they follow the natural flow of the flowers. Add leaves to the stems using elongated oval shapes. Vary the size, direction, and placement of the leaves to make them look organic and true to life.
Step 6: Detail the Petals for Realism
Now, enhance each flower with detailed petals. Draw overlapping petals around each flower head, paying attention to the shape and texture. For a whimsical feel, experiment with rounded petals or even heart-shaped ones. For more realism, let some petals curl slightly or extend unevenly to reflect the imperfections of nature.
Step 7: Enrich the Background with Trees and Bushes
To add depth and variety to your composition, sprinkle in a few simple trees or bushes in the background. Use basic shapes—like lollipop-style trees or rounded shrubs—to keep these elements subtle. Their presence will contrast beautifully with the delicate flowers and provide a sense of scale to your field.
Step 8: Highlight the Horizon Line
Trace over your horizon line with a darker pencil or pen to make it stand out. This defined line will ground the composition and add a clear sense of perspective to your drawing.
Step 9: Choose a Vibrant Color Palette (Optional)
If you plan to add color, take a moment to select a palette that matches your vision. For a soft and dreamy vibe, consider pastel tones like light pinks, yellows, and greens. If you want a bolder, more dramatic look, choose bright and contrasting hues such as vivid reds, purples, and oranges. The colors you pick will set the mood for your flower field.
Step 10: Add Color and Bring Your Scene to Life (Optional)
Now, bring your flower field to life with color! Use colored pencils, markers, or even watercolors to fill in the flowers, stems, and background elements. Layer lighter shades first, then gradually build up intensity to add depth and dimension. Blend colors gently to create smooth transitions, and use darker tones to shade areas in shadow. For the finishing touch, add subtle highlights with a white gel pen or pencil for a sparkling effect.
Blossoming Success: Your Flower Field is Complete!
Congratulations, artist! You’ve created a vibrant and lively flower field that captures the beauty of nature. From tiny, distant blooms to bold, detailed foreground flowers, your drawing is a testament to your creativity and attention to detail.
Keep practicing and experimenting with different flower types, layouts, and color schemes to develop your unique style. Whether your field is part of a larger composition or a standalone masterpiece, let it remind you of the endless possibilities in art. Let your creativity bloom, and happy drawing!
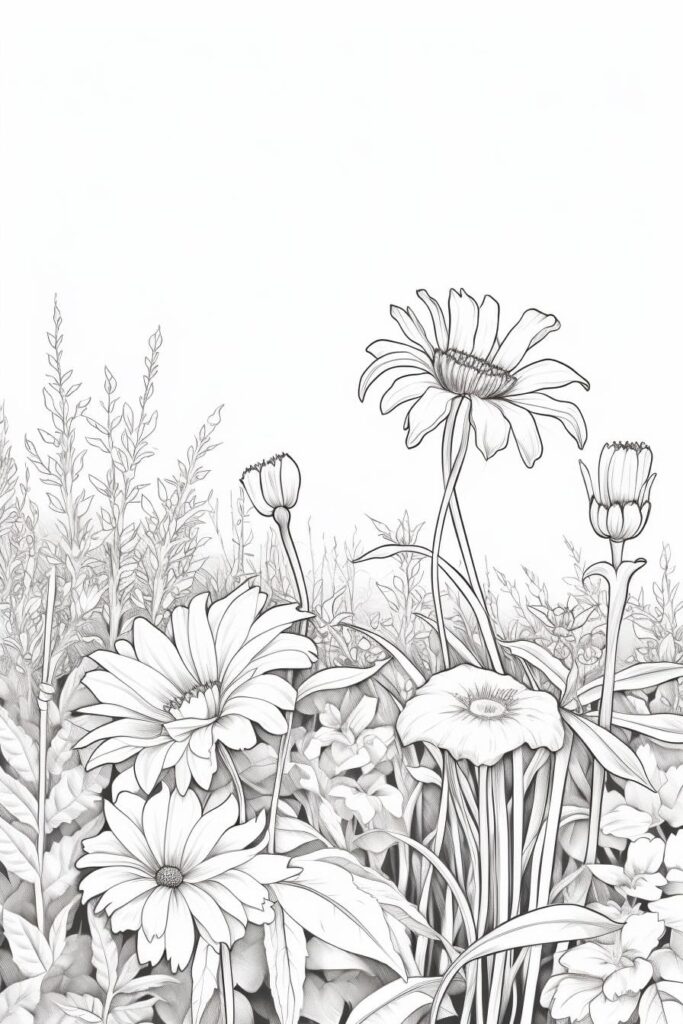
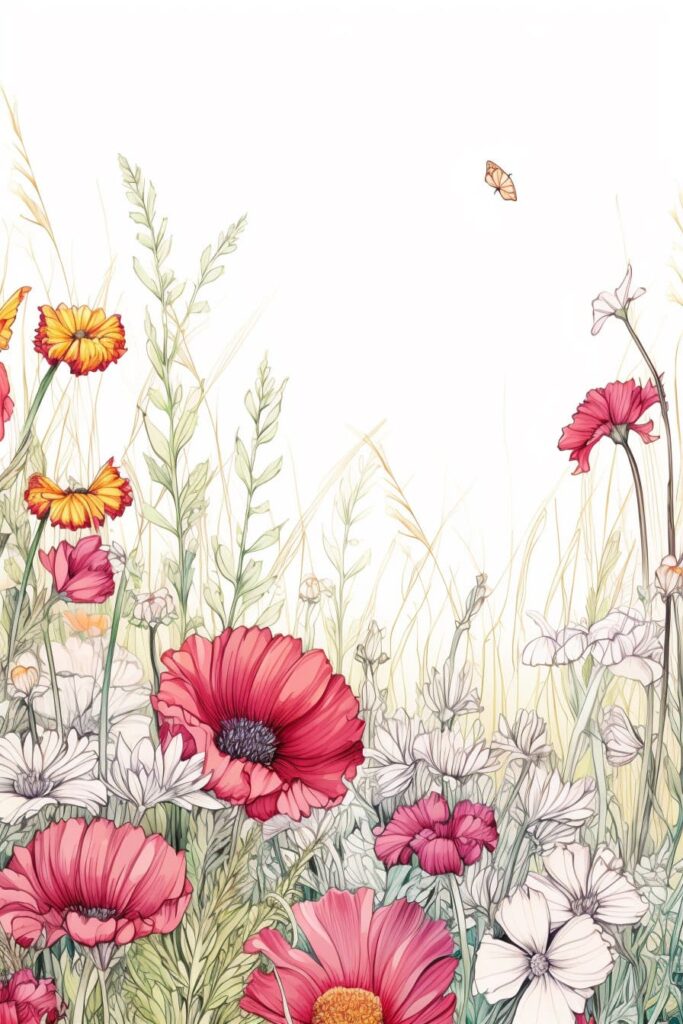
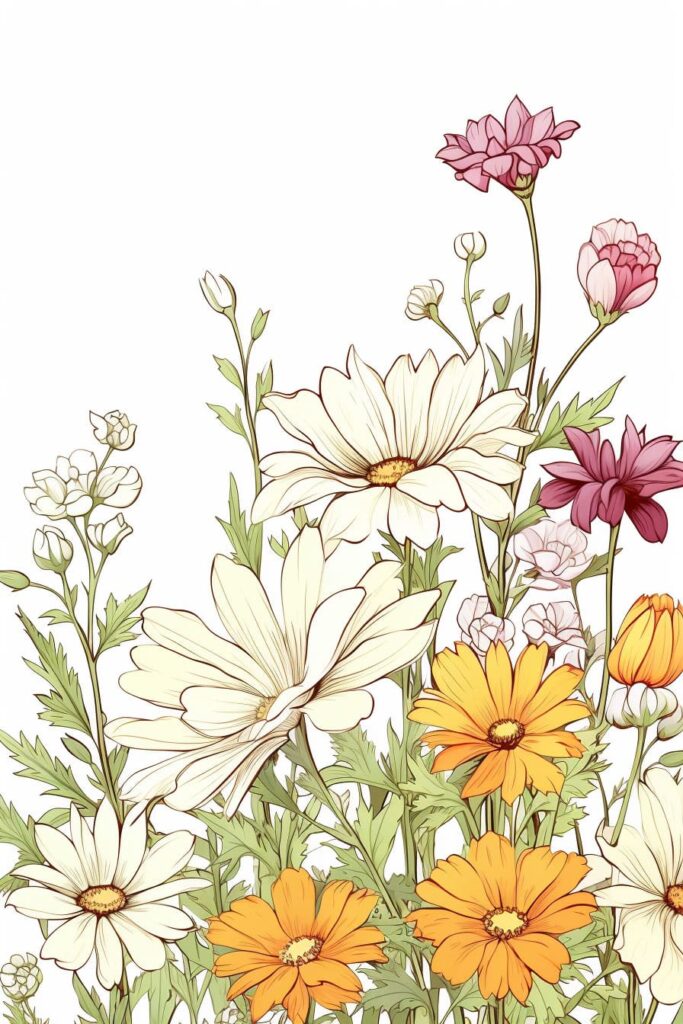
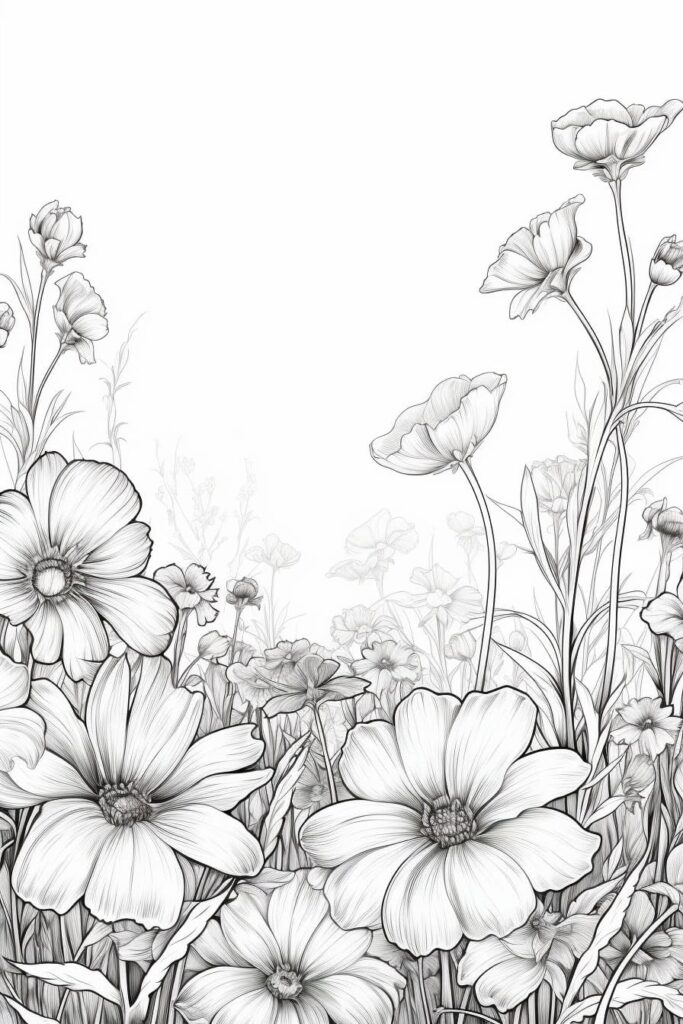
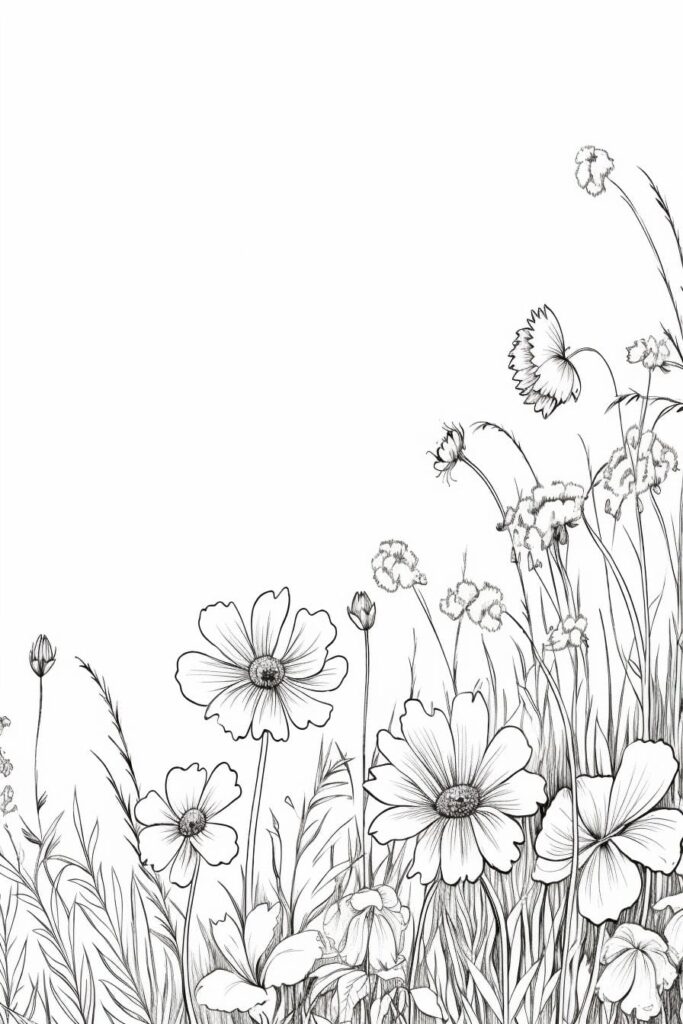
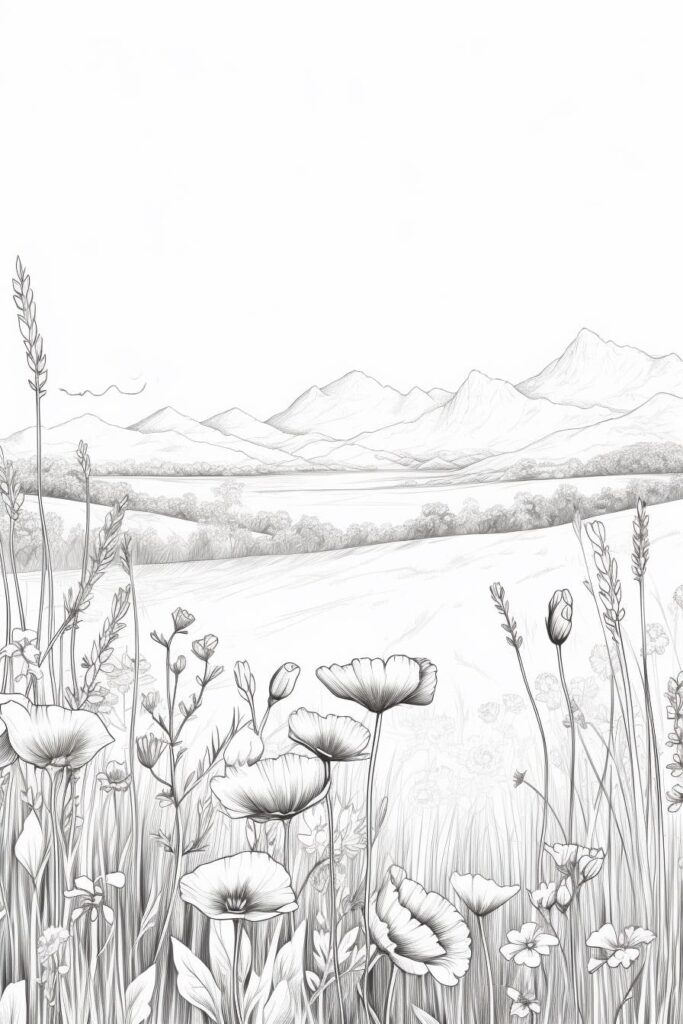
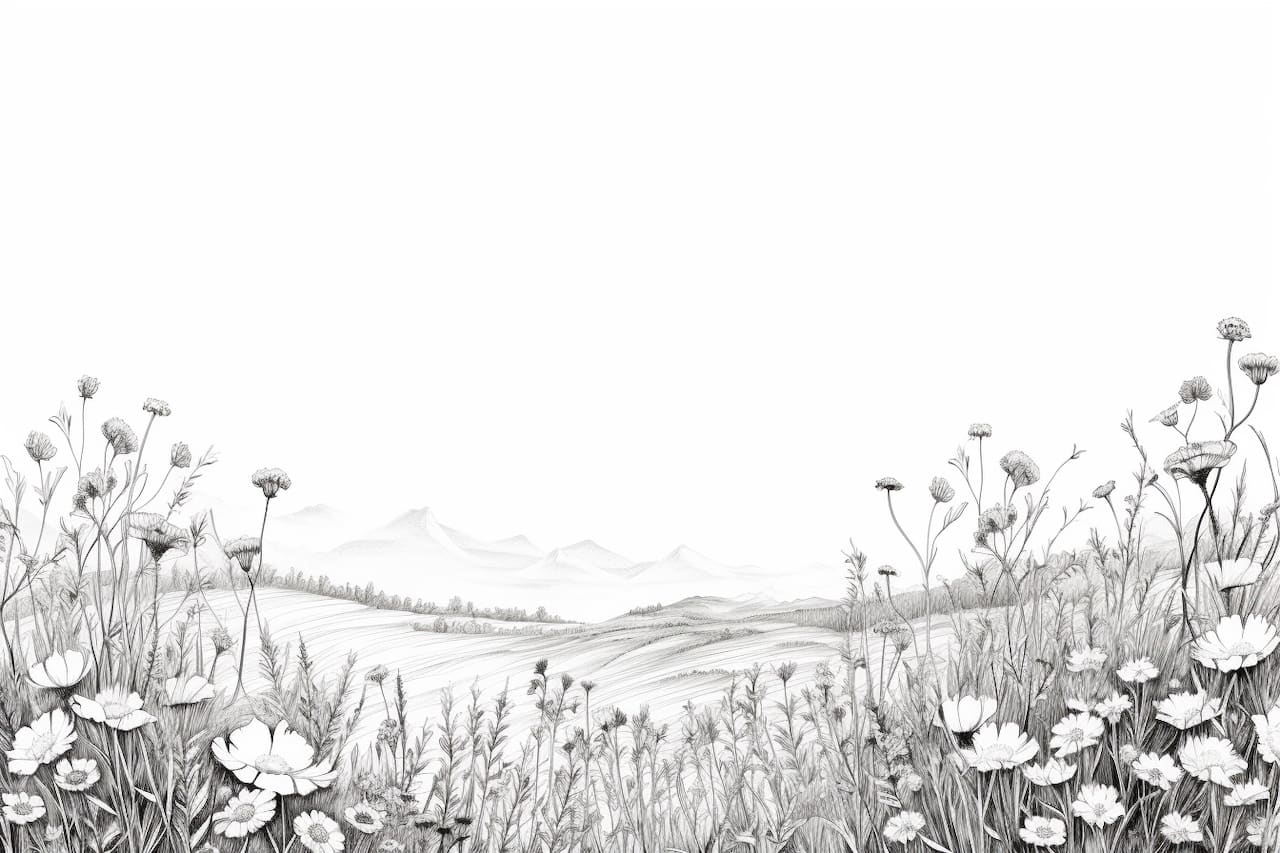
Gallery of Flower Field Drawings






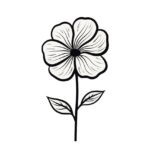
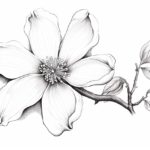
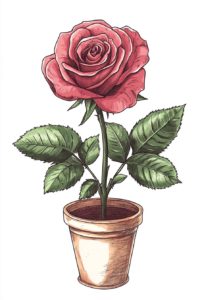 Flower Power