Welcome to this step-by-step guide on how to draw a mammoth! In this article, I will provide you with clear and concise instructions to help you create a realistic and captivating mammoth drawing. Whether you are a beginner or an experienced artist, follow along and discover the joy of bringing this magnificent creature to life on paper.
Materials Required
Before we get started, make sure you have the following materials on hand:
- Drawing paper
- Pencils (HB, 2B, 4B)
- Eraser
- Sharpener
- Ruler
- Blending stump or cotton swabs
- Reference image of a mammoth (you can find one online or use a book)
Now that you have all the necessary materials, let’s dive into the step-by-step process of drawing a mammoth.
Step 1: Basic Shapes and Proportions
Start by lightly sketching basic shapes to establish the proportions of the mammoth. Begin with a large oval for the body and add a smaller circle for the head. Connect these two shapes with simple, curved lines to create the neck.
Step 2: Outlining the Body
Using the basic shapes as a guide, refine the outline of the body by adding more defined curves. Pay attention to the curvature of the back and the legs to ensure accuracy. Remember to keep your lines light and easy to erase if needed.
Step 3: Adding the Head Details
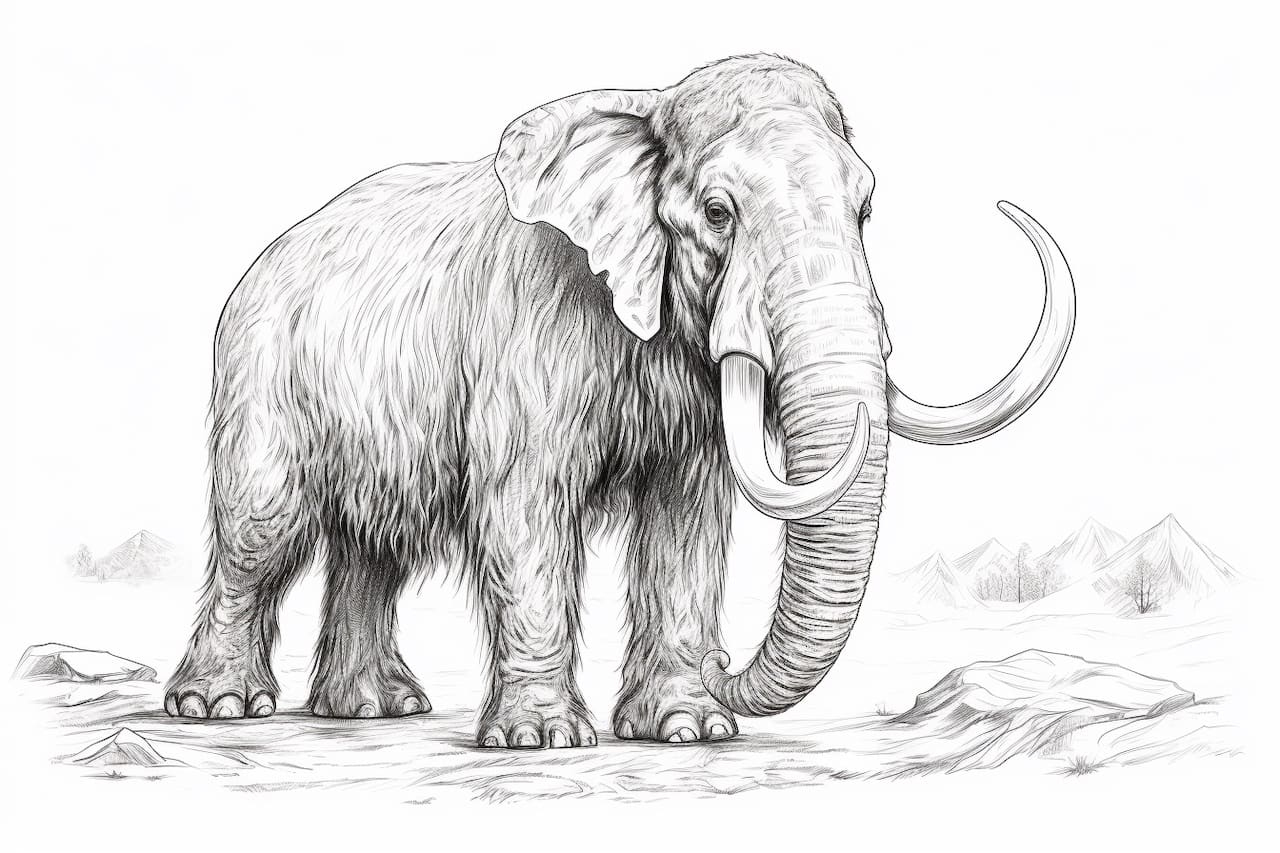
Next, outline the head, paying close attention to the shape of the eyes, ears, and trunk. Mammoths have small, circular eyes and long, curved tusks. Don’t forget to include the shaggy fur around the head and neck.
Step 4: Drawing the Legs
Now, focus on drawing the legs of the mammoth. Start with the front legs, making sure to capture the powerful and robust structure. Remember that mammoths have five toes on each foot, so make sure to include those details as well. Move on to the hind legs and make them slightly thicker to maintain balance.
Step 5: Adding Textures and Details
To add more realism to your drawing, it’s time to add textures and details. Mammoths have long, shaggy fur, so use your pencils and short, quick strokes to create this effect. Pay attention to the direction of the fur and vary the stroke length to add depth.
Step 6: Shading and Shadows
To bring your mammoth to life, focus on shading and adding shadows. Use a combination of light and dark pencil strokes to create depth and volume. Observe your reference image to identify areas of highlights and shadows, and apply the shading accordingly.
Step 7: Final Touches
As you near the completion of your drawing, take a step back and assess your work. Make any necessary adjustments to the proportions or details. Add any final touches, such as highlighting the eyes or adjusting the shading, to bring out the desired level of realism.
Conclusion
Congratulations! You have successfully learned how to draw a mammoth. By following these step-by-step instructions and using your creativity, you are now able to create stunning illustrations of this majestic creature. Remember to practice regularly and have fun exploring different techniques to improve your drawing skills. Happy drawing!