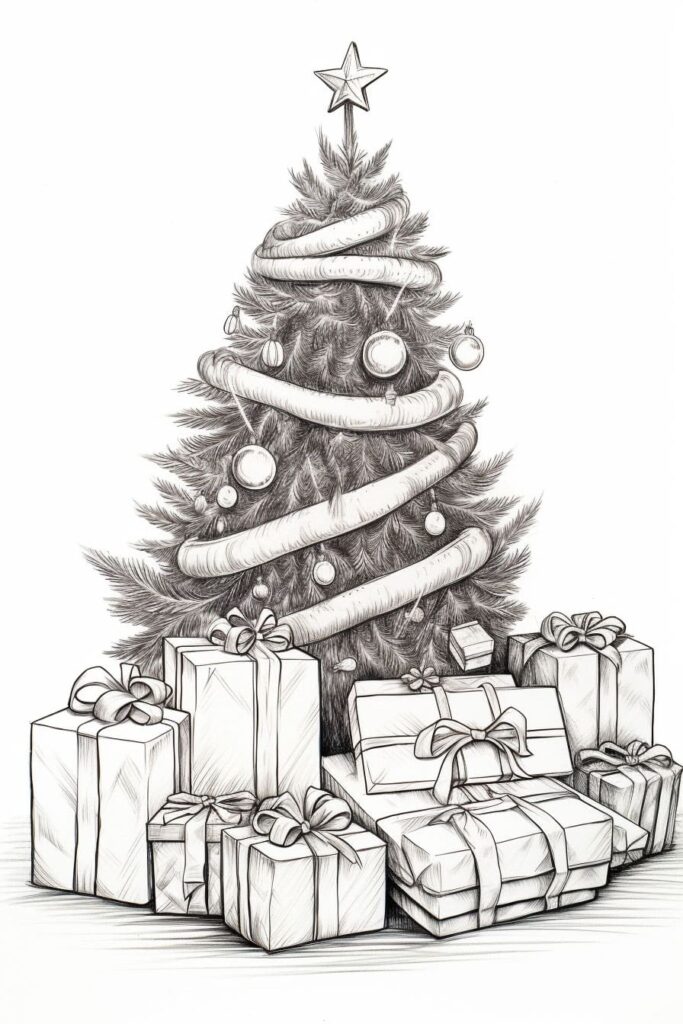
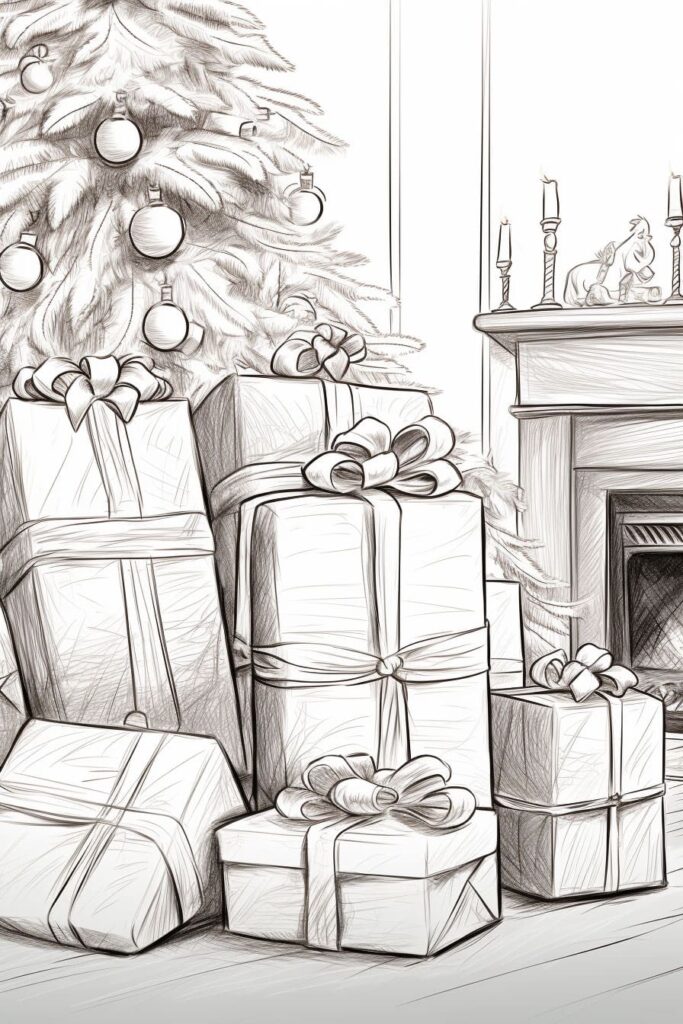
Are you ready to add a touch of holiday magic to your artwork? Drawing Christmas presents is the perfect way to sprinkle some festive cheer into your creations! Whether you’re designing homemade gift tags, decorating holiday cards, or simply creating a joyful illustration, learning how to draw Christmas presents will make your artwork shine brighter than the star on top of your tree.
In this step-by-step guide, we’ll unwrap the process of how to draw Christmas presents, complete with bows, ribbons, and all the festive details. You don’t need to be a professional artist—just grab some paper, a pencil, and a sprinkle of holiday spirit, and let’s get started on this merry artistic adventure!

Materials Required
To get started, gather the following materials:
- Paper: Choose a smooth, white paper suitable for drawing. A sketchbook or drawing pad would work well.
- Pencil: Pick a regular graphite pencil with medium hardness, like an HB or 2B.
- Eraser: Have a handy soft eraser to correct mistakes or lighten your pencil lines.
- Colored pencils or markers: If you want to add color to your Christmas presents, grab some colored pencils or markers in your preferred shades. You can choose traditional holiday colors like red, green, and gold, or get creative and experiment with different combinations.
Once you have everything, find a comfortable and well-lit space to begin your artistic journey!
How to Draw Christmas Presents: A Festive Step-by-Step
Step 1: Sketch the Foundation of Festivity
Let’s begin with the heart of your holiday masterpiece! Lightly sketch a rectangular shape to form the main body of your Christmas present. This will be the foundation of your drawing, so feel free to experiment with different sizes—whether it’s a petite package for something sweet or a towering box of surprises, it’s entirely up to you! Keep your pencil strokes light and airy, as this stage is all about building the structure.
Step 2: Crafting the Perfect Bow
No Christmas gift is complete without a bow! Perched on top of your rectangle, sketch two soft, looped shapes like bunny ears to form the bow’s signature loops. Connect them with a small rectangle or oval knot at the center. For extra pizzazz, let the bow flow generously or keep it chic and petite—there’s no wrong way to deck out your gift!
Step 3: Let the Ribbon Flow
Bring your bow to life by adding flowing ribbons cascading down the gift. From the bottom corners of your rectangle, draw diagonal or gently curved lines extending upward to the bow’s knot. You can even let the ribbons twist or flutter for a more dynamic touch. Now your present is starting to look like it belongs under the tree!
Step 4: Adding Depth and Dimension
Here’s where your present starts to pop! Imagine a light source shining on your gift. Shade one side of the rectangle slightly darker to give your drawing a three-dimensional look. Gently blend the shading with your pencil to create smooth transitions between light and shadow. This small detail will make your gift feel real enough to unwrap!
Step 5: Wrap It in Style
Time to get creative with wrapping paper designs! Decorate your present with stripes, polka dots, holly sprigs, or even tiny reindeer. Don’t shy away from experimenting—this is your chance to let your holiday spirit shine. Use colored pencils or markers to add bold, festive hues, transforming your sketch into a vibrant centerpiece of cheer.
Step 6: The Final Flourishes
It’s all in the details! Review your drawing to ensure everything looks balanced. Add a personalized tag with a name or a holiday message, sprinkle some glittery highlights on the ribbon, or sketch a sprig of mistletoe for an extra festive touch. These small embellishments will make your Christmas present drawing uniquely yours.
Tying it All Together: Your Festive Masterpiece
Congratulations, you’ve officially mastered the art of drawing Christmas presents! With your creative touch and attention to detail, you’ve transformed a simple rectangle into a joyful gift brimming with holiday charm. Whether you’re using your illustration for greeting cards, handmade decorations, or just for fun, you’ve brought a touch of festive magic to your art.
Remember, every artist has their own style, so don’t be afraid to play with colors, patterns, and designs in future drawings. The more you practice, the more your creations will sparkle. Happy drawing, and may your holidays be as vibrant as your artwork!

