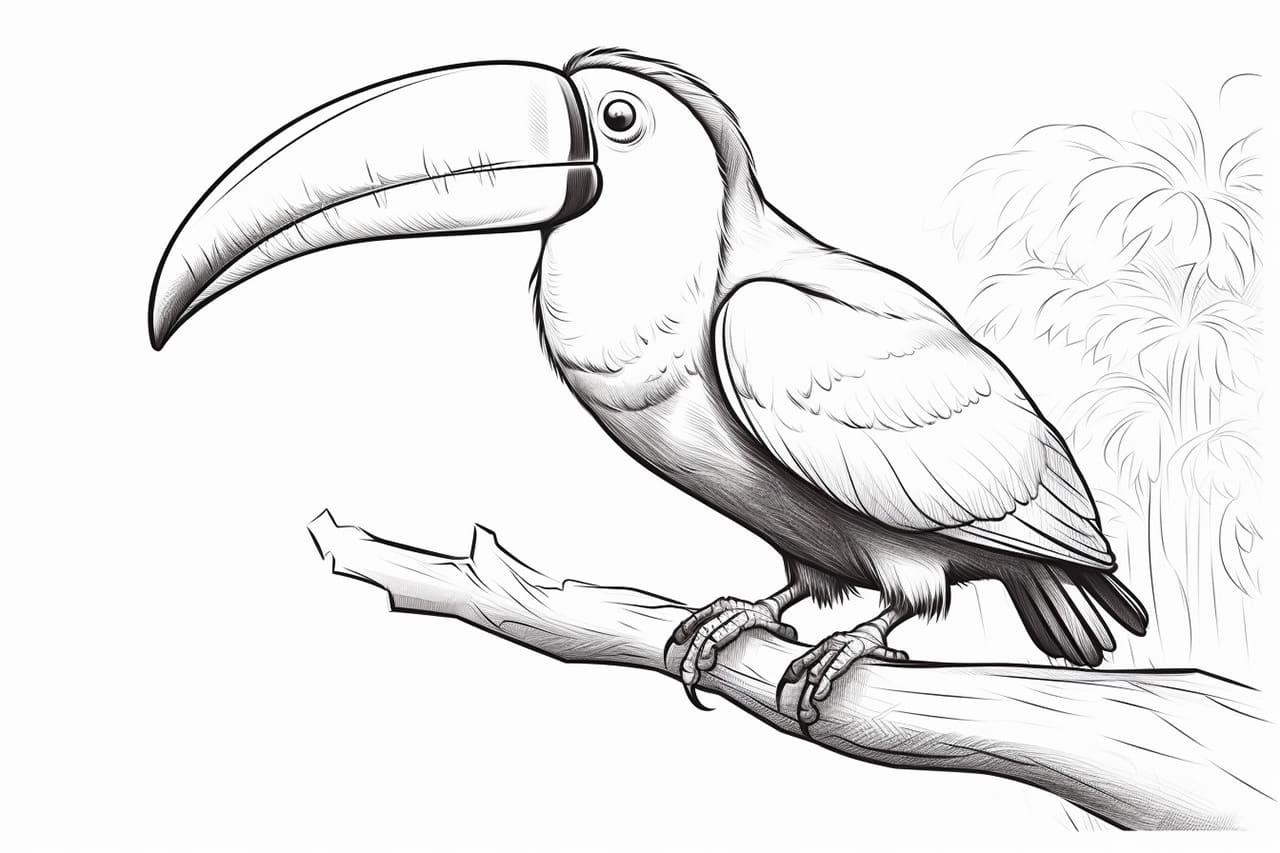
Deep in the heart of the lush, tropical rainforest, where sunlight filters through towering canopies and vibrant creatures fill the air with sound, lives one of nature’s most striking birds—the toucan. With its oversized, colorful beak and playful personality, the toucan is a fascinating subject to bring to life on paper.
Welcome to this step-by-step tutorial on how to draw a toucan! Whether you’re a beginner picking up a pencil for the first time or an experienced artist looking to refine your skills, this guide will take you through capturing this exotic bird’s beauty. From sketching its graceful body to adding the bold, vivid hues that make it stand out in the jungle, we’ll cover everything you need to create your very own toucan masterpiece.
So, grab your drawing tools, find a cozy spot, and let’s journey into the rainforest—one pencil stroke at a time!
Materials Required
Before we begin, let’s gather the materials you will need for this drawing:
- Drawing paper or sketchbook
- Pencils (HB, 2B, 4B, and 6B)
- Eraser
- Sharpener
- Ruler
- Colored pencils or markers (optional)
With these materials at hand, we’re ready to start our toucan drawing!
Step 1: Reference Image
It’s always a good idea to have a reference image when drawing animals. For this tutorial, you can search for a high-quality image of a toucan online or refer to a photography book. Having a reference will help you with the details and proportions.
Step 2: Sketch the Outline
Start by lightly sketching the basic outline of the toucan’s body using a pencil. Begin with the head, which is usually larger than the body. Then, draw the body, wings, and tail. Pay attention to the shape and proportions of each part. Remember, this is just an initial sketch, so don’t worry about making it perfect.
Step 3: Draw the Beak
Next, focus on the toucan’s most distinctive feature—the beak. Use a ruler to draw a straight line from the top of the head for the upper beak. Then, draw a curving line underneath for the lower beak. The beak should be long, narrow, and slightly curved downwards. Take your time to get the shape right, as it will greatly contribute to the toucan’s overall appearance.
Step 4: Add the Eyes
Now, let’s add some life to our toucan by drawing the eyes. Draw two round circles within the head, leaving a small space in between for the beak. Inside each eye, draw a smaller circle for the pupil. The toucan’s eyes are usually dark and quite expressive, so make sure to capture that in your drawing.
Step 5: Detail the Feathers
With the basic outline in place, it’s time to start adding some detail. Toucans have striking feathers, so let’s focus on those next. Begin by sketching the outline of the feathers using a lighter pencil, such as an HB or 2B. Then, gradually add more definition and texture by shading in the feathers with a darker pencil, like a 4B or 6B. Pay attention to the direction and flow of the feathers as you draw.
Step 6: Shade the Body
To give our toucan drawing a sense of depth and dimension, let’s start shading the body. Use a darker pencil to shade the areas that appear darker in the reference image, such as the edges of the wings, the tail, and any shadows cast by the feathers. Take your time and build up the shading gradually, using light strokes and blending as needed.
Step 7: Color the Beak
Now that we have the basic structure and shading in place, let’s add some color to the beak. Toucans have vibrant beaks with a variety of colors, so feel free to get creative here! Use colored pencils or markers to carefully fill in the beak, following the natural color patterns. Remember to layer the colors to achieve a realistic effect.
Step 8: Final Touches
To complete our toucan drawing, let’s add some final touches. Use an eraser to carefully remove any unnecessary pencil marks and smudges. Then, go over the lines with a darker pencil to define them further. You can also add some details, such as texture and shading, to the feathers to make them stand out even more. Take your time with these final touches to ensure a polished and finished look.
Conclusion
Congratulations on completing your toucan drawing! By following these step-by-step instructions, you have created a beautiful representation of this extraordinary bird. Remember, practice is key to improving your drawing skills, so don’t hesitate to try drawing other animals and subjects as well. Keep exploring, experimenting, and enjoying the wonderful world of art.
Fun Facts About Toucans
- Toucans are known for their oversized, colorful beaks, which can be nearly as long as their bodies—but are actually light and hollow inside!
- Despite their flashy appearance, toucans are shy and live high in the rainforest canopy, where their colors help them blend with fruit and flowers.
- Their large bills aren’t just for show—toucans use them to reach fruit, defend territory, and regulate body temperature through blood flow.
- Toucans can’t sing, but they’re far from silent—they make a variety of croaks, grunts, and rattling calls to communicate with one another.
- There are over 40 species of toucan, ranging in size and color, all native to Central and South America’s tropical rainforests.
- Toucans eat mostly fruit, but they’ll also snack on insects, lizards, or even small eggs—making them opportunistic omnivores.
- Their zygodactyl feet (two toes forward, two back) help them grip branches securely and hop from limb to limb in the dense canopy.
- Toucans nest in tree cavities, often ones hollowed out by woodpeckers—and their tail feathers can fold forward to help them curl up tightly inside.
- Toucans have inspired everything from cereal mascots (like Toucan Sam) to tropical decor, tattoo art, and modern illustration styles.
- In many cultures, toucans are seen as symbols of communication, confidence, and vibrant expression—perfect for artistic inspiration!
Suggestions for Scenes and Settings for Toucan Drawings
- Rainforest Canopy Perch: Draw a toucan resting on a high jungle branch, surrounded by vines, orchids, and shafts of sunlight filtering through the leaves.
- Tropical Fruit Feast: Picture a toucan reaching for a juicy papaya or mango, with fruit slices scattered around and parrots looking on in envy.
- Toucan Close-Up Portrait: Create a detailed profile of a toucan’s head and bill, using vibrant colors and stylized textures for the feathers.
- Sunrise in the Trees: Show a silhouetted toucan against a warm morning sky, its beak glowing in the first light of day.
- Toucan and Hummingbird Encounter: Illustrate a whimsical meeting between a large, curious toucan and a tiny hummingbird hovering mid-air.
- Cartoon Jungle Adventure: Turn your toucan into a cartoon character with a backpack, navigating jungle ruins or swinging on vines.
- Toucan Nesting Scene: Draw a family of toucans inside a tree hollow, with babies peeking out and leafy surroundings all around.
- Rainy Day Jungle: Create a moody, misty scene with rain dripping off leaves and a toucan fluffed up, hiding beneath a leafy umbrella.
- Patterned Toucan Art: Design a stylized, pattern-heavy toucan surrounded by geometric leaves, tropical motifs, and bold colors—great for poster art!
- Treetop Group Chat: Picture multiple toucans chattering on a big branch, each with a unique color pattern and quirky personality.
Related posts:
 How to Draw a Duckling in 8 Easy Steps
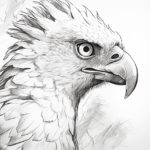 How to Draw a Harpy Eagle in 10 Simple Steps
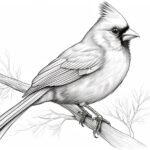 How to Draw a Cardinal in 7 Simple Steps
 How to Draw an Elephant in 6 Simple Steps
 How to Draw Guinea Pigs in 7 Simple Steps
 How to Draw a Lion in 5 Simple Steps
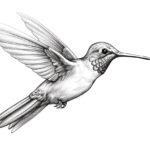 How to Draw a Hummingbird
 How to Draw a Cat in 5 Simple Steps