Are you interested in learning how to draw a backpack? Whether you’re an aspiring artist or just looking to have some fun with doodling, this step-by-step guide will walk you through the process of drawing a backpack in a clear and concise manner. Grab your pencil and let’s get started!
Materials Required
Before we dive into the steps, let’s gather the necessary materials:
- Paper: You can use any type of paper you have available. A sketchbook or drawing paper works well.
- Pencil: Use a regular HB pencil or any pencil that you’re comfortable with.
- Eraser: Keep an eraser handy to correct any mistakes or refine your lines.
- Ruler: A ruler will help you create straight and precise lines, but it’s optional.
- Reference phots: a reference image of a backpack will help you get the details right.
Now that we have everything we need, let’s begin drawing our backpack.
Step 1: Draw the Outline of the Backpack
Start by drawing the basic shape of the backpack. Imagine it as a rectangle slightly taller than it is wide. Use light and loose pencil strokes as you sketch the outline, as we’ll be refining it later.
Step 2: Add the Main Flap and Straps
In this step, we will continue building the structure of the backpack by adding the main flap and the essential straps that hold it in place. These elements give the backpack its distinctive appearance and functionality.
1. Main Flap: Begin by directing your attention to the top portion of the rectangular shape you’ve drawn. This is where the main flap of the backpack will be situated. To create the main flap, draw a slightly curved line that extends across the width of the top of the rectangle. This curve adds a touch of style and functionality to the backpack’s design. Ensure that the curved line extends slightly beyond the top edge of the rectangle to depict how the flap folds over to protect the contents of the backpack.
2. Straps: Next, let’s add the straps that will allow the backpack to be comfortably worn. These straps are a defining feature of any backpack and play a crucial role in distributing the weight of the bag.
a. Vertical Lines: Draw two vertical lines that originate from the top corners of the rectangle and extend downward. These lines represent the primary straps of the backpack. Ensure that they are roughly parallel and evenly spaced on either side of the rectangular shape. The length of these straps can vary depending on the design of the backpack, but they typically extend down to the lower portion of the bag.
b. Adjustment and Support Straps: Backpacks often have additional straps for adjustment and support. Draw shorter horizontal lines that intersect the vertical straps. These horizontal lines represent adjustable straps or buckles that allow the wearer to customize the fit of the backpack. You can also include smaller details like buckles and clasps to enhance the realism of your drawing.
3. Proportion and Perspective: Pay attention to the proportion and perspective of the straps. As the straps recede into the distance, they may appear narrower and converge slightly. This perspective detail adds depth to your drawing, making it look more three-dimensional.
4. Balance and Symmetry: Ensure that the straps are symmetrical and balanced on both sides of the backpack. Symmetry is essential for creating a visually pleasing and realistic representation.
Adding the main flap and straps not only defines the essential components of the backpack but also brings character and functionality to your drawing. These elements are vital in conveying the purpose and style of the backpack you’re illustrating. With this step complete, your backpack drawing is well on its way to becoming a detailed and accurate representation of this everyday accessory.
Step 3: Define the Flap and Straps
In this step, we’ll define the shape of the flap and the straps more clearly. Start by adding curved lines on both sides of the main flap to create a sense of depth. Then, refine the shape of the straps to make them look more realistic. Remember to use light pencil strokes until you’re satisfied with the proportions.
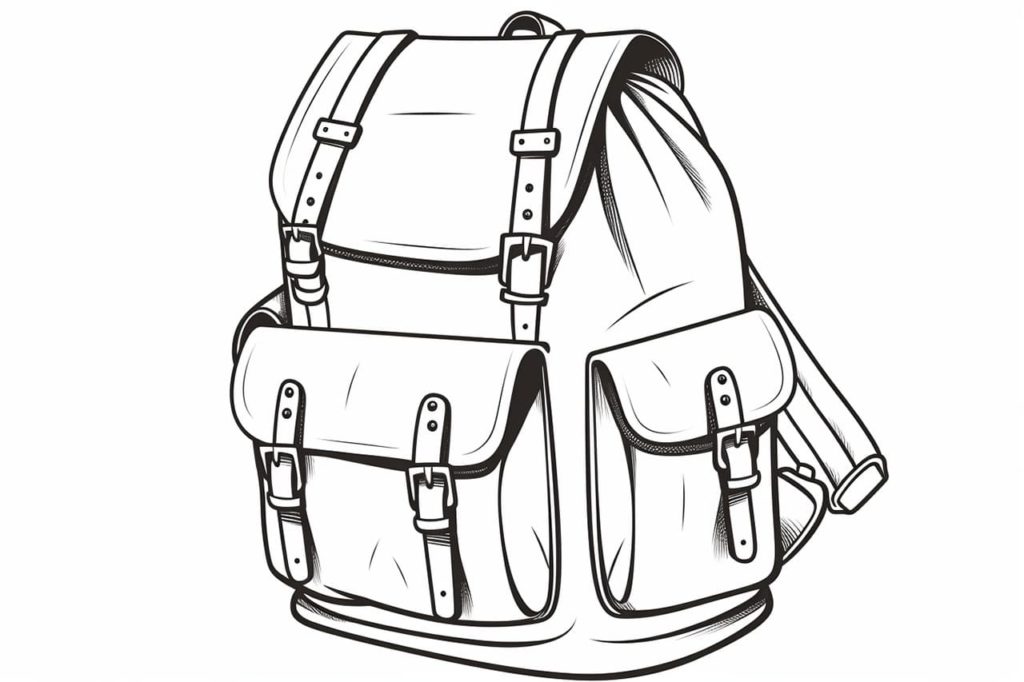
Step 4: Draw the Pockets
Backpacks usually have several pockets for storing items. To draw these pockets, add some rectangular shapes on the front of the backpack. You can vary the size and placement of these pockets based on your preference.
Step 5: Add Details to the Pockets
Now, let’s add some details to the pockets to make them look more realistic. Add curved lines or small rectangles to represent zippers or buttons on each pocket. You can also draw some stitching lines around the edges of the pockets to add texture.
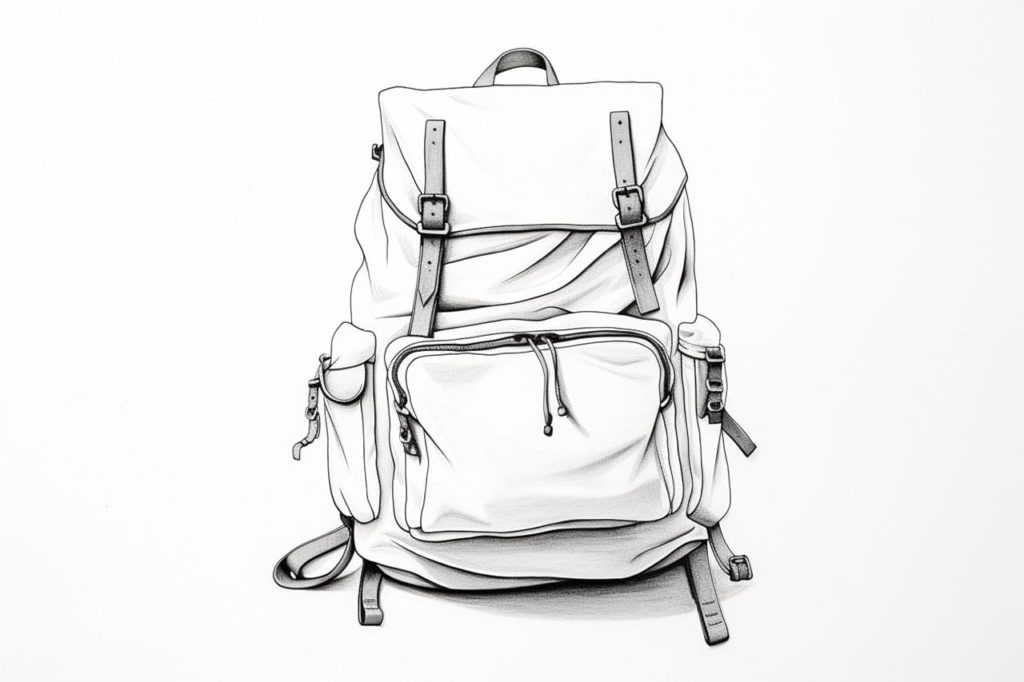
Step 6: Draw the Zipper
Next, draw a curvy line in the middle of the backpack to represent the zipper. Start the line from the top of the main flap and end it at the bottom of the backpack. Add small rectangular shapes on both sides of the zipper to indicate the zipper pulls.
Step 7: Refine the Shape and Details
Take a moment to review your drawing so far. Use an eraser to remove any unnecessary lines and refine the shape of the backpack. Pay attention to the proportions and make any adjustments as needed.
Step 8: Shade the Backpack
Shading is a crucial step in bringing realism and depth to your backpack drawing. It enhances the three-dimensional quality of the object and gives it a more tactile appearance. Here’s how to master this essential skill:
1. Understand the Light Source: Begin by assessing the direction of the light source in your drawing. This will determine where the shadows fall and where the highlights should be. Visualize how the light interacts with the surfaces of the backpack.
2. Create a Gradient: With your understanding of the light source, start shading the areas that are farthest from it. These regions, such as the sides of the backpack, will receive less light and appear darker. Use your pencil with a slightly heavier pressure to create darker tones. Gradually lighten your pressure as you move toward the areas that are more illuminated.
3. Hatching and Cross-Hatching: One effective shading technique is hatching and cross-hatching. Hatching involves drawing parallel lines in the same direction to create shading, while cross-hatching involves adding intersecting lines. For the darker areas of the backpack, use denser hatching or cross-hatching to build up the shadowed regions. Experiment with the angle and spacing of your lines to control the depth of shading.
4. Blending and Smudging: To achieve smoother transitions between light and shadow, consider using a blending tool like a paper stump or your finger. Gently smudge the pencil marks in the shadowed areas to create a gradual transition from dark to light. This technique can produce a soft and realistic effect.
5. Highlights and Reflections: Don’t forget to leave areas where the light hits the backpack, creating highlights. These can be areas where the material reflects light more intensely. Use an eraser to carefully lift off some graphite in these areas to create bright spots and add a sense of depth.
6. Texture and Details: For added realism, pay attention to the texture of the backpack. Different materials have distinct textures, and you can mimic these by varying the pressure and direction of your pencil strokes. If your backpack has zippers, buckles, or other details, include them in your shading to make your drawing more lifelike.
7. Gradual Build-Up: Remember that shading is a gradual process. Start lightly and build up the shading as you go along. It’s easier to add more darkness if needed than to erase excessive shading.
8. Observe and Adjust: Continuously observe your reference or the backpack you are drawing from. Pay attention to subtle variations in tone and shading. Make adjustments as necessary to capture the nuances of the object accurately.
Incorporating shading into your backpack drawing not only adds depth and dimension but also elevates the overall quality of your artwork. Practice this skill regularly, experiment with different techniques, and over time, you’ll develop the ability to create realistic and visually appealing drawings of various objects.
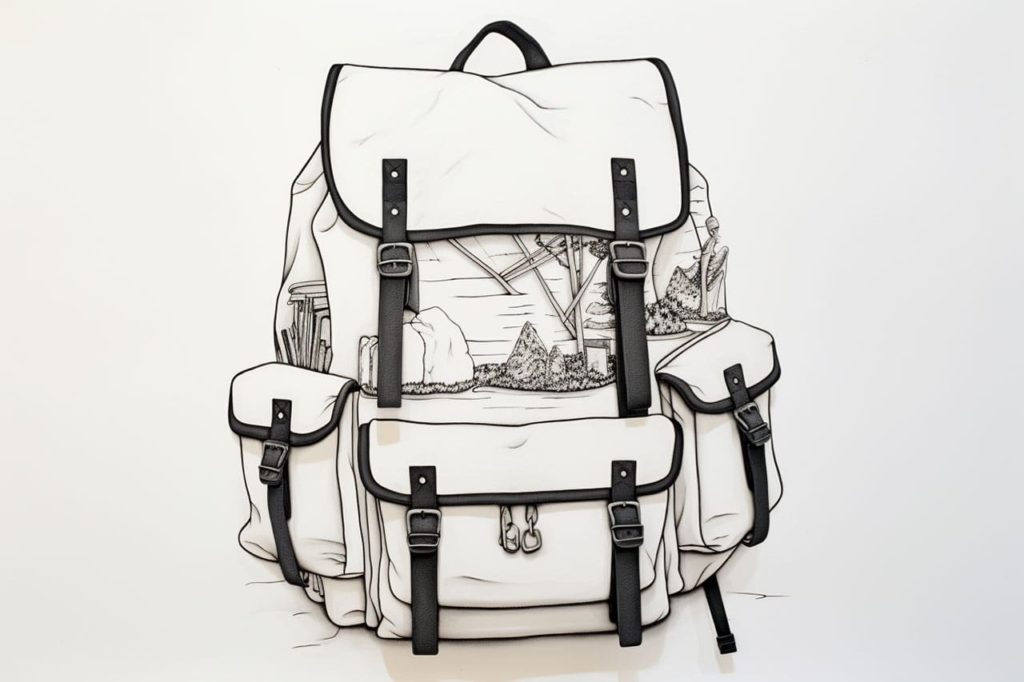
Step 9: Add Final Details and Texture
To give your backpack a more realistic look, add some final details and texture. You can draw stitching lines along the edges of the backpack and pockets to make them appear more sturdy. Add some shading to the zipper pulls to make them look three-dimensional. Don’t be afraid to experiment with different textures and patterns to make your backpack unique.
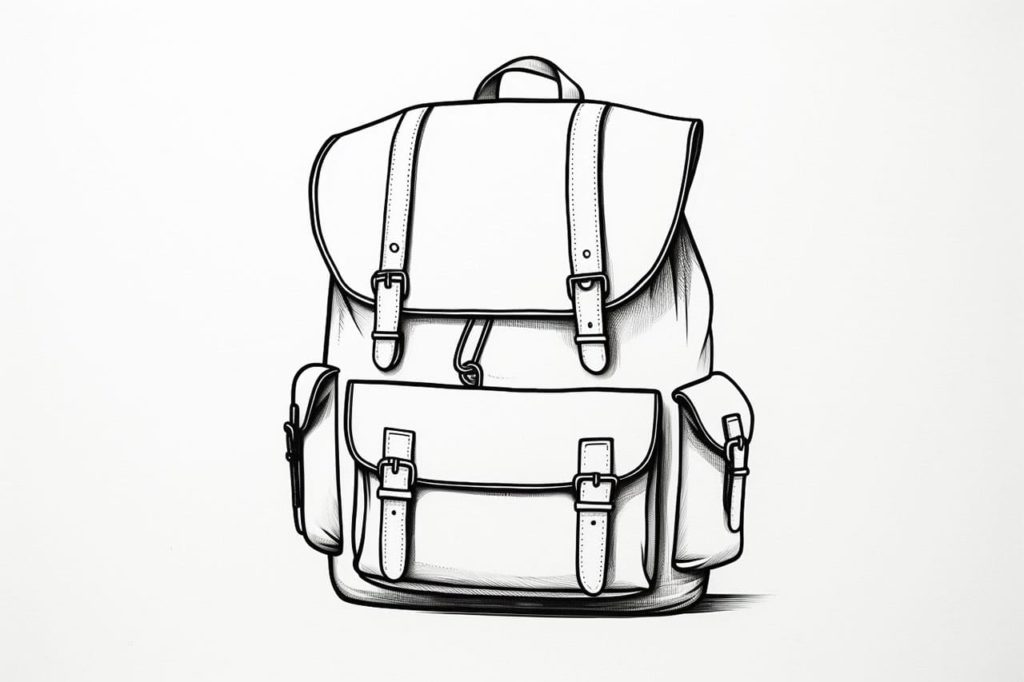
Conclusion
Congratulations! You’ve successfully learned how to draw a backpack. In this step-by-step guide, we covered the process of drawing the outline, adding the main flap and straps, defining details, drawing pockets, adding a zipper, and finishing up with shading and texture. Remember, practice makes perfect, so keep honing your skills by drawing more backpacks or exploring other subjects. Happy drawing!
Gallery of Backpack Drawings