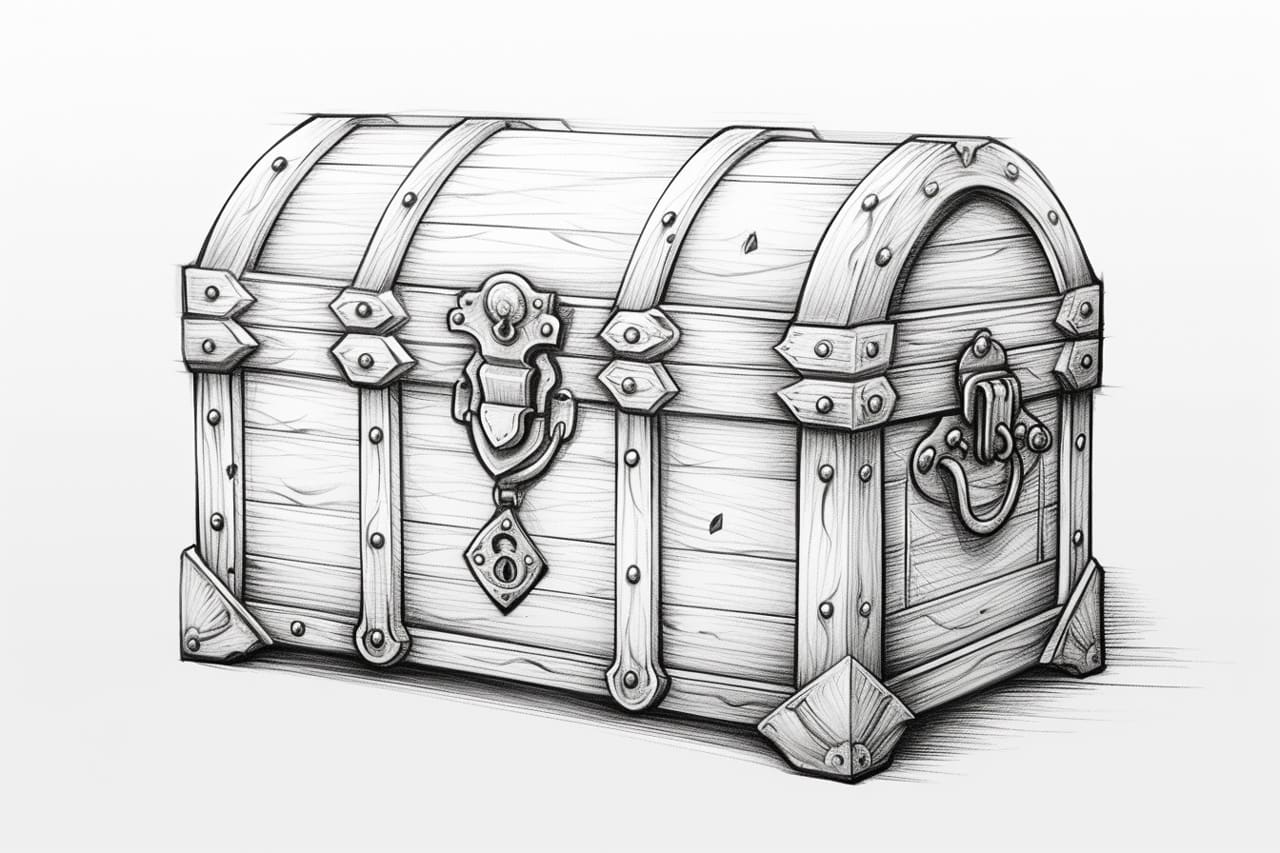
Are you an aspiring artist looking to enhance your drawing skills? Drawing everyday objects can be a great way to improve your technique and observation skills. In this tutorial, we will take you through the step-by-step process of drawing a chest, a common furniture item found in many homes. By following these instructions, you will learn how to create a realistic and detailed drawing of a chest.
Materials Required
Before we begin, gather the following materials:
- Drawing paper or sketchbook
- Pencil (preferably a 2B or 4B)
- Eraser
- Ruler
- Optional: Additional shading tools like charcoal or graphite sticks
Now that we have everything we need, let’s dive into the process of drawing a chest!
Step 1: Outline the Basic Shape
Start by lightly sketching the basic shape of the chest using your pencil. Begin with a horizontal line for the top edge and draw two vertical lines that extend downwards. These lines will serve as the sides of the chest. Ensure that the proportions are accurate and the lines are straight. Take your time with this step, as it forms the foundation of your drawing.
Step 2: Add the Details
Next, add the details to your chest drawing. Begin by sketching the lid of the chest, making sure to maintain the correct perspective. Add any decorative elements, such as handles or carvings, that are present on the chest. Pay attention to the placement and size of these details to ensure accuracy in your drawing.
Step 3: Refine the Lines
Once you have added the basic details, go over your initial sketch and refine the lines. Use a darker pencil or a fine-tipped pen to outline the chest and its details more precisely. This step will give your drawing a cleaner and more defined look.
Step 4: Shading
To create depth and make your drawing appear more realistic, it’s important to add shading. Start by identifying the primary light source in your scene. This will determine where the light falls and where the shadows are cast. Use your pencil to gradually darken the areas that are in shadow, using lighter strokes for areas that receive indirect light. Pay attention to the direction of your shading, following the contours of the chest to create a three-dimensional effect.
Step 5: Texture and Details
To add texture and more intricate details to your drawing, focus on the surface of the chest. You might need to zoom in to observe any grain patterns or textures present in the wood. Use your pencil to recreate these details, working with light strokes to achieve a realistic appearance. Take your time with this step, as it can greatly enhance the overall quality of your drawing.
Step 6: Final Touches
At this stage, step back and assess your drawing. Look for any areas that require refinement or additional shading. Make any necessary adjustments to ensure that your drawing is accurate and visually appealing. Pay attention to the highlights and shadows to make them more pronounced if needed. Take your time with this step, as the final touches can make a significant difference in the overall result.
Conclusion
Congratulations! You have successfully learned how to draw a chest. By following these step-by-step instructions, you have developed your drawing skills and created a realistic representation of a chest. Remember to practice regularly and be patient with yourself as you continue to build your artistic abilities. Drawing everyday objects like a chest will help you improve your observation skills and attention to detail. With time and practice, you will be able to draw more complex subjects with confidence.