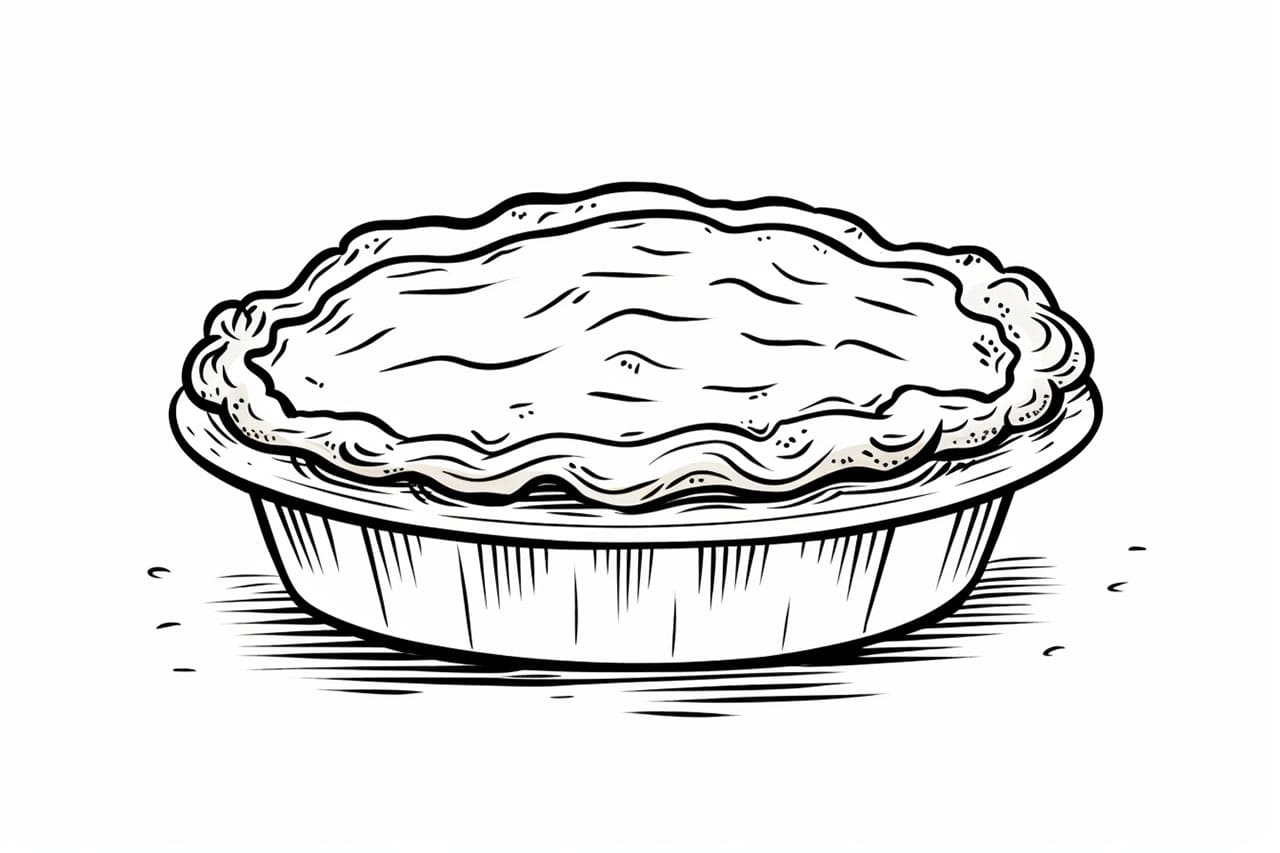
Welcome! In this step-by-step guide, you will learn how to draw a delicious-looking pie. Whether you’re an aspiring artist or just want to have some fun, this tutorial will walk you through the process of creating a mouthwatering pie using simple shapes and shading techniques. So sharpen your pencils and let’s get started!
Materials Required
Before we begin, make sure you have the following materials ready:
- Drawing paper
- Pencils (preferably a range of graphite pencils such as HB, 2B, and 4B)
- Eraser
- Blending stump or cotton swabs
- Colored pencils (optional)
- Reference photo or actual pie (for inspiration)
Now that you have gathered all your materials, let’s dive into the steps to draw a scrumptious pie!
Step 1: Sketch the Basic Shape
Start by lightly sketching a circular shape in the center of your drawing paper. This will be the basic outline of the pie. Don’t worry about making it perfect at this stage – we can refine the shape later.
Step 2: Add the Crust
Next, add the crust to your pie by drawing another circular line slightly outside the first one. The crust can be uneven and have little imperfections to make it look more realistic. Remember, pies aren’t always perfectly symmetrical!
Step 3: Draw the Filling
Now it’s time to add the filling to our pie. You can choose any type of filling you like – apple, cherry, pumpkin, or even a combination. Start by drawing the shape of the filling, keeping it within the boundaries of the crust. Remember to leave some space around the edges for the crust to show.
Step 4: Add Details to the Crust
To make the crust look more appetizing, add some details. Draw small, curved lines along the edge of the crust to create a fluted effect. This will give your pie a classic bakery look. You can also add some small cracks or dents to make it appear more realistic.
Step 5: Create Texture with Hatching
To make the filling look more textured, use a technique called hatching. Hatching is the process of drawing parallel lines close together to create the illusion of value and texture. Use your graphite pencils to shade the filling in the direction of its shape. Start with lighter pressure and gradually build up the darkness. This will give your pie a three-dimensional look.
Step 6: Add Shadows and Highlights
To make your pie pop off the page, it’s important to add shadows and highlights. Identify the direction of the light source in your reference photo or imagine it yourself. Shade the areas of the pie opposite the light source darker to create shadows. Use your eraser to lighten areas where the light hits the pie, creating highlights and adding dimension.
Step 7: Blend for Smoothness
To achieve a smoother appearance, use a blending stump or a cotton swab to blend the shading on your pie. This will help to eliminate any harsh lines and create a more seamless transition between different values. Be gentle when blending and remember to clean your blending tool regularly to avoid smudging.
Step 8: Add Color (Optional)
If you want to add a splash of color to your drawing, now’s the time! Use your colored pencils to lightly layer colors on the filling of the pie. Start with the base color and gradually build up the layers to create depth and realism. Remember to blend the colors smoothly for a more realistic effect.
Step 9: Refine Your Drawing
Take a step back and evaluate your drawing so far. This is your chance to make any necessary adjustments and refine the details. Pay attention to the overall shape, the shadows, and the highlights. Use your eraser to fix any mistakes or lighten areas that need adjustment.
Conclusion
Congratulations! You have successfully learned how to draw a mouthwatering pie from scratch. By following these step-by-step instructions, you created a realistic drawing of a pie that looks good enough to eat. Remember to practice regularly and experiment with different types of pies and fillings to further develop your skills as an artist.
Happy drawing, and enjoy your artistic journey creating these delectable desserts!
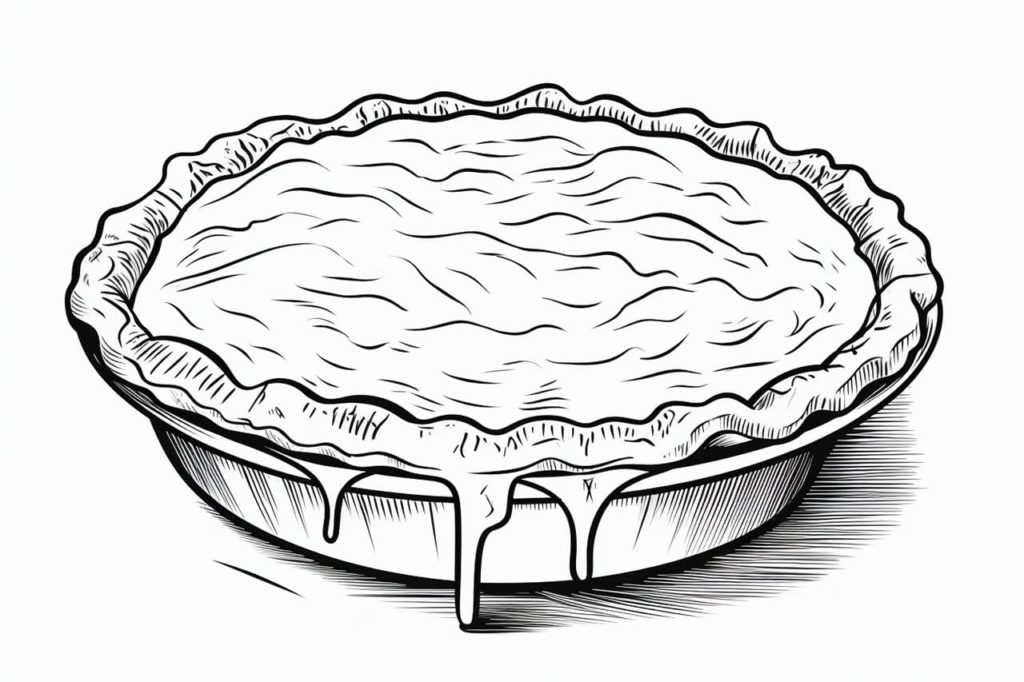
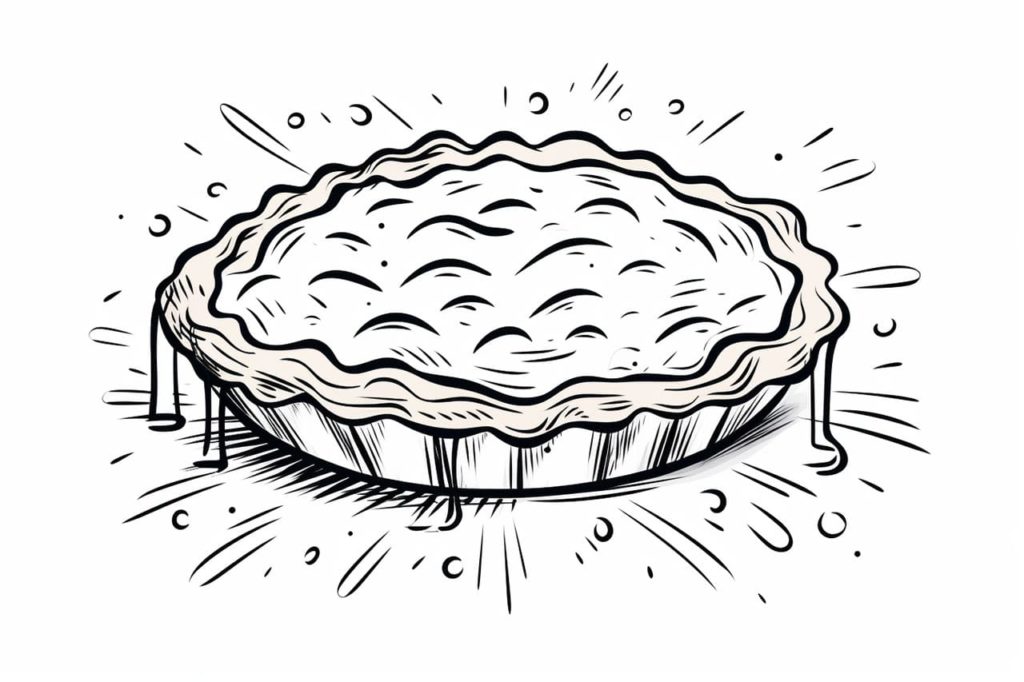
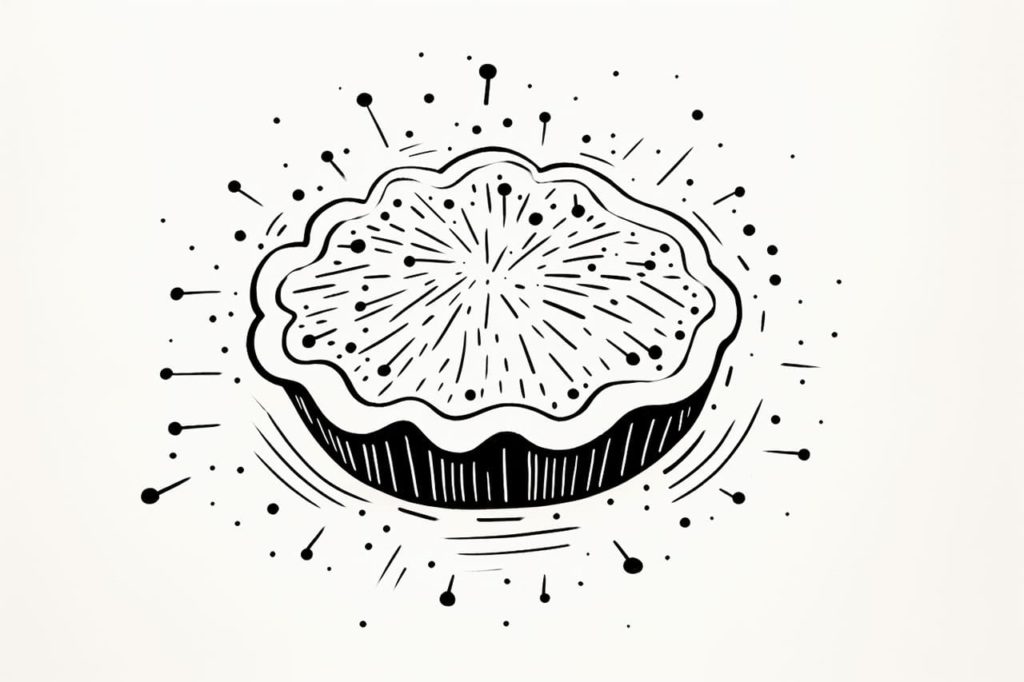
Gallery of Pie Drawings