Welcome to this step-by-step guide on how to draw a wreath. Whether you’re creating artwork for a holiday card or simply want to add a decorative touch to your sketches, drawing a wreath can be a fun and rewarding experience. In this tutorial, we will cover all the necessary steps to create a beautiful wreath masterpiece. So grab your paper and pencils, and let’s get started!
Materials Required
Before we begin, let’s gather the materials you’ll need to complete this drawing:
- Drawing paper or sketchbook
- Pencils (HB, 2B, and 4B)
- Eraser
- Ruler
- Compass
- Colored pencils or markers (optional)
Now that we have our materials ready, let’s move on to the step-by-step instructions.
Step 1: Sketch the Basic Shape
Start by lightly sketching a circle in the center of your paper. This will serve as the base for your wreath. Use a compass to ensure a precise circle, or if you don’t have one, you can trace around a circular object of the desired size.
Step 2: Add the Outer Ring
Next, draw a larger circle around the first one, extending beyond its edges. This outer circle will define the outer boundary of your wreath. Make sure to keep the spacing between the two circles consistent.
Step 3: Divide the Wreath
Using a ruler, draw two perpendicular lines that intersect at the center of your wreath. These lines will act as guidelines to help you evenly distribute the elements of your wreath.
Step 4: Draw the Foliage
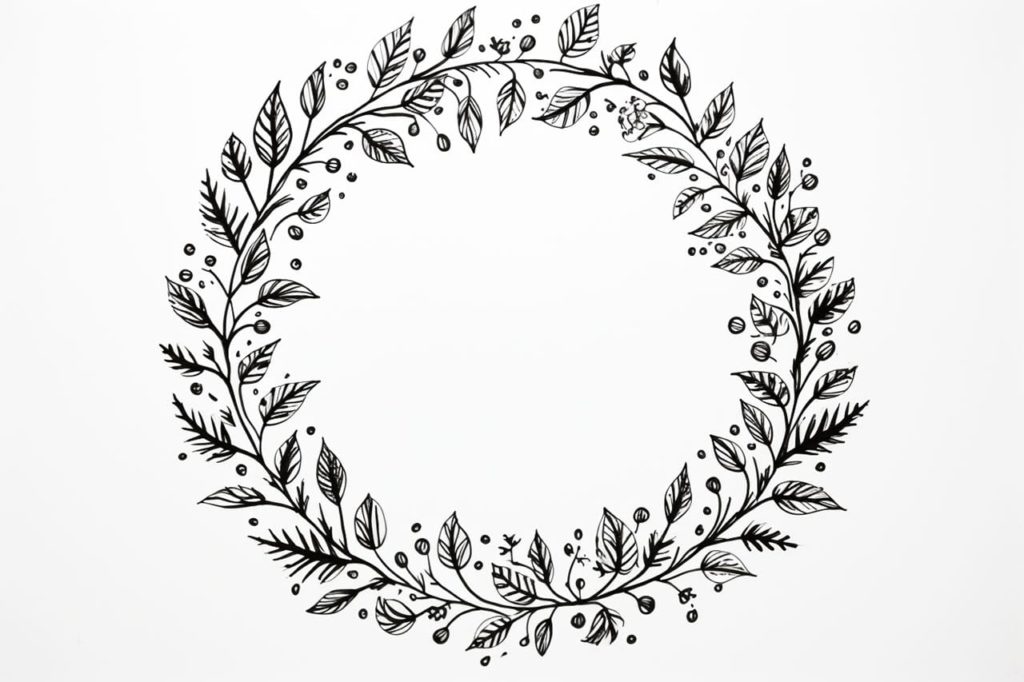
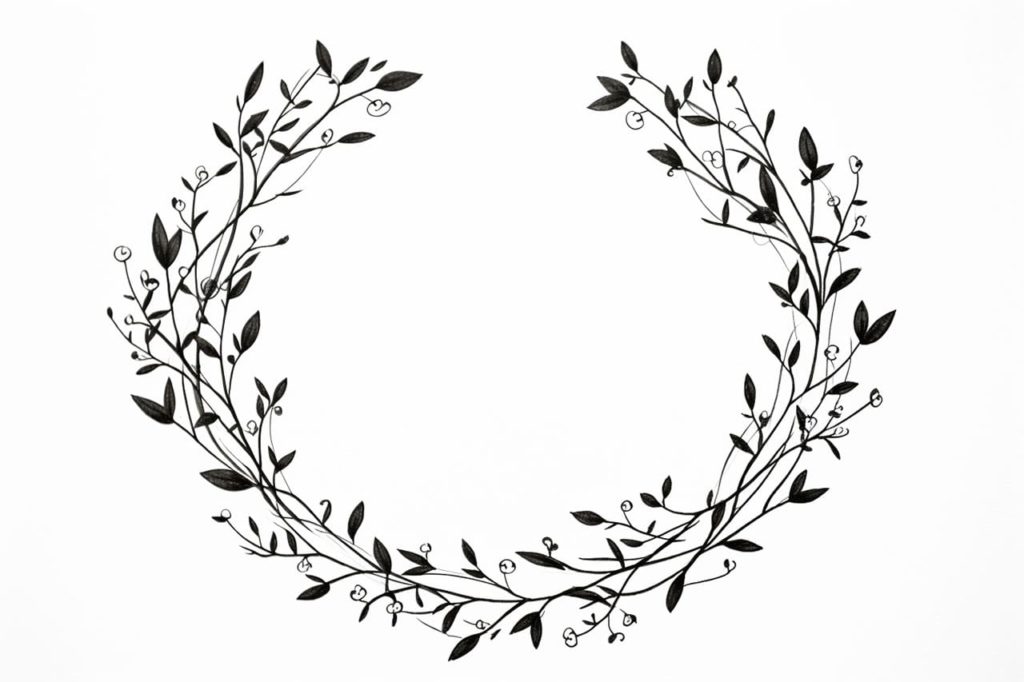
Now it’s time to add the foliage to your wreath. Start by drawing small leafy shapes along the inner circle, following its curvature. Vary the size and direction of the leaves to create a more natural and organic look. Repeat this step along the outer circle as well.
Step 5: Add Berries or Flowers
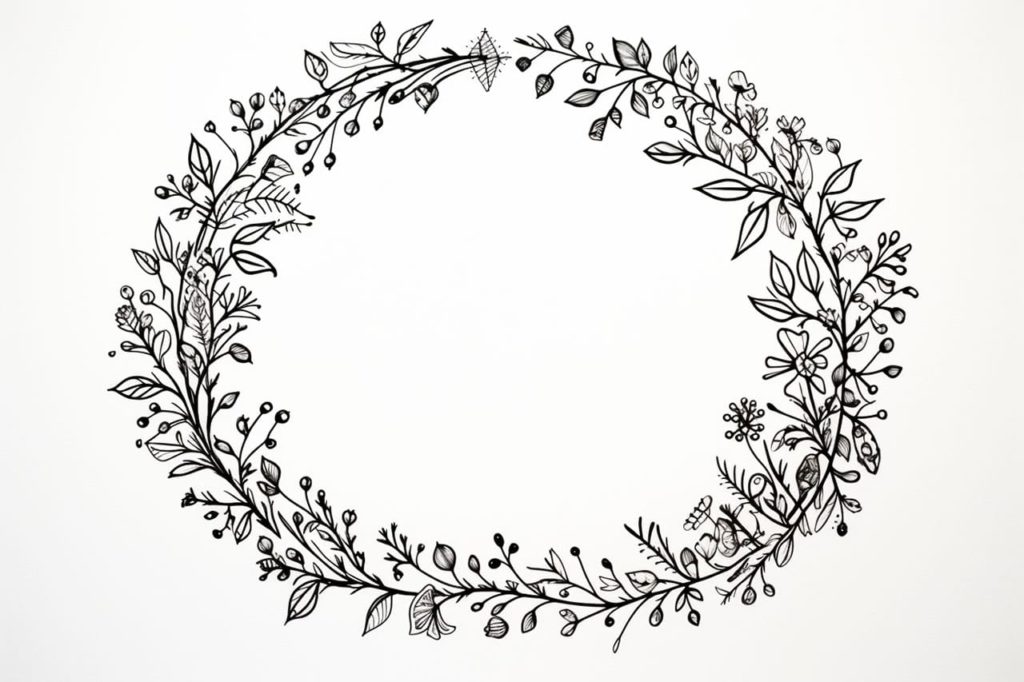
To give your wreath some color and depth, you can add berries or flowers to it. Draw small circles or dots randomly throughout the wreath, either clustered together or scattered individually. Experiment with different sizes and arrangements to achieve the desired effect.
Step 6: Enhance the Details
To make your wreath more visually appealing, add some additional details. You can draw small branches, twigs, or vines intertwining with the foliage. These details will add texture and make the wreath look more lifelike. Take your time with this step and pay attention to the overall balance of the composition.
Step 7: Refine and Erase
Once you’re satisfied with the basic structure and details of your wreath, go over your drawing with a darker pencil (such as a 4B) to define the final lines. Take this opportunity to make any necessary adjustments or corrections. When you’re done, erase any remaining guidelines and sketch lines to clean up the drawing.
Step 8: Optional Coloring
If you want to add some color to your wreath, now is the time to do it. You can use colored pencils or markers to fill in the leaves, berries, and flowers. Consider using a combination of different shades and tones to create a vibrant and lively wreath. Alternatively, you can leave your drawing in black and white for a classic and elegant look.
Conclusion
Congratulations! You have successfully learned how to draw a wreath. This beautiful decorative element is perfect for various occasions throughout the year. Whether you’re celebrating the holiday season, designing a wedding invitation, or simply indulging in your artistic passion, a wreath can add a touch of charm and creativity to your artwork. Remember to practice and experiment with different styles and techniques to make each wreath unique. Enjoy the process and have fun bringing your wreath drawings to life!
Gallery of Wreath Drawings