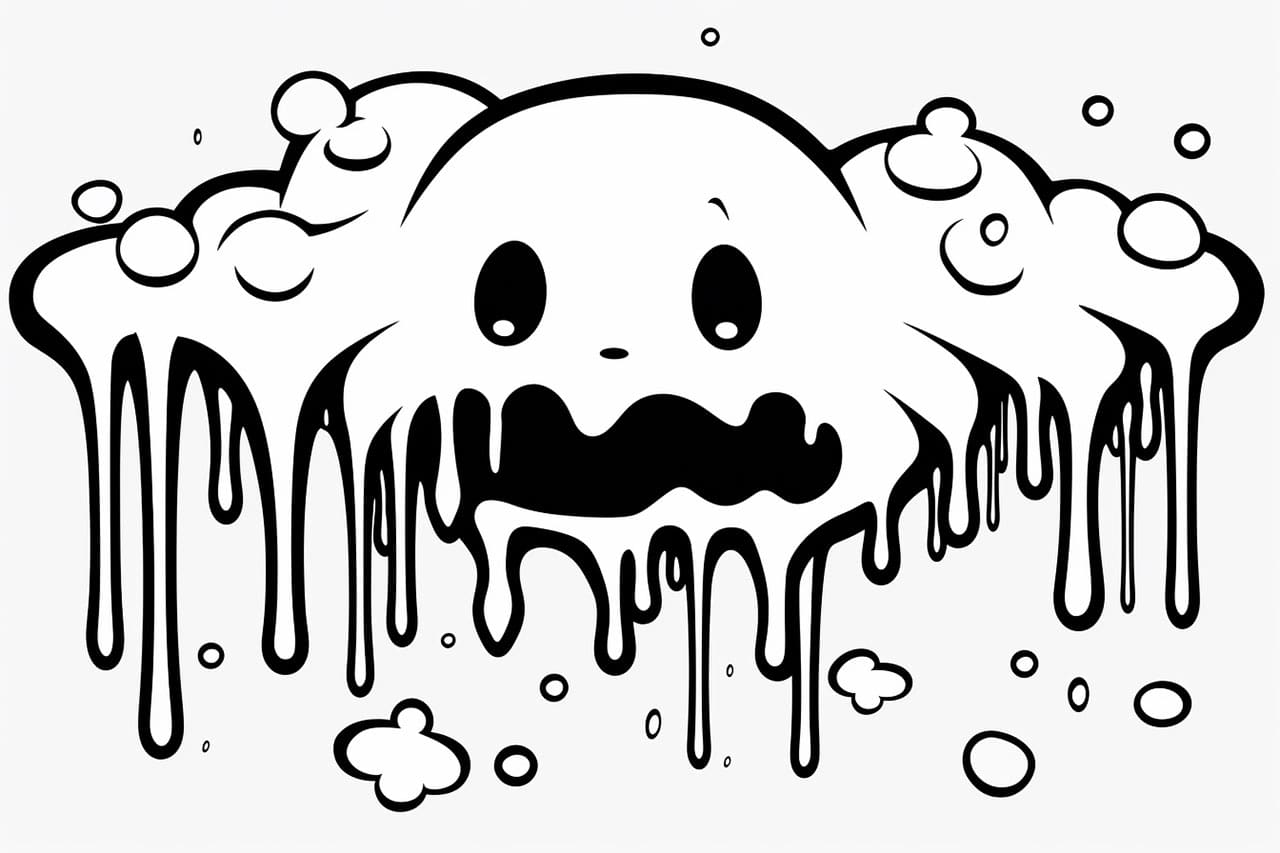
Welcome to this step-by-step guide on how to draw slime! Slime has become a popular trend in recent years, with its vibrant colors and gooey texture. In this tutorial, I will walk you through the process of how to draw slime. Whether you are a beginner or an experienced artist, this guide will help you bring the slimy fun to life on paper. So grab your art supplies and let’s get started!
Materials Required
Before we begin, let’s gather the materials you will need to draw slime:
- Drawing paper
- Pencil
- Eraser
- Fine markers or pens
- Colored pencils or markers
- Watercolor paints (optional)
- Paintbrushes (optional)
- Palette or mixing tray (optional)
Now that you have your materials, let’s dive into the step-by-step process of drawing slime!
Step 1: Start with a Basic Shape
Begin by lightly sketching a basic shape for your slime. This can be a circle, oval, or any other organic shape you prefer. Keep in mind that slime is often squishy and malleable, so don’t worry about perfect proportions at this stage.
Step 2: Add Details
Next, start adding some details to your slime. Slime can have various textures, such as bumps, squiggles, and drips. Use your imagination to create interesting patterns and shapes within the slime. Don’t be afraid to experiment and get creative!
Step 3: Outline the Shape
Once you are satisfied with the details, go ahead and outline the shape of your slime with a fine marker or pen. This will help define the edges and give your drawing a clean and finished look. Take your time and make smooth, confident lines as you trace over your pencil sketch.
Step 4: Add Color
Now it’s time to add some color to your slime drawing. Slime comes in all sorts of vibrant shades, so feel free to choose any color palette that appeals to you. Colored pencils or markers work well for this step. If you want to add an extra touch, you can even use watercolor paints to create a translucent effect.
Step 5: Blend and Shade
To add depth and dimension to your slime, consider blending and shading certain areas. You can achieve this by layering different shades of the same color or using a darker color to create shadows. Use your colored pencils or markers to softly blend the colors together, giving your slime a more realistic appearance.
Step 6: Highlights and Reflections
To make your slime drawing really pop, add highlights and reflections. Slime is often shiny and reflective, especially when it’s freshly made. Use a white colored pencil or marker to add highlights in areas where the light would hit the slime. This will create a glossy effect and make your drawing look more three-dimensional.
Step 7: Texture and Details
To enhance the texture of your slime, consider adding some final touches. You can use a fine marker or pen to create small dots, lines, or squiggles on the surface of the slime. These details will add extra realism and make your drawing more interesting to look at.
Conclusion
Congratulations! You have successfully learned how to draw slime. From the basic shape to the intricate details, you now have the skills to create your own slimy creations on paper. Remember to have fun and experiment with different colors and textures. Slime is a versatile subject that allows for endless creativity. So grab your art supplies and start drawing slime today!


