Welcome to this step-by-step guide on how to draw a cauldron! Whether you are an aspiring artist or just looking to have some creative fun, learning how to draw a cauldron can be an exciting and rewarding experience. In this tutorial, we will go through each step in detail, making it easy for you to follow along and create your own magnificent cauldron artwork. So let’s get started!
Materials Required
Before we begin, let’s gather the materials you’ll need for this drawing tutorial:
- Pencil
- Eraser
- Paper
- Fine tip black marker or pen
- Colored pencils or markers (optional)
Having these materials ready will ensure a smooth and enjoyable drawing experience. Now that we have everything set, let’s dive into the step-by-step process of drawing a cauldron.
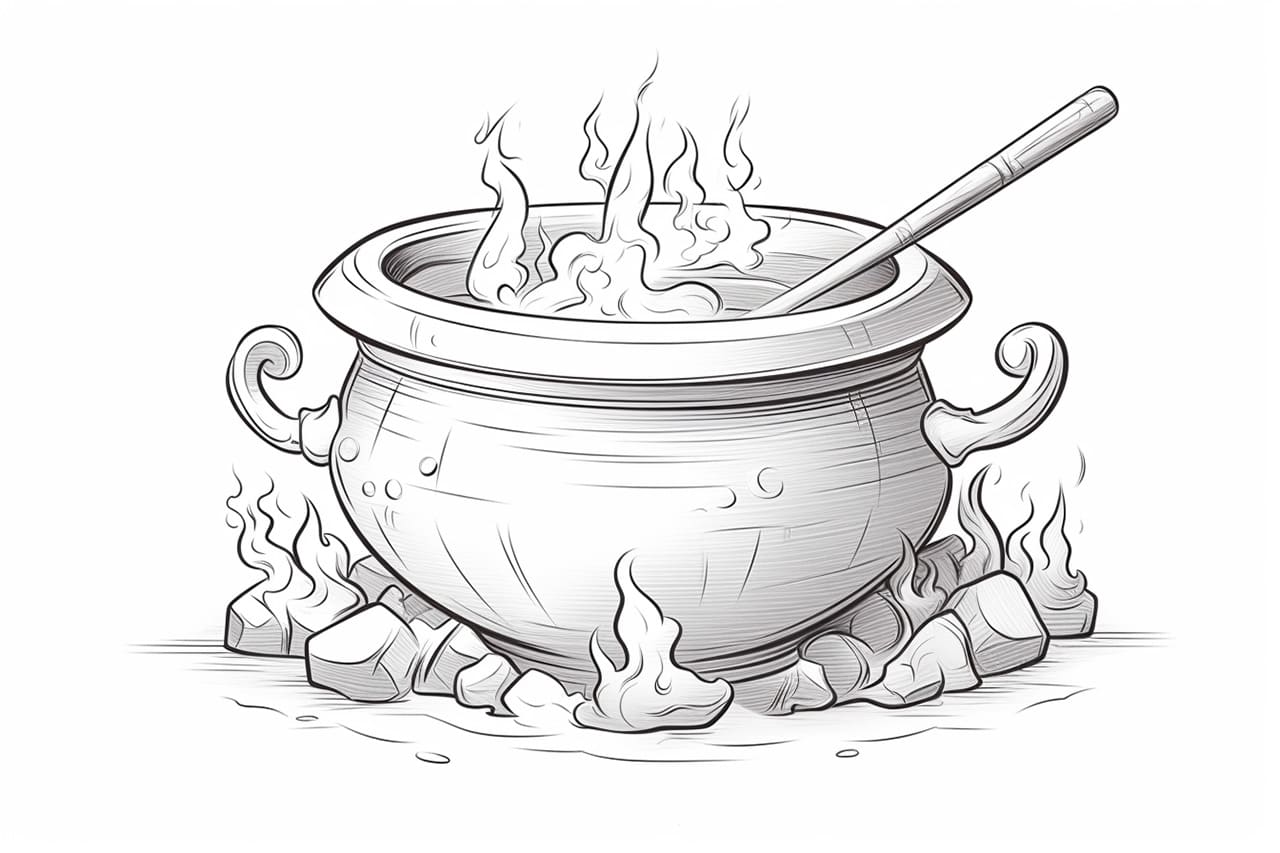
Step 1: Outline the Shape of the Cauldron
To start, draw an oval shape that will serve as the main body of the cauldron. Make sure the top part of the oval is slightly wider than the bottom part. This will create a nice curved effect for the cauldron’s opening. Don’t worry about making it perfect at this stage, as you can always refine the shape later.
Step 2: Add the Handles
Now, let’s add the handles to our cauldron. Draw two curved lines on either side of the oval, starting from the top and curving downwards. These lines should be roughly parallel to the sides of the oval. At the bottom, connect the handles with a curved line, forming a U-shape. This will give our cauldron a more realistic and three-dimensional look.
Step 3: Refine the Shape
In this step, we will refine the shape of the cauldron to give it more depth and dimension. Start by erasing any unnecessary lines from the previous steps. Then, add some curves along the sides and bottom of the cauldron to make it look more rounded and full. Pay attention to the contour of the oval shape and imagine how it would appear from different angles.
Step 4: Add Details
Now, let’s add some details to our cauldron to make it more interesting. Draw a few horizontal lines near the top edge of the cauldron to represent the rim. Then, add some vertical lines on both sides of the handles to indicate the support structure. You can also add some additional lines or patterns on the body of the cauldron to give it a unique touch. Be creative and experiment with different designs!
Step 5: Ink the Drawing
Once you are satisfied with the pencil sketch, it’s time to ink your drawing. Take your fine tip black marker or pen and carefully trace over the lines of your cauldron. Make sure to follow the outline and details you have created, and take your time to ink each line with precision. Inking your drawing will make it more defined and ready for coloring or shading in the next steps.
Step 6: Optional – Color Your Cauldron
If you prefer a colored cauldron, this step is for you! Take your colored pencils or markers and choose the shades you want for your cauldron. Start by coloring the body of the cauldron with a base color, such as black or dark gray. Then, add some shading and highlights to create a three-dimensional effect. Feel free to experiment with different colors and shading techniques to bring your cauldron to life.
Step 7: Final Touches and Shading
To complete the drawing, add some final touches and shading to make your cauldron look more realistic. Use your pencil to add subtle shadows and highlights to the cauldron, emphasizing its shape and texture. Pay attention to the light source and imagine how it would cast shadows on different areas of the cauldron. This will add depth and dimension to your artwork.
Conclusion
Congratulations, you have successfully learned how to draw a cauldron! By following these step-by-step instructions, you should now have a beautifully drawn cauldron ready to showcase your artistic skills. Remember, practice makes perfect, so don’t be afraid to try drawing cauldrons in different sizes, shapes, and styles. Have fun exploring your creativity and enjoy the process of bringing your cauldron drawings to life!