Drawing trees can be an incredibly fulfilling artistic endeavor, allowing you to express your creativity and connect with nature. However, one of the most intricate challenges you may encounter in this process is capturing the delicate beauty of leaves. Leaves vary widely in size, shape, and texture, making them both beautiful and complex subjects. Mastering the skill of drawing leaves not only enhances the realism of your tree drawings but also enriches your overall artistic capabilities.
In this comprehensive step-by-step guide, we will delve into various techniques designed to help you effectively render leaves on a tree. Whether you are just starting out or looking to sharpen your existing skills, our tips and instructions aim to support you on your artistic journey. By breaking down the process into manageable steps, we’ll consider everything from the initial sketch to adding depth, texture, and color, ensuring that every artist feels empowered to create their own lifelike tree illustrations.
So, grab your drawing materials and prepare to explore the fascinating world of botanical illustration. With patience and practice, you will not only enhance your tree drawings but also cultivate a deeper appreciation for the intricate details of nature. Let’s get started!
Materials Required
To get started, gather the following materials:
- Drawing paper or sketchbook
- Pencils of various grades (HB, 2B, 4B, 6B)
- Fine-tip eraser or kneaded eraser
- Pencil sharpener
- Blending stump or tortillon
- Reference images of leaves or trees (optional)
- Colored pencils or markers (optional)
Having these materials ready will ensure that you can practice and experiment with different techniques as you progress through the steps.
Step 1: Sketch the Basic Shape of the Tree
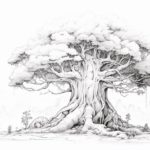
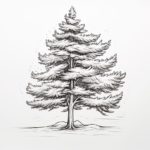
Begin by lightly sketching the basic shape of the tree trunk and branches. Remember that trees come in all shapes and sizes, so feel free to experiment and be creative with your design. Avoid focusing too much on small details at this stage. Instead, concentrate on defining the overall structure of the tree.
Step 2: Add the Outline of the Leaves
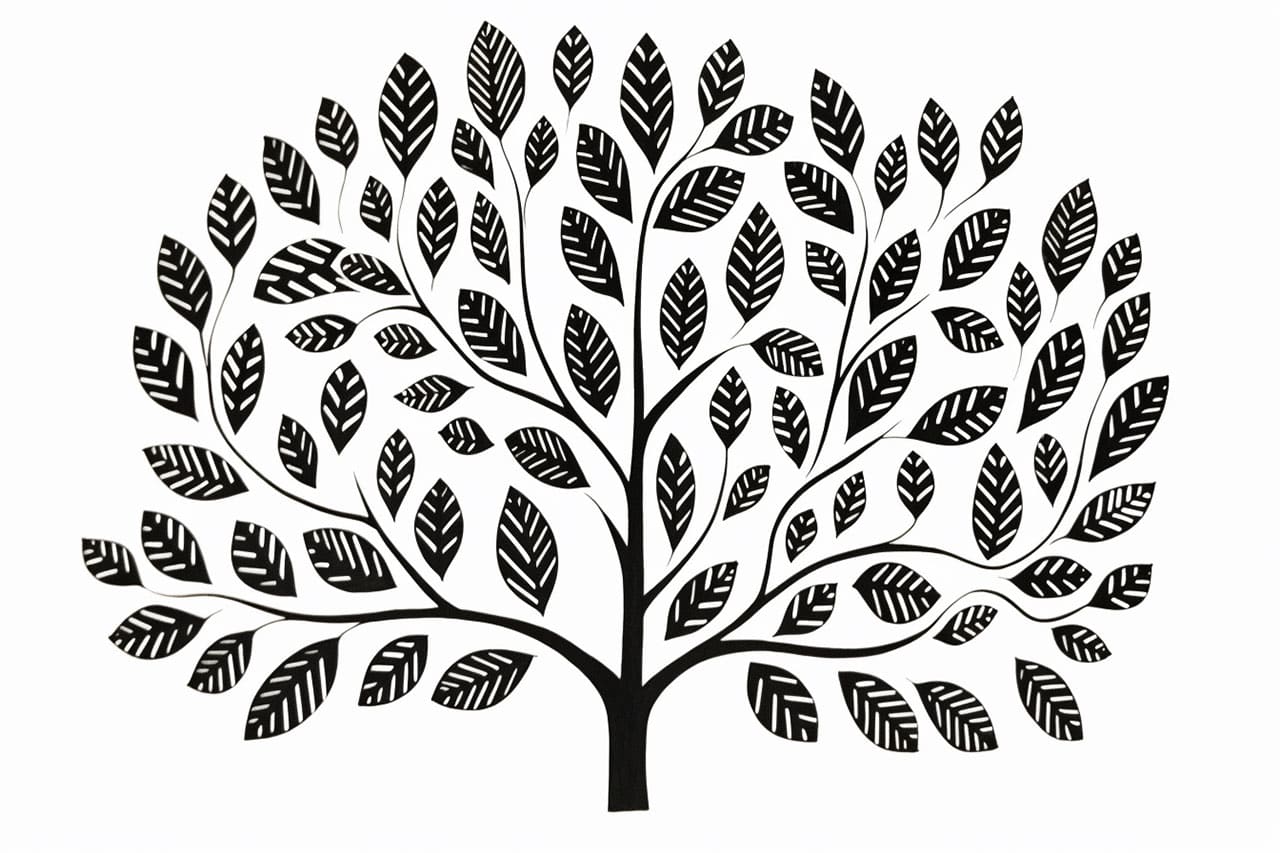
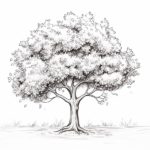
Using a lighter pencil grade, lightly outline the shape of the leaves on the branches. Keep in mind that leaves can vary greatly in shape depending on the species of tree, so observe your reference images if available. Start with larger, more prominent leaves, and gradually add smaller ones. Remember, these outlines are just a guide and can be adjusted later.
Step 3: Add the Veins
Leaves are commonly characterized by a network of veins that carry nutrients throughout the leaf. To make your tree drawing more realistic, add these veins to your leaf outlines. Veins can be straight, curved, or branching out, depending on the leaf type. Study reference images if needed to ensure accuracy.
Step 4: Shade the Leaves
Now it’s time to add depth and dimension to your leaves through shading. Start by determining the direction of the light source in your drawing. Shade the areas that would be in shadow accordingly, utilizing darker pencil grades such as 4B or 6B. Gradually build up the shading, paying attention to the highlights and shadows on each leaf.
Step 5: Create Texture with Hatch Marks
To give your leaves a more realistic appearance, create texture using hatch marks. Hatch marks are short, parallel lines that give the illusion of shadows and texture. Vary the length and spacing of your hatch marks to add visual interest and enhance the overall effect of the leaves.
Step 6: Add Highlights and Details
Next, use an eraser or a kneaded eraser to lift off some graphite in areas where light would naturally hit the leaves. This will create highlights and add a sense of depth to your drawing. Be selective with your erasing, focusing on the areas where the light source would have the most impact.
Step 7: Blend and Soften
To achieve a smoother and more blended look, use a blending stump or tortillon to gently blend the shaded areas of the leaves. This will help to create a seamless transition between light and shadow, giving your drawing a more realistic appearance.
Step 8: Optional: Add Color
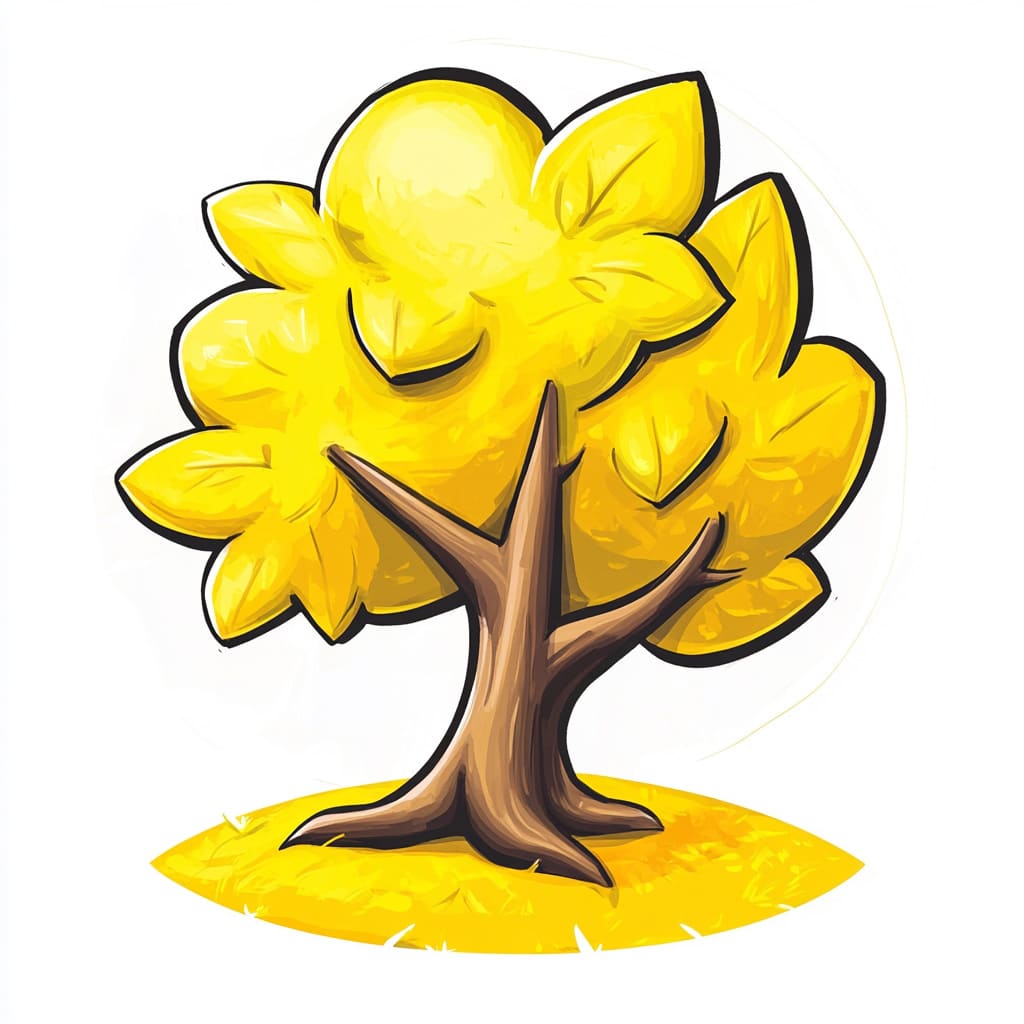
If you prefer a colored representation of your tree leaves, you can use colored pencils or markers to add vibrant hues to your drawing. Select colors that closely resemble the natural colors of the leaves you are depicting. Layer the colors gradually, starting with lighter tones and building up to darker shades.
Conclusion
Drawing leaves on a tree may seem challenging, but with practice and patience, you can learn to capture their intricate beauty. By following these step-by-step instructions and experimenting with different techniques, you will gradually develop the skills needed to create realistic and visually appealing tree drawings. Remember to study reference images and observe the natural world around you for inspiration. So grab your pencils and paper, and let your creativity flourish as you embark on your artistic journey of drawing leaves on a tree.
Fun Facts About Leaves
- Leaves are often known as the “food factories” of plants, where photosynthesis happens and converts sunlight into energy.
- Not all leaves are green; they can be red, purple, or even variegated, often depending on their chlorophyll content and environmental conditions.
- The largest leaves belong to the Raphia palm and can grow over 80 feet (24 meters) in length!
- In deciduous trees, leaves change color in the fall due to the breakdown of chlorophyll, revealing carotenoids (yellows and oranges) and anthocyanins (reds and purples).
- Leaves like those of the Venus flytrap are adapted to capture and digest insects for nutrients.
- The surface of a leaf is covered in tiny pores called stomata, which help to regulate gas exchange and water retention.
- Cacti have modified leaves known as spines, which help to reduce water loss and provide defense against herbivores.
- Some leaves, like those of the mimosa plant, are sensitive to touch and can close within seconds of being disturbed.
- In some cultures, leaves like banana or lotus leaves are traditionally used as natural plates or food wraps.
- Leaves have been utilized for centuries in medicine, crafting, and decoration, showcasing their versatility beyond the plant realm.
Suggestions for Scenes and Settings for Leaf Drawings
- Autumn Canopy: Illustrate a vibrant array of leaves in shades of red, orange, and yellow, creating a stunning overhead view as if walking through a forest in fall.
- Dewy Morning: Capture a serene early-morning scene with leaves glistening from fresh dew, each droplet reflecting a tiny sunrise.
- Tropical Jungle: Design a setting packed with massive, lush green leaves under a warm rainforest canopy, with shafts of sunlight piercing through.
- Leafy Sea Creatures: Imagine an underwater world where leaves morph into exotic fish and marine life in a whimsical reef setting.
- Frosty Leaves: Depict a wintry morning after a frost, with leaves edged in crystalline ice, shimmering in the cold sunlight.
- Insect Playground: Show a close-up of a detailed leaf with a host of tiny critters, like ladybugs and caterpillars, exploring its surface.
- Enchanted Forest: Create a magical forest setting where glowing leaves light the path between ancient, gnarled trees.
- Leaves in the Wind: Illustrate a blustery autumn day with leaves swirling around in the breeze, capturing the motion and colors of the season.
- Leaf Boat Adventure: Imagine leaves used as tiny boats for mice or fairies, floating gently down a stream.
- Architecture of Leaves: Design an imaginative city where buildings and towers are crafted entirely from oversized leaves and vines.

