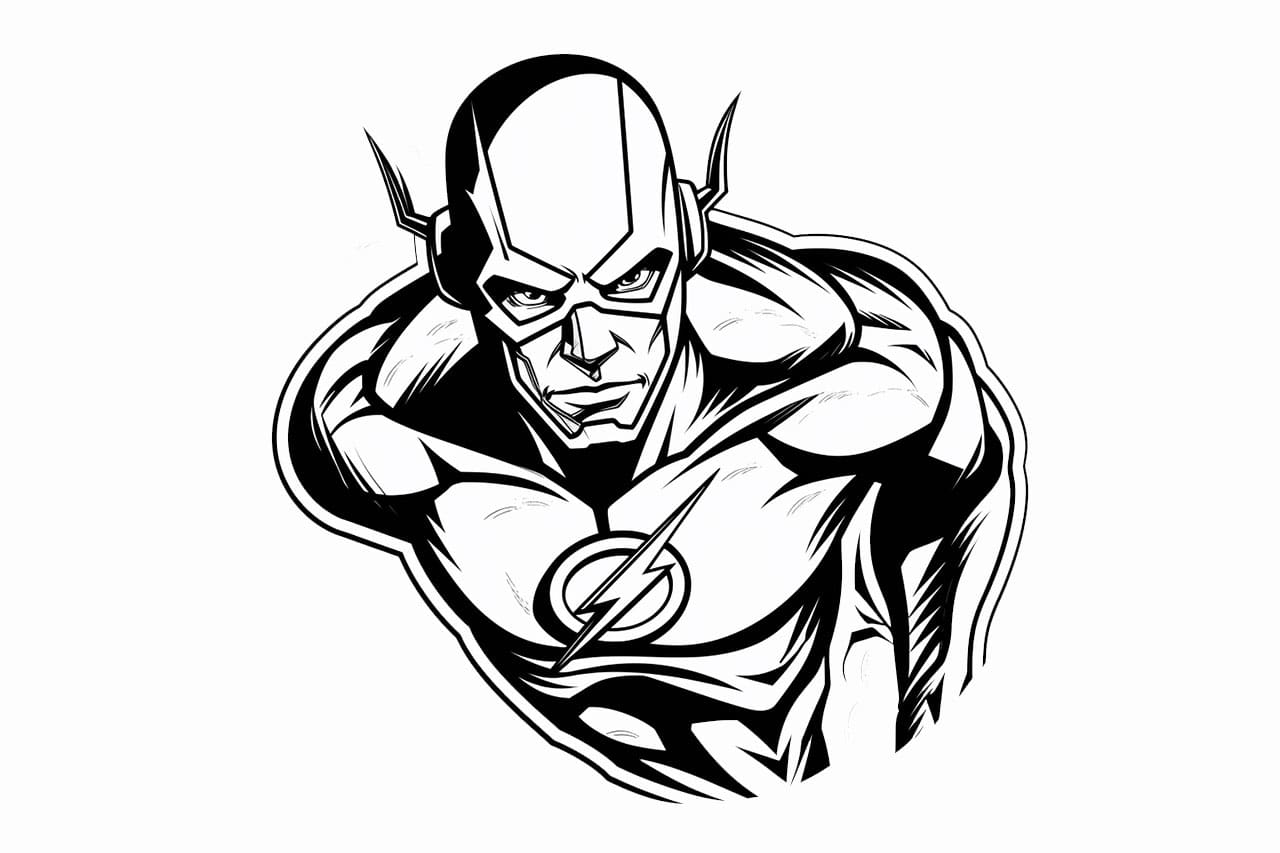
Welcome to this step-by-step guide on how to draw Flash! In this tutorial, you will learn how to capture the dynamic and electrifying essence of one of DC Comics’ most iconic superheroes. Whether you are a beginner or an experienced artist, this guide will provide you with clear and concise instructions to help bring the Scarlet Speedster to life on paper. So grab your pencils, pens, and paper, and let’s get started!
Materials Required:
Before we dive into the process, let’s make sure you have all the necessary materials to create your Flash drawing. You will need:
- Drawing paper or sketchbook
- Pencils (HB, 2B, 4B)
- Eraser
- Fine-tip markers or pens
- Colored pencils or markers (optional)
Having these materials ready will ensure a smooth drawing experience and allow you to explore different techniques and styles.
Step 1: Sketching the Basic Proportions
To start, lightly sketch the basic proportions of Flash’s body. Begin with a circle for the head and approximate the placement of the shoulders with two horizontal lines. Add a vertical line down the middle of the face to help with facial features later on. Next, draw two lines for the neck and shoulders.
Step 2: Outlining the Face and Mask
Using your sketch as a guide, refine the shape of Flash’s face with more defined lines. Pay attention to his distinctive mask, which covers his eyes and extends to the sides of his face. Draw the eyes within the mask, making sure to capture his intense gaze.
Step 3: Adding the Logo and Emblem
Flash is known for his lightning bolt logo and emblem. Draw the lightning bolt on the chest area, extending it from the shoulders down towards the waist. Add the smaller lightning bolt emblem on his belt or waistline. These symbols are an integral part of his costume and will add a dynamic touch to your drawing.
Step 4: Sketching the Torso and Arms
Now let’s focus on Flash’s upper body. Sketch the torso, paying attention to the muscles and contours. Use your reference image or imagination to determine the pose and the movement of the character. Add the arms, making them proportional to the body and incorporating the iconic forearm lightning bolts.
Step 5: Drawing the Legs and Boots
Next, move on to the lower body. Sketch the legs, keeping in mind the natural movement and the sense of speed that Flash embodies. Pay attention to the muscle structure and the placement of the knee joints. Complete the lower body by drawing the boots, emphasizing their sleek design.
Step 6: Adding Details and Features
At this stage, add the details that will bring your Flash drawing to life. Refine the facial features, paying attention to the eyes, nose, and mouth. Include the lightning-shaped earpieces on Flash’s mask to complete the look. Don’t forget the lines that emphasize the contours of his muscles and the seams on his costume.
Step 7: Inking the Drawing
Once you are satisfied with your sketch, it’s time to ink your drawing. Use fine-tip markers or pens to carefully trace over the pencil lines. Start with the facial features and work your way down, ensuring clean, confident lines. Take your time and let the ink dry before erasing the underlying pencil marks.
Step 8: Adding Shadows and Highlights
To give your drawing depth and dimension, add shadows and highlights. Imagine a light source and determine where the shadows would fall on Flash’s body. Use cross-hatching or stippling techniques with your pencils to create the desired shading effect. Add highlights with an eraser or white colored pencil to make certain areas pop.
Step 9: Coloring (Optional)
If you prefer a colored version of your Flash drawing, you can use colored pencils or markers to bring it to life. Choose vibrant shades for the lightning bolts, costume, and boots. Pay attention to color contrasts to make certain areas stand out. Take your time and layer the colors to achieve the desired effect.
Conclusion
Congratulations! You have successfully completed your drawing of Flash, capturing the speed and power of this beloved superhero. By following these step-by-step instructions, you have learned how to sketch the proportions, outline the features, add key details, and bring your drawing to life with inking, shading, and optional coloring. Remember, practice is key, so keep honing your skills and exploring different techniques to refine your artwork. Now, go ahead and unleash your creativity, and have fun drawing Flash!