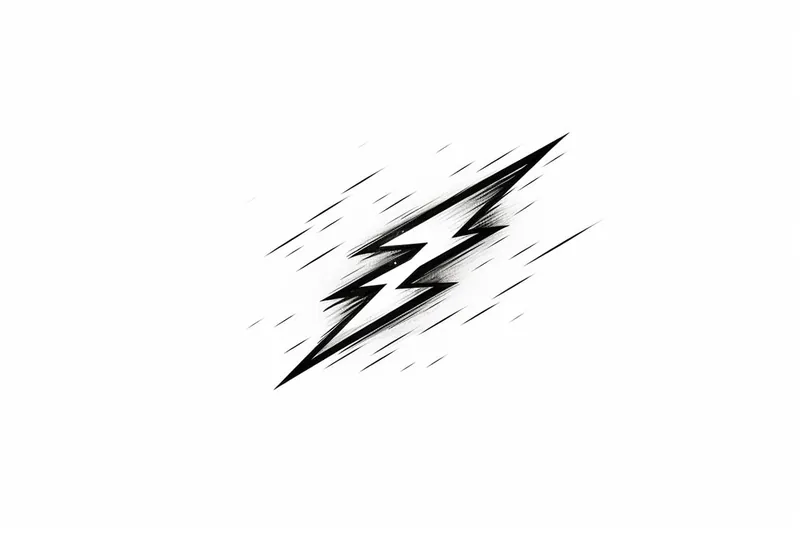
How to Draw a Lightning Bolt
Learn how to draw a lightning bolt with this step-by-step tutorial. Create your own artwork with clear instructions and unleash your artistic potential.
Materials You'll Need
- Pencil
- Paper
- Eraser
Lightning bolts have fascinated humans for centuries, symbolizing power, speed, and dramatic energy in art and popular culture. Whether you've seen them flash across a stormy sky or as part of superhero logos and fantasy illustrations, lightning bolts make for eye-catching and dynamic drawings. Learning how to draw a lightning bolt can add an exciting element to your artwork, whether you want to create striking weather scenes, add flair to your comic characters, or simply practice your skills with bold, geometric shapes. Their sharp angles and energetic zigzags are instantly recognizable, making them a popular choice for artists of all ages.
People choose to draw lightning bolts because they can be both simple and visually impactful. They're perfect for beginners who want to practice clean, straight lines and experiment with shading or color to create a glowing effect. At the same time, more experienced artists can use lightning bolts as a foundation for exploring more advanced techniques like layering, blending, and creating dramatic lighting effects. In this tutorial, you'll learn how to draw a lightning bolt step by step, starting with basic shapes and building up to a finished piece that captures the raw energy of this natural phenomenon.
Don't worry if you're new to drawing—this guide is designed to be accessible and easy to follow, with clear instructions and helpful tips along the way. With just a pencil and paper, you'll discover how satisfying it can be to create your own lightning-inspired artwork. So grab your materials, get comfortable, and let's unleash your creativity as we dive into how to draw a lightning bolt together!
Materials Required
Before we begin, let's gather the necessary materials. You will need:
- Paper: Choose a smooth, white paper that is suitable for drawing. A standard letter size or larger will give you plenty of space to work with.
- Pencil: Opt for a medium or soft graphite pencil that will allow you to create both light and dark lines.
- Eraser: A kneaded eraser or a soft vinyl eraser works best for correcting and cleaning up your drawing.
- Ruler: A straight edge ruler will help you achieve clean, straight lines.
Now that you have all the materials you need, let's move on to the steps for drawing a lightning bolt.
Step 1: Draw a Zigzag Line
Begin by lightly drawing a zigzag line across your paper. This will serve as the central line of your lightning bolt. Experiment with different angles and lengths to create a unique shape and composition. Remember, lightning bolts are irregular in nature, so embrace the freedom to make it your own.
Step 2: Add Branches
Next, add branches to your central line. These branches should start from various points along the line and extend outward at different angles. Aim for a jagged appearance to mimic the unpredictable nature of lightning. Don't worry about making them perfect or symmetrical – imperfections will add character to your drawing.
Step 3: Refine the Shape
Now it's time to refine the shape of your lightning bolt. Take your pencil and go over the zigzag line and branches, making them darker and more defined. You can also adjust the angles and lengths of the branches as you see fit. Pay attention to the thickness and tapering of the lines to give your lightning bolt a sense of energy and motion.
Step 4: Add Details
To make your lightning bolt more realistic, add some details. Start by sketching smaller branches that taper off from the main ones. These can be thinner and shorter to create a sense of depth and complexity. You can also add some irregularities and jagged edges along the length of the bolt to give it a weathered look.
Step 5: Shade and Texture
To add depth and dimension to your lightning bolt, incorporate shading and texture. Use your pencil to lightly shade areas where the bolt overlaps or curves. This will create the illusion of shadows and make your drawing more three-dimensional. You can also add some hatching or cross-hatching to simulate the crackling energy of a lightning bolt.
Step 6: Finalize Your Drawing
Now that you've completed the main steps, take a moment to evaluate your drawing. Make any necessary adjustments or refinements to ensure that you are satisfied with the overall composition and detail. Once you're happy with the result, use your eraser to gently remove any stray marks or smudges.
Tip: For crisp, dynamic lightning bolts, use a ruler or the edge of a stiff card to help you achieve those sharp, angular zigzags—this will make your lines look intentional and energetic. Start with light pencil strokes to map out the basic shape, then go over your final lines with firmer pressure or a fine-tipped pen for a clean finish. To enhance the sense of glow, leave the center of the bolt white or very lightly shaded, and use a soft blending tool or your finger to smudge a faint halo of color or graphite around the edges. This technique will give your lightning bolt a striking, luminous effect that really pops off the page!
Conclusion
Congratulations on successfully drawing a lightning bolt! By following these step-by-step instructions, you have learned how to create a dynamic and captivating representation of one of nature's most powerful phenomena. Remember to have fun and embrace your creativity as you continue to explore the world of drawing.
Fun Facts About Lightning Bolt
- A single lightning bolt can reach temperatures of up to 30,000 Kelvin, which is hotter than the surface of the sun.
- Lightning bolts can travel at speeds of up to 270,000 miles per hour.
- There are about 1.4 billion lightning bolts that strike the Earth every year.
- The longest recorded lightning bolt stretched over 477 miles across the sky in 2020.
- The Empire State Building is hit by lightning about 23 times a year.
- Thunder is created by the rapid expansion of air heated by a lightning bolt.
- Lightning bolts can be seen in volcanic eruptions, a phenomenon known as volcanic lightning.
- Lightning is not exclusive to Earth; it has also been observed on Jupiter and Saturn.
- About 90% of people struck by lightning survive, though they may suffer long-term effects (CDC).
- Lightning bolts inspired the iconic logo of the superhero character The Flash.
Suggestions for Scenes and Settings for Lightning Bolt Drawings
- A dramatic night sky with a lightning bolt illuminating a distant mountain range.
- A superhero catching or summoning lightning, with energy crackling around their hands.
- A stormy ocean, where a lightning bolt strikes the crest of a towering wave.
- An enchanted forest lit up by a sudden flash of lightning, revealing magical creatures.
- A futuristic city skyline with neon-lit buildings and lightning arcing between skyscrapers.
- A close-up of a hand holding a magic staff, with a lightning bolt shooting from the tip.
- A mythical creature, such as a dragon or phoenix, surrounded by swirling lightning bolts.
- A sports logo or mascot, where a lightning bolt forms part of the character's dynamic pose.
- A time-lapse image showing multiple lightning bolts branching across the sky during a thunderstorm.
- A fantasy battlefield, where a wizard or elemental calls down a massive lightning strike.