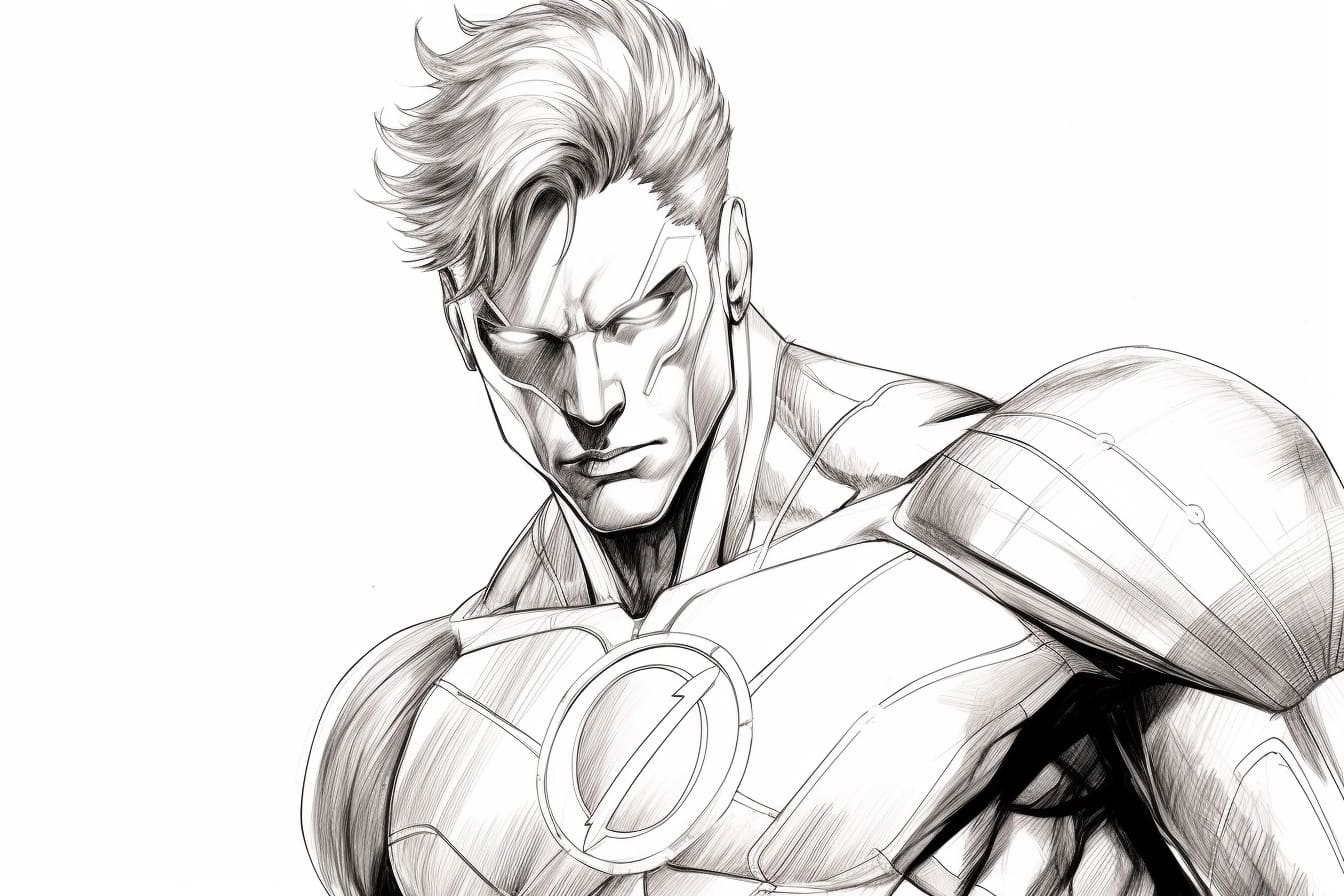
Welcome to this step-by-step guide on how to draw Green Lantern! In this tutorial, I will walk you through the process of creating a dynamic and detailed drawing of this iconic superhero. From sketching the initial outline to adding the finishing touches, I will provide clear instructions to help you bring your artwork to life. So, let’s get started!
Materials Required
Before we dive into the drawing process, let’s gather the materials you’ll need:
- Drawing paper or sketchbook
- Pencil (preferably mechanical or HB)
- Eraser (preferably kneaded or vinyl)
- Fine-tip black marker or pen
- Colored pencils or markers (green, black, and any additional colors you’d like to use)
- Ruler (optional for adding straight lines)
Now that you have everything you need, let’s begin drawing your Green Lantern!
Step 1: Start with Basic Shapes
To establish the proportions of your Green Lantern, start by drawing a circle for the head and a vertical line down the center of the page as a guideline. Next, draw a slightly curved horizontal line across the middle of the head circle to indicate the position of the eyes.
Step 2: Refine the Face
Using the horizontal line as a reference, draw two almond-shaped eyes that slant slightly upwards towards the outer corners. Add pupils to the eyes, and above them, draw a mask line that extends outward and curves slightly downwards at the ends. This mask will cover the upper part of the face.
Step 3: Add Facial Features
Now, draw a shape for the nose underneath the mask line. You can make it simple by creating two curved lines that meet at a point. Below the nose, draw a small, curved line for the mouth. To give your character a determined expression, slightly arch the mouth upwards at the ends.
Step 4: Sketch the Hair
On top of the head circle, draw two curved lines that meet in the middle to create the parting of the hair. Then, from the sides of the head circle, extend two curved lines downwards, following the shape of the face. These lines will serve as a guide for the sides of the hair.
Step 5: Define the Hairline
Using the hair guide lines as a reference, draw the hairline around the face. The hairline should have a jagged appearance to give it a more dynamic and stylized look. Don’t be afraid to add some spikes or irregular shapes to the hairline for added detail.
Step 6: Outline the Upper Body
Now that we have established the head and face, it’s time to move on to the body. Start by drawing two lines extending downwards from the sides of the head, creating the neck. Then, sketch the upper body by drawing two curved lines that slope inward towards the waist. These lines will eventually form the outline of the Green Lantern’s muscular physique.
Step 7: Add the Emblem
The Green Lantern is known for his iconic emblem, so let’s add it to the character’s chest. Start by drawing a vertical rectangle in the center of the upper body outline. Within this rectangle, draw a smaller rectangular shape with slightly curved sides to create the lantern symbol. Leave a small space at the top for the ring.
Step 8: Sketch the Arms and Hands
Continuing from the shoulders, draw two lines that slope outward and downward to form the upper arms. From the ends of these lines, draw two more lines that curve inwards to create the lower arms. Next, sketch the hands by adding rectangular shapes for the palms and long, curved lines for the fingers.
Step 9: Define the Legs
From the bottom of the upper body outline, draw two lines that slope outward and downward to form the upper legs. At the ends of these lines, create the lower legs by adding two more lines that curve inwards. Finally, sketch the feet using a combination of curved and straight lines.
Step 10: Refine and Add Details
Now that the basic structure of your Green Lantern is complete, take a moment to refine the overall shape and proportions of the character. Use an eraser to remove any unnecessary guidelines or rough lines. Then, go over your drawing with a fine-tip black marker or pen, outlining the final design. Add details such as the muscles, costume, and smaller elements of the suit, keeping in mind the iconic Green Lantern look.
Step 11: Color Your Drawing
Finally, it’s time to bring your Green Lantern to life with color! Use green colored pencils or markers to fill in the areas of the costume and emblem. Add black for areas such as the mask, hair, and boots. Feel free to incorporate additional colors to highlight details or add depth to your drawing. Experiment and have fun with shading and blending techniques to make your artwork truly stand out.
Conclusion
Congratulations! You have successfully completed a drawing of Green Lantern. By following these step-by-step instructions, you have created a dynamic and detailed representation of this iconic superhero. Remember to practice regularly and experiment with different techniques to further develop your drawing skills. Keep up the great work!


