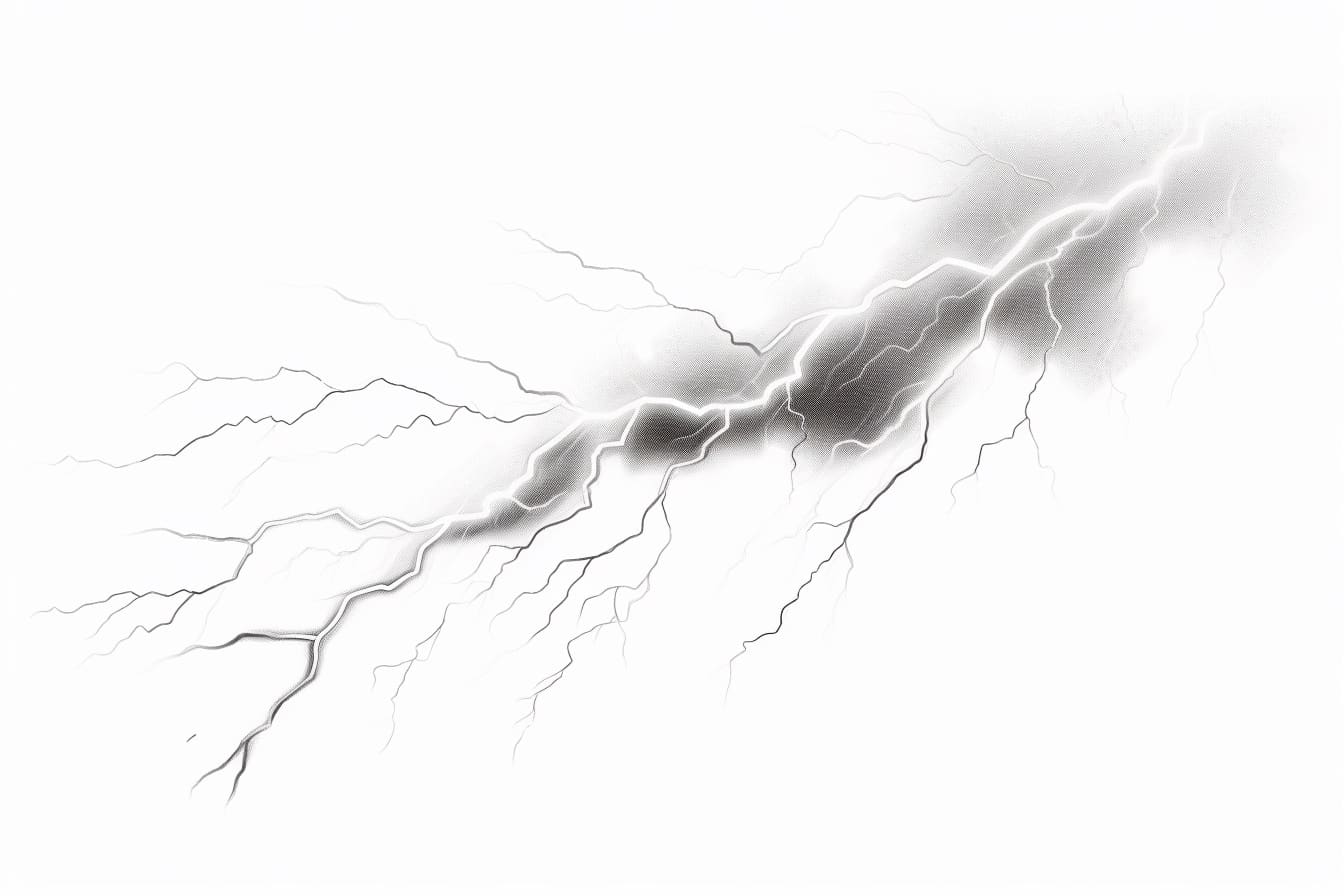
Welcome to this step-by-step guide on how to draw a lightning strike. Capturing the power and energy of lightning can be a thrilling experience, and with a few simple techniques, you can bring this natural wonder to life on paper. Whether you’re a beginner or an experienced artist looking to explore new subjects, this tutorial will provide you with the knowledge and skills to create an impressive lightning strike drawing. So, let’s get started!
Materials Required
Before we begin, make sure you have the following materials readily available:
- Paper: Use a sturdy drawing paper or sketch pad that can handle both graphite and ink.
- Pencils: Have a range of graphite pencils, including an HB, 2B, and 4B for creating different values and textures.
- Eraser: Choose a soft eraser that won’t damage the paper when correcting mistakes.
- Ink pens: Gel or fineliner pens in various sizes for adding fine details and definition.
- Blending tools: Use a blending stump or tortillon to blend graphite for smooth transitions.
- Reference images: Find high-quality photos of lightning strikes to use as inspiration and reference.
Now that you have your materials ready, let’s dive into the step-by-step process of drawing a lightning strike.
Step 1: Sketch Basic Shapes
Start by lightly sketching the basic shapes of the lightning strike. Use quick, loose lines to establish the overall composition and flow of the lightning bolt. Remember, lightning is jagged and irregular, so don’t be afraid to experiment with different shapes and angles.
Step 2: Define the Bolt
Next, refine the sketch by adding more details to the lightning bolt. Use longer, curved lines to give the bolt a dynamic, natural look. Pay attention to the areas where the bolt forks or branches out, as these add interest and complexity to the drawing.
Step 3: Add Thickness and Texture
To make the lightning bolt look more realistic, add some thickness and texture to it. Use a darker pencil, like a 4B, to shade the sides of the bolt and create a sense of depth. Add small zigzag lines along the edges of the bolt to represent the electric charge and give it a rough, textured appearance.
Step 4: Create Lightning Effects
Now it’s time to add some lightning effects to make the drawing come alive. Use a blending tool or your finger to smudge the edges of the lightning bolt, creating a soft glow or halo effect. This will simulate the bright light and energy radiating from the bolt.
Step 5: Ink the Outline
Once you’re satisfied with the pencil sketch, it’s time to ink the outline of the lightning strike. Use a fine-tip gel or fineliner pen to carefully trace over the lines, making them more defined and impactful. Be deliberate with your strokes and use varying line weights to create depth and contrast.
Step 6: Add Details and Texture
After inking the outline, focus on adding finer details and textures to the lightning strike. Use the pen to create small lightning tendrils or filaments that branch out from the main bolt. Add small dots and dashes along the edges to represent sparks and electrical discharge. These details will bring more life and energy to the drawing.
Step 7: Shade and Define
Now it’s time to add shading and definition to the lightning strike. Use a combination of cross-hatching, stippling, and light shading techniques to create realistic shadows and highlights. Pay attention to the areas where the lightning bolt overlaps or interacts with other objects, as these will require more shading and blending.
Step 8: Final Touches
To complete your lightning strike drawing, take a step back and evaluate the overall composition. Make any necessary adjustments or refinements to ensure a balanced and visually pleasing result. You can also add a background or other elements to enhance the overall impact of the drawing.
With these steps, you have successfully drawn a realistic lightning strike! Remember, practice makes perfect, so keep experimenting with different techniques and styles to further develop your skills as an artist.
Conclusion
In this step-by-step tutorial, we have explored the process of drawing a realistic lightning strike. By following these simple instructions and utilizing the right materials, you can easily create a powerful and visually striking representation of this captivating natural phenomenon. With practice and patience, your lightning strike drawings will evolve, allowing you to showcase your artistic abilities. So gather your materials, get inspired, and embrace the electrifying world of lightning drawing!

