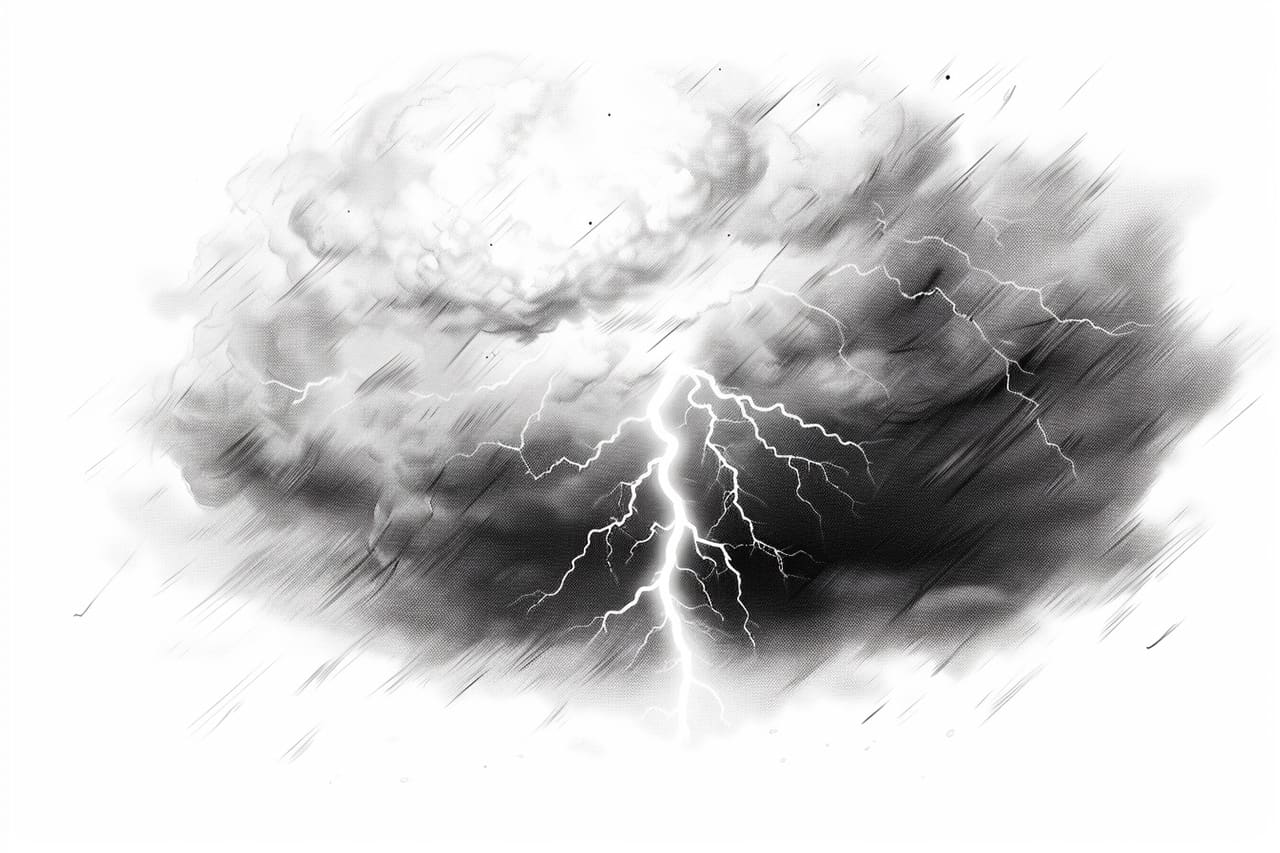
Welcome to this step-by-step guide on how to draw a thunderstorm! In this tutorial, you will learn how to create a captivating illustration of a powerful thunderstorm using simple drawing techniques. So grab your art supplies and let’s get started!
Materials Required
Before we begin, gather the following materials:
- Drawing paper
- Pencil
- Eraser
- Black ink pen
- Watercolor paints (blue, gray, white, and black)
- Paintbrushes (medium and fine)
Now that you have all your materials ready, let’s dive into the process of drawing a thunderstorm.
Step 1: Sketch the Outline
Start by lightly sketching the outline of the thunderstorm on your drawing paper using a pencil. Decide on the composition and placement of the elements such as clouds, lightning bolts, rain, and any other elements you want to include in your drawing. Remember that the pencil lines are just a guide and can be erased later, so don’t worry about making mistakes at this stage.
Step 2: Add Clouds
Use your pencil to add clouds to your composition. Thunderstorms are often characterized by dark, billowing clouds. Sketch the shape of the clouds, taking into account the direction of the wind. Add depth and dimension to the clouds by shading them lightly with your pencil.
Step 3: Introduce Lightning Bolts
Using your pencil, sketch the lightning bolts within the composition. Lightning bolts appear jagged and irregular, so avoid making them too symmetrical. Add variation in thickness to the bolts to make them look more dynamic.
Step 4: Define the Rain
Sketch the rain showers falling from the clouds using short, diagonal lines. Make the rain lines slightly slanted to indicate movement. You can choose to add more or fewer raindrops depending on the intensity of the storm you want to portray.
Step 5: Ink the Drawing
Once you are satisfied with your pencil sketch, take a black ink pen and carefully trace over the main outlines of your drawing. Use a steady hand and bring out the details of the thunderstorm, such as the edges of the clouds, the lightning bolts, and the rain.
Step 6: Erase the Pencil Guidelines
After the ink has dried, use an eraser to gently remove the pencil guidelines that are no longer needed. Be cautious not to smudge or damage the ink lines while erasing.
Step 7: Apply Base Watercolor Layer
Now it’s time to bring your thunderstorm to life with watercolor paints. Start by wetting your paper with clean water using a paintbrush. Then, using a mix of blue and gray watercolor, paint the base color of the sky. Apply the paint in broad strokes, leaving some areas unpainted to create a sense of depth and movement.
Step 8: Add Cloud Shadows
Using a darker shade of gray, paint the shadows on the clouds to create a three-dimensional effect. Apply the darker paint along the undersides and edges of the clouds. Remember to leave some areas of lighter color to highlight the cloud’s form and texture.
Step 9: Enhance Cloud Details
Using a fine paintbrush and diluted white watercolor, add highlights to the clouds to give them a more realistic appearance. Focus on the areas where the light would hit the clouds, such as the tops and edges. Use light, feathery strokes to create a soft and ethereal effect.
Step 10: Paint Lightning Bolts
Take a small amount of white watercolor and carefully paint the lightning bolts. Start by painting the main shape of the bolt and then add thinner branches to create a branching effect. Use a fine paintbrush to achieve precise details. Allow the white paint to dry completely before moving on to the next step.
Step 11: Accentuate the Rain
Using a mix of gray and black watercolor, paint the rain showers in your drawing. Apply the paint using short, vertical strokes to capture the falling rain. Vary the intensity of the rain by applying more or less paint to different areas of your drawing.
Step 12: Final Touches
Take a step back and assess your drawing. Add any final details or touches to enhance the overall composition. You can add splashes of watercolor to create a sense of movement or even some additional lightning bolts for added drama. Remember to let your creativity flow and make the drawing your own.
Congratulations! You have successfully drawn a thunderstorm. By following these simple steps, you were able to capture the essence and power of a thunderstorm on paper. Keep practicing, experimenting with different compositions, and techniques to further refine your skills.
Conclusion
Drawing a thunderstorm can be both challenging and rewarding. Through this tutorial, we explored the step-by-step process of creating a captivating illustration of a thunderstorm using basic drawing techniques and watercolors. Remember to start with a pencil sketch, ink the drawing, and then add layers of watercolor to bring your storm to life. With practice and patience, you can create stunning and dynamic depictions of thunderstorms.
Now it’s your turn to grab your art supplies and give it a try. Happy drawing!


