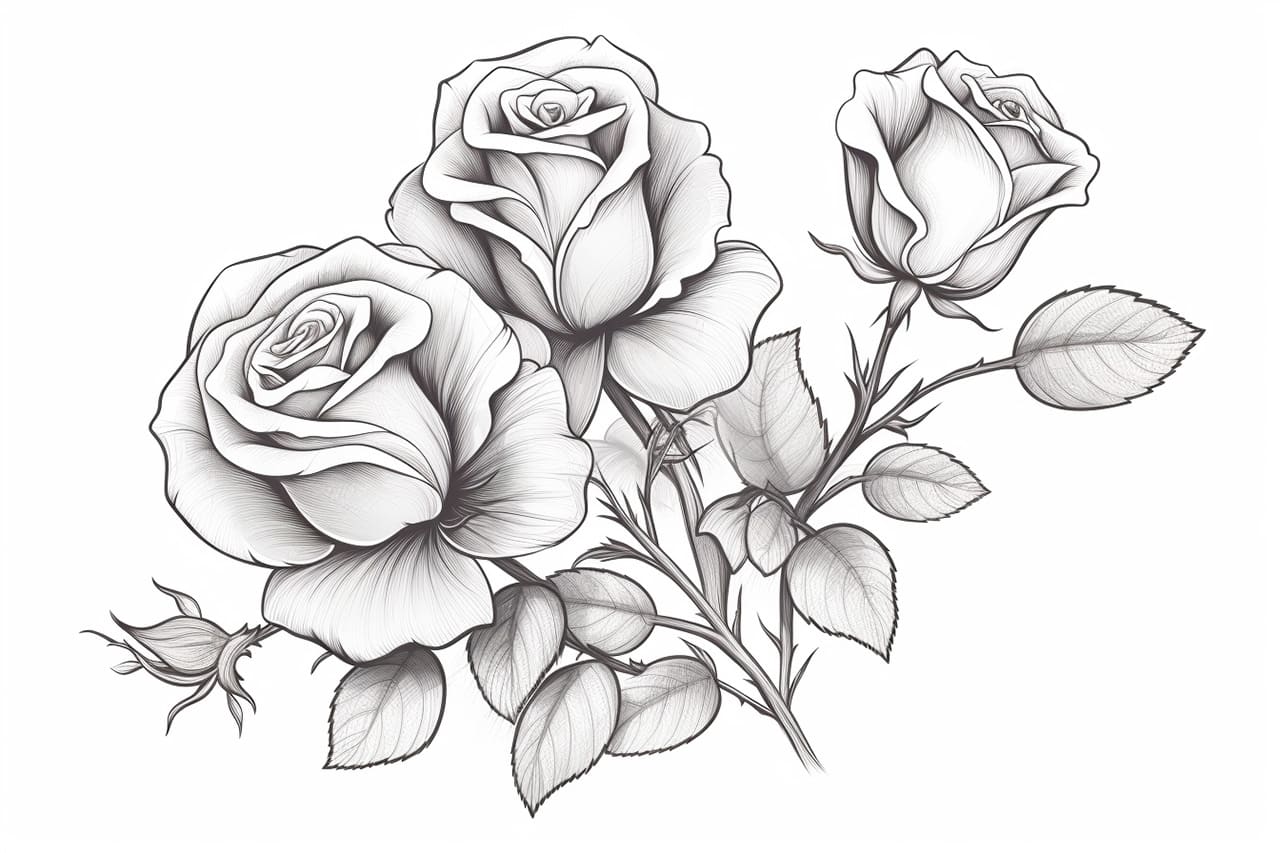
Welcome to this step-by-step guide on how to draw a beautiful rose bush. Whether you’re a beginner or an experienced artist, this tutorial will help you create a realistic and vibrant drawing of this classic flower. So, grab your sketchbook and let’s get started!
Materials Required:
To complete this drawing, you will need the following materials:
- Pencil: Choose a graphite pencil with a medium hardness, such as a 2B or HB, for sketching and shading.
- Eraser: Use a kneaded eraser or a soft plastic eraser for precise corrections.
- Sketchbook or Paper: Select a smooth surface paper or a dedicated sketchbook that can handle pencil work.
- Reference Image: Find a clear and detailed reference photo of a rose bush to guide your drawing.
Now that you have your materials ready, let’s begin the drawing process.
Step 1: Basic Sketch
Start by lightly sketching the basic shape of the rose bush on your paper. Use simple curved lines to outline the general form, making sure to capture the overall height and width of the bush.
Step 2: Main Stems and Branches
Next, draw the main stems and branches of the rose bush. Use slightly thicker lines to emphasize their importance. Pay attention to the angle and direction of each branch, as well as the space between them. Remember, roses tend to have twisting and intertwining branches, so make your lines slightly irregular to add realism.
Step 3: Leaves
Now, let’s focus on adding the leaves to the rose bush. Start by drawing the larger leaves first, using a series of curved lines connected to each stem or branch. Vary the size and shape of the leaves to create visual interest. Pay attention to the serrated edges of the leaves and their positioning along the branches.
Step 4: Rose Buds
In this step, we will draw the rose buds that will eventually bloom into beautiful flowers. Sketch small ovals or circles at the end of certain branches to represent the buds. Position them at different stages of development to create a natural look.
Step 5: Flowers
Now it’s time to draw the roses themselves. Roses have a distinct petal arrangement, so observe your reference photo. Start by sketching the outer petals, working your way inward towards the center. Use curved lines to represent the delicacy and softness of the petals.
Step 6: Details and Shadows
To bring your rose bush to life, it’s important to add details and shading. Pay attention to the folds and creases of the petals, as well as the texture of the leaves. Use your pencil to add subtle shading and highlights to create depth and dimension. Study the light source in your reference photo to determine where the shadows fall and add shading accordingly.
Step 7: Background
To complete your drawing, consider adding a simple background. You can lightly sketch some grass, shrubbery, or other elements that complement the rose bush. Keep the background relatively simple, so as not to detract from the main subject.
Congratulations! You have successfully drawn a beautiful rose bush. Take a moment to review your work and make any necessary adjustments or refinements. Remember, practice is key to improving your drawing skills, so don’t be discouraged if your first attempt doesn’t turn out exactly as expected.
Conclusion
Drawing a rose bush can be a rewarding experience that allows you to capture the beauty and elegance of this timeless flower. By following the step-by-step instructions in this tutorial, you can create a realistic and vibrant drawing that showcases your artistic talent. Remember to be patient with yourself and have fun throughout the process. So, pick up your pencil and start drawing your very own rose bush today!


